Whiskey Cabinet
This design is not my own but I did made a few small changes in the original design (which you can see in the picture below). I want the rough/out back look, not much work on the wood. The wood itself came from a pallets I toke apart and the hinges and 'lock' I bought new at the local store. I dont have much pictures from the build it self but it is a simple one to understand.Time
It toke me about a month to create but again I didnt work full days, just about 15 minutes a day, about 5 days a week. So you can do it much faster if you work more time each day.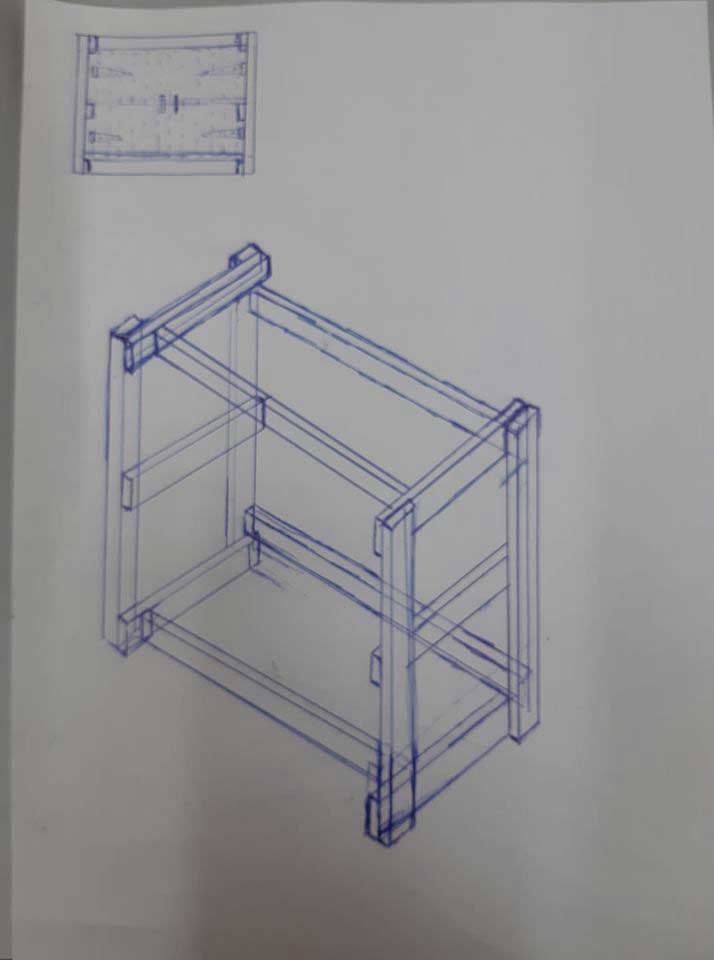
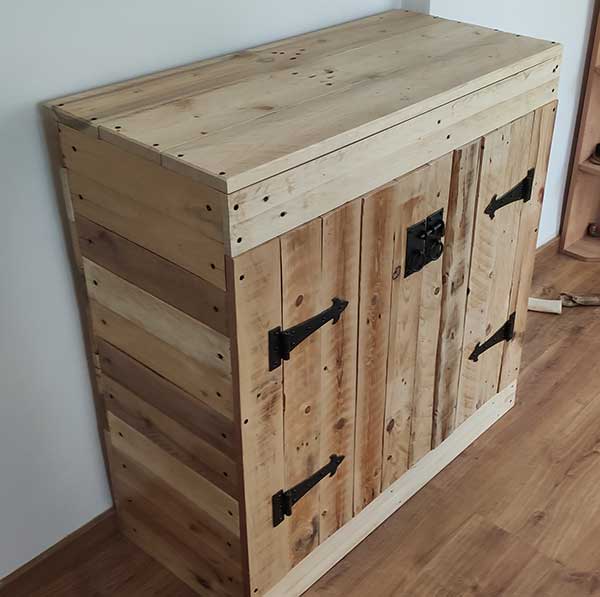
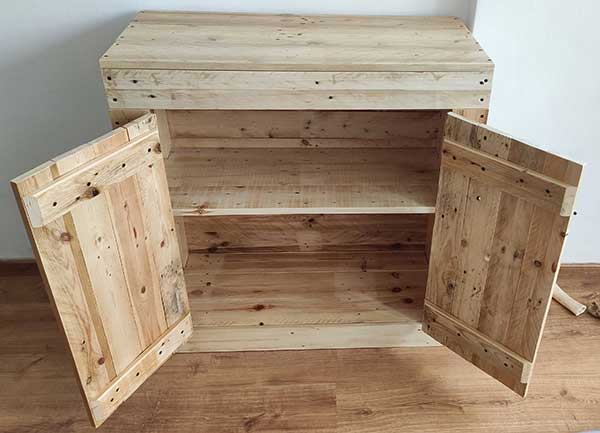
Steps
Step 1
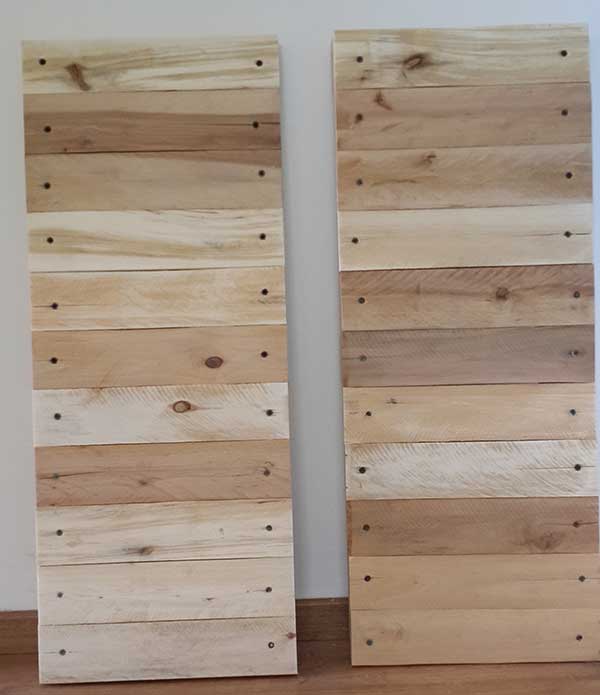
Creating the sides.
As you can see from the picture below, the sides are the same. 2 long woods used as a support for the smaller ones, they are not perfectly the same length but I will take care of it later. I tried to keep the color of the wood with some pattern as much as I could but as I had only pallet wood it was a hard mission.
Time
This step toke about 2 weeks as I played with the color of the pallet wood and tried to find the best combination I could.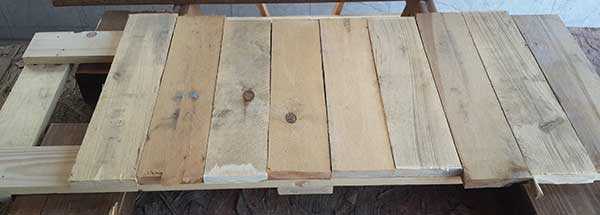
Step 2
Connecting the sides. Here I made a small change from the original plan as I put a long (the length of the pallets) woods (front and back and top and bottom) and just put them together with screws.Time
This step toke me a 'day' work (remember that I worked about 15 minutes a day?)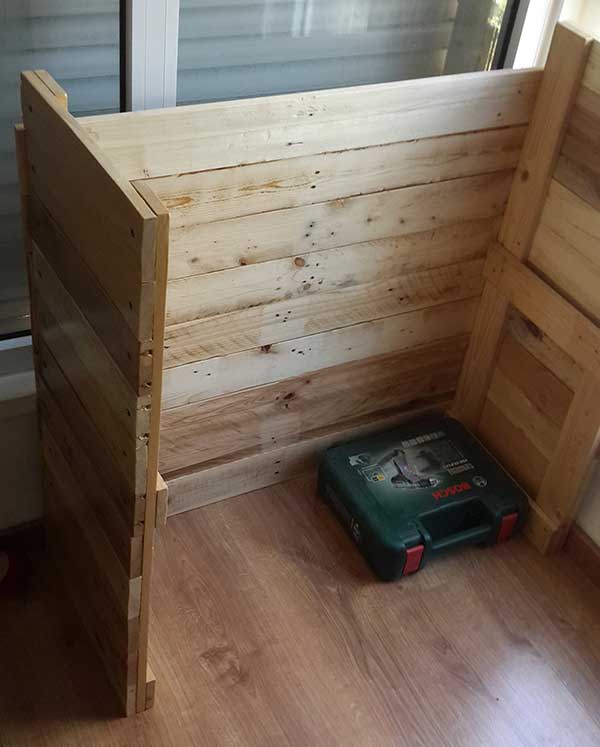
Step 3
Top & middle & bottom shelves. I was looking for a thick strong wood so I could put on it a heavy load. Full Bottles of whiskeys can weight a lot so I was looking. I played with 3 or 4 long woods. At the end the top has 3 wide thick wood, middle 4 strong and bottom also has 4. The middle and bottom are resting on the sides horizontal support woods with no middle supports.Time
I worked on that one for about 3 weeks in total but I didnt work just on that one as finding the right wood width and strength from pallet wood was a challenge. I also had to make sure they are the same height so where will be no step between them and no to almost none visible cracks between them.Step 4
The door. Same as the shelves but less worried about the thickness, it is ok if there is small differences here. The challenge here was to make sure the woods are the same heights and the doors can be closed and open without any problem. Some filing did the job.Time
This step was a dozy but it was a 'day' job, toke a little long about a hour as I had to check and run out to file and back few times.Step 5
Painting. I painted the parts as soon as I done working on them. I put a 2-3 layers of varnish and waited for a full dry before apply the next one.Step 6
Connect the doors. This one toke awhile as I knew what I was looking (hinges and some 'lock' old looking style) but I couldnt find it very easily in my area. Put the metal parts on the wood, mark the place and with black screws in place. Testing - all working as planned and expected. Time to put the whiskey bottles in it :)Conclusions & Remarks
Measure twice (or three)
I already mentioned it (in my other projects) but it worth saying it again. Measure twice even three times to make sure and mark clearly.Complicated?
Sure, it seems impossible to do it now but when you start (even if it just in your mind), you will see that it only looks complicated but actually it is very simple (even more simple if the wood you are using is new and not pallet wood).Working with pallet wood
I am all for reuse wood when you can, most of the time and effort here in this project was reusing a pallet wood and you have no control over it, so take your time and find the right wood for it.