Bottles Anchor Hanger
Making date: Around May 2022
I have started doing it as a simple design on paper around 2 or even 3 months before I even started working on it.
As time goes by the design got more detailed, although I tried (and think that I successed in that way) to keep its build easy.
The Idea was simple, at the bottom and center there will be a place for the (whiskey) bottles and the top will be for the shot glasses. Easy, right?
I had 4 issue to think about and solve:
1. How to do the angled wood between the bottom sets?
2. How to make sure they (bottles and glasses) wont fall?
3. How to secure it so the weight of the bottles wont break the arms (bottom wings)?
4. How to hang it on the wall secured so it wont fall from its own weight even before adding the bottles and glasses?
5. Size. I need the ratio of the arms and the stock (upper wings) and body will be at least visually resemble to a real anchor.
Well...
Lets start with the last one as it is the easiest to answer: The size will each step is enough for 1 bottle and as the build is modular I can always add more or remove as needed, as for the body and stocks, the body was the one that actually set every thing as I do a re-use from available wood - it is what I have in stock at the moment - easy!
The next one to solve is #4 - I could add a plywood in the back to secure it to itself but it will add weight, so the easier solution was to add connection to the wall it self in the form of r. I thought 2 on each arm, 2 or 3 to the body and if you are paranoid 2 for each stock. Solved.
Number 3 was solve together with number 4 so moving on...
Haaa, number 2 (no pond intended). It is a s$#$@ problem and no easy solution. At the beginning I thought about adding a rope that will hold to each arm and run from one side to the next, when it is secured to the arms and body but it ruined the anchor look for me so no.
Than I thought to add some small slim wood (even added it to design on paper), again from one side of the arm to the next but it was even worst than the rope idea so no again. I didnt solve that one and as you can see in the finish item it is left unsecured. :(#1 I cut a light wood and put it there, it was`t easy to do the angled cut as it is not a "regular" angel (like 45 degrees or 90 degrees" and when I put the woods there and looked at it, it looked bad and I mean very bad. it looked heavy (I guess anchor should be heavy but that one should be light weight to hang on the wall). I removed the angled wood and left it like it is.
When people looked it some saw a cross, other a cross bow but the sea people saw the anchor. Even the cross and the crossbow people saw it after I said no to their idea.
And moving to what you actually want:
The plan and the build...
Time:
The design and planning it toke a long time (not on full time job scale) but few seconds to minutes here and there across 2-3 months before I started working on it. The plan and design change even during the planning, as I was in version 1, I started to pick the wood to work on it and than came a thought of adding bottles in body itself so the design changed to reflect that. When I started to assemble the wood (not connecting it yet) just laying it together, I looked at it and it seems empty, so I added the shot glass place on the stocks and top of the body. At some point while preparing it for painting (that was a question too: to paint or not? and if to paint, what color? [more about it later]), I saw that the 2 main body woods are in a very bad shape and need to be replaces, luckly I found a better wood to use but it was a little longer than the original, so all the spaces in the body had to adjust to the new height. All the work toke less than a week work (not even full time) in netto.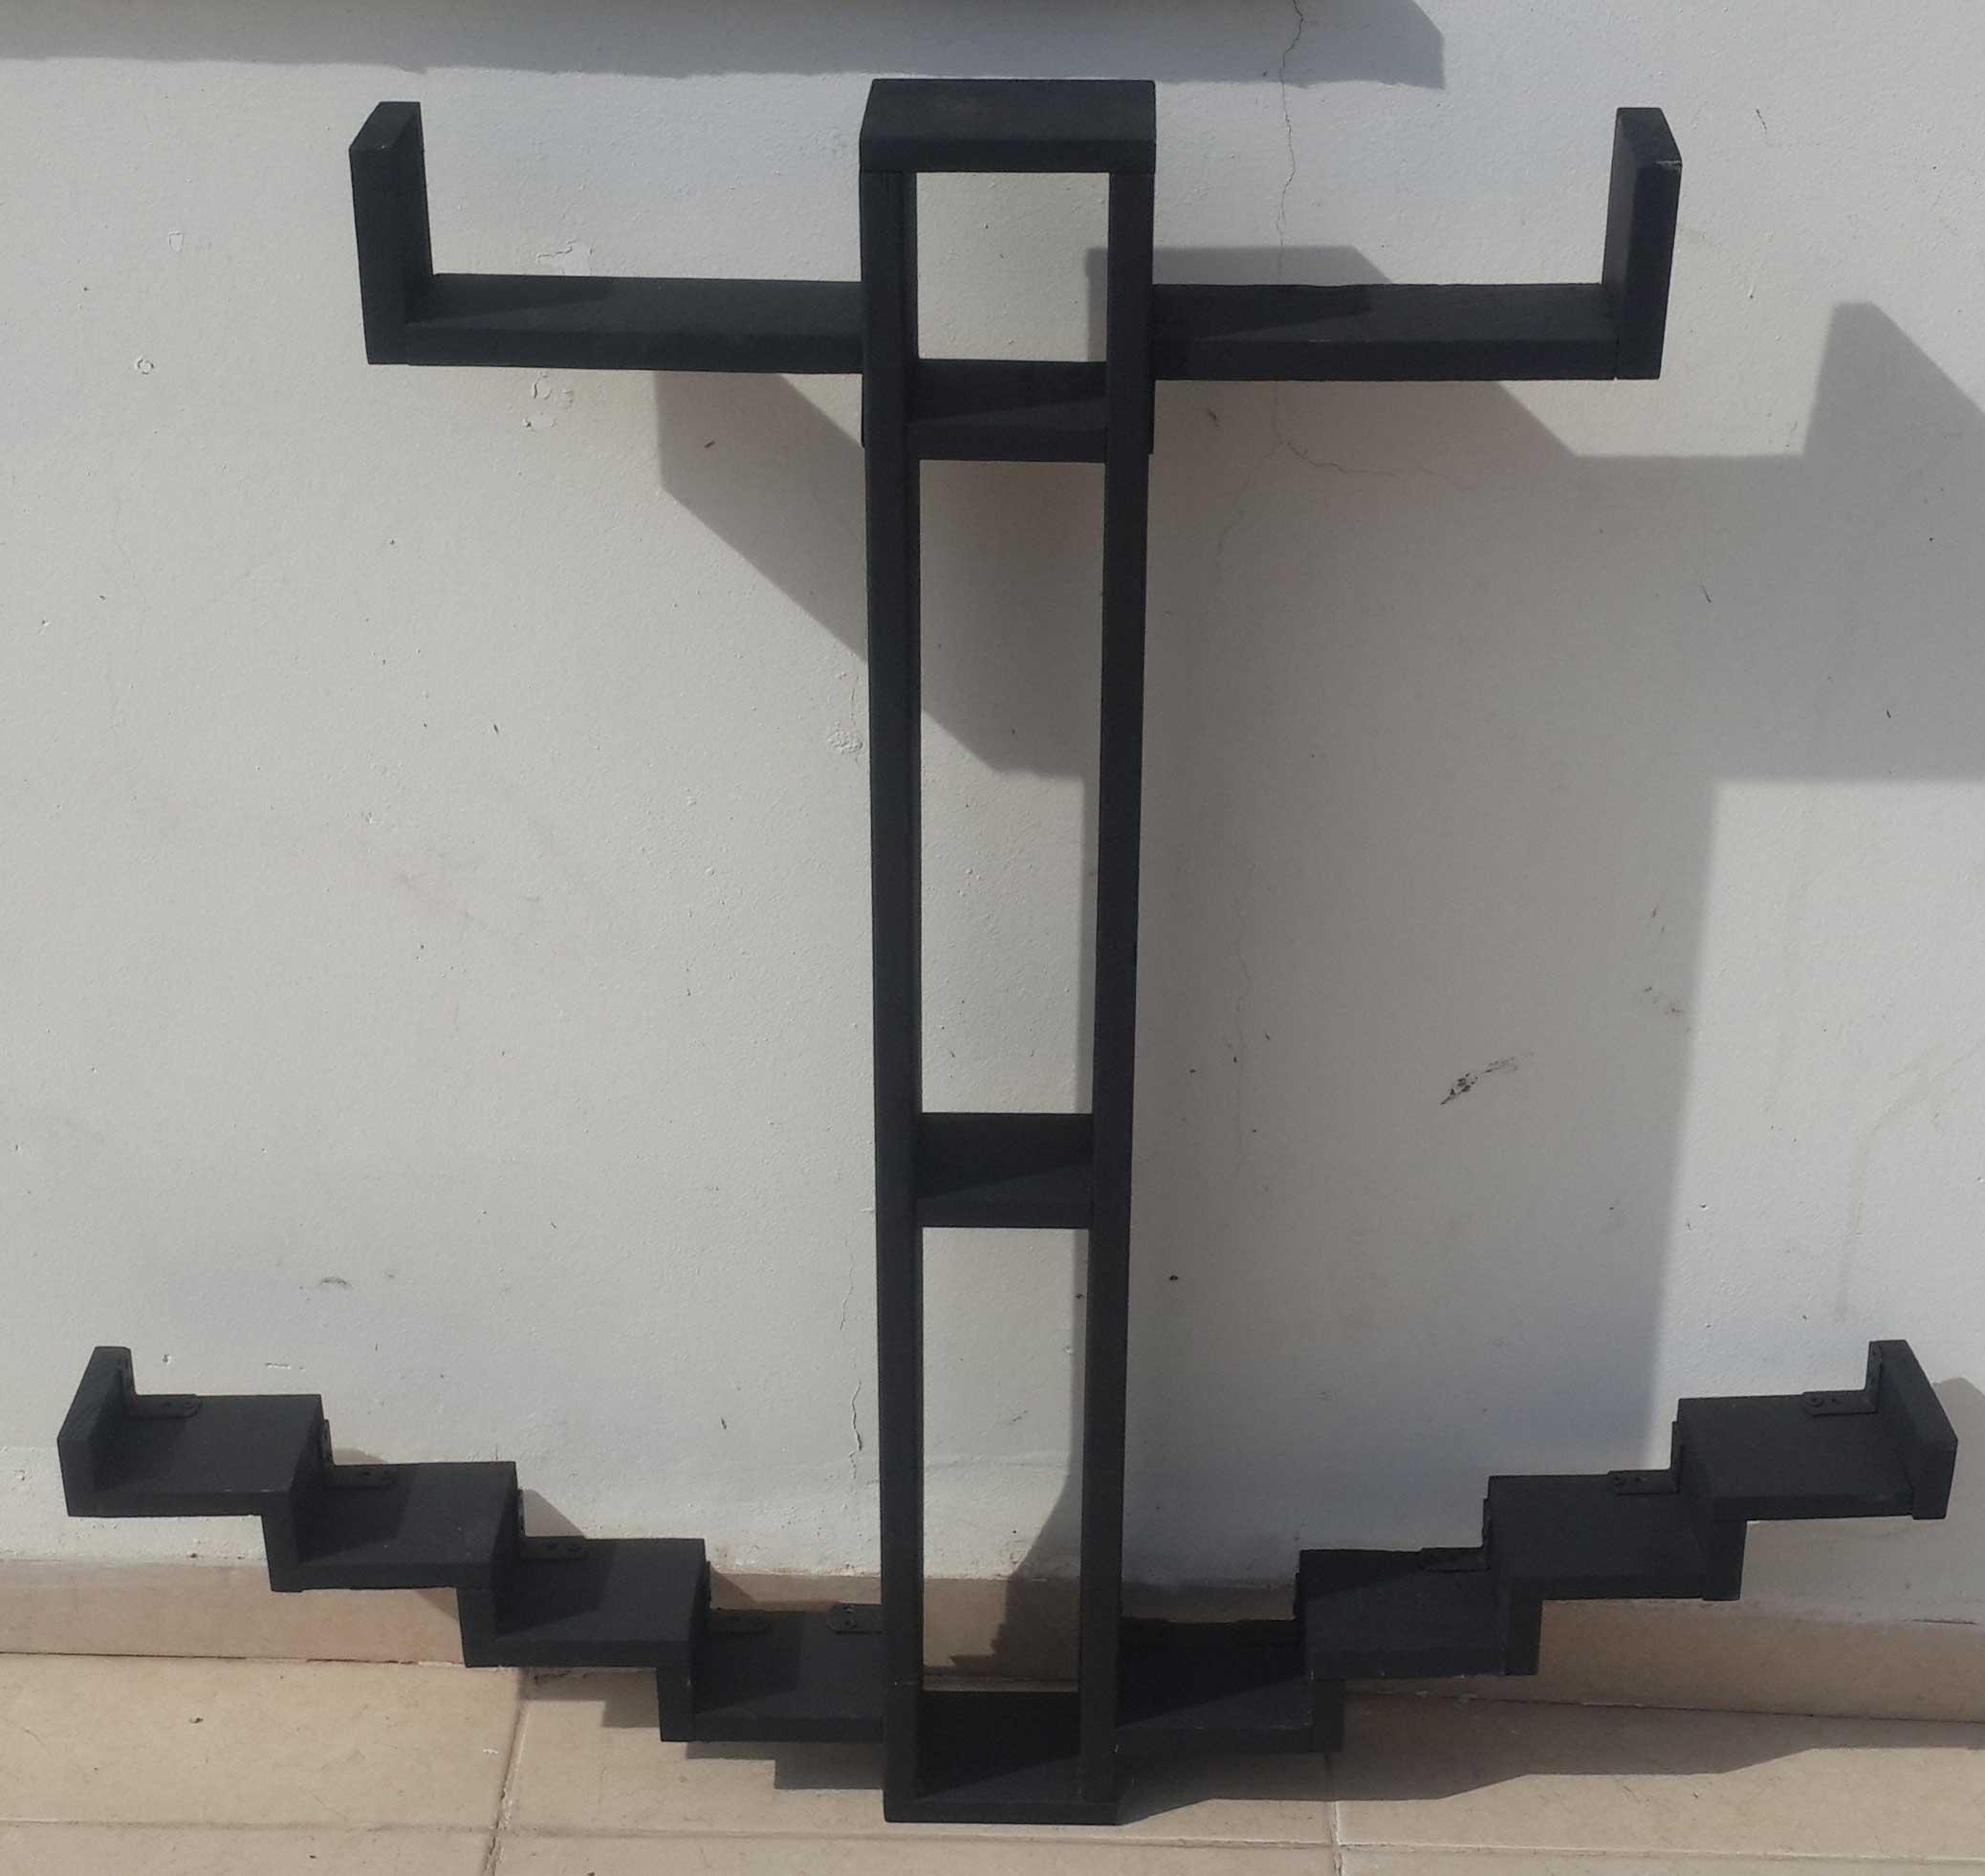
Step 1
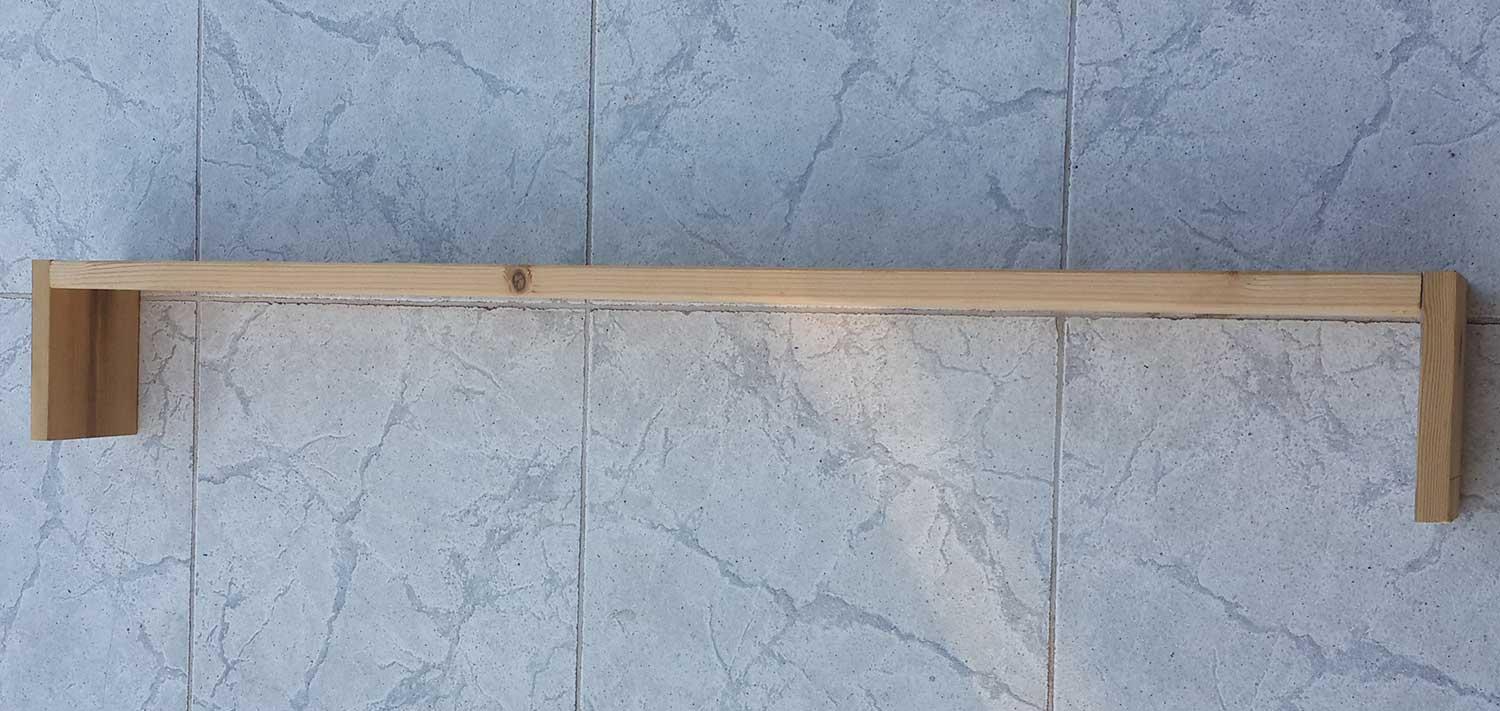
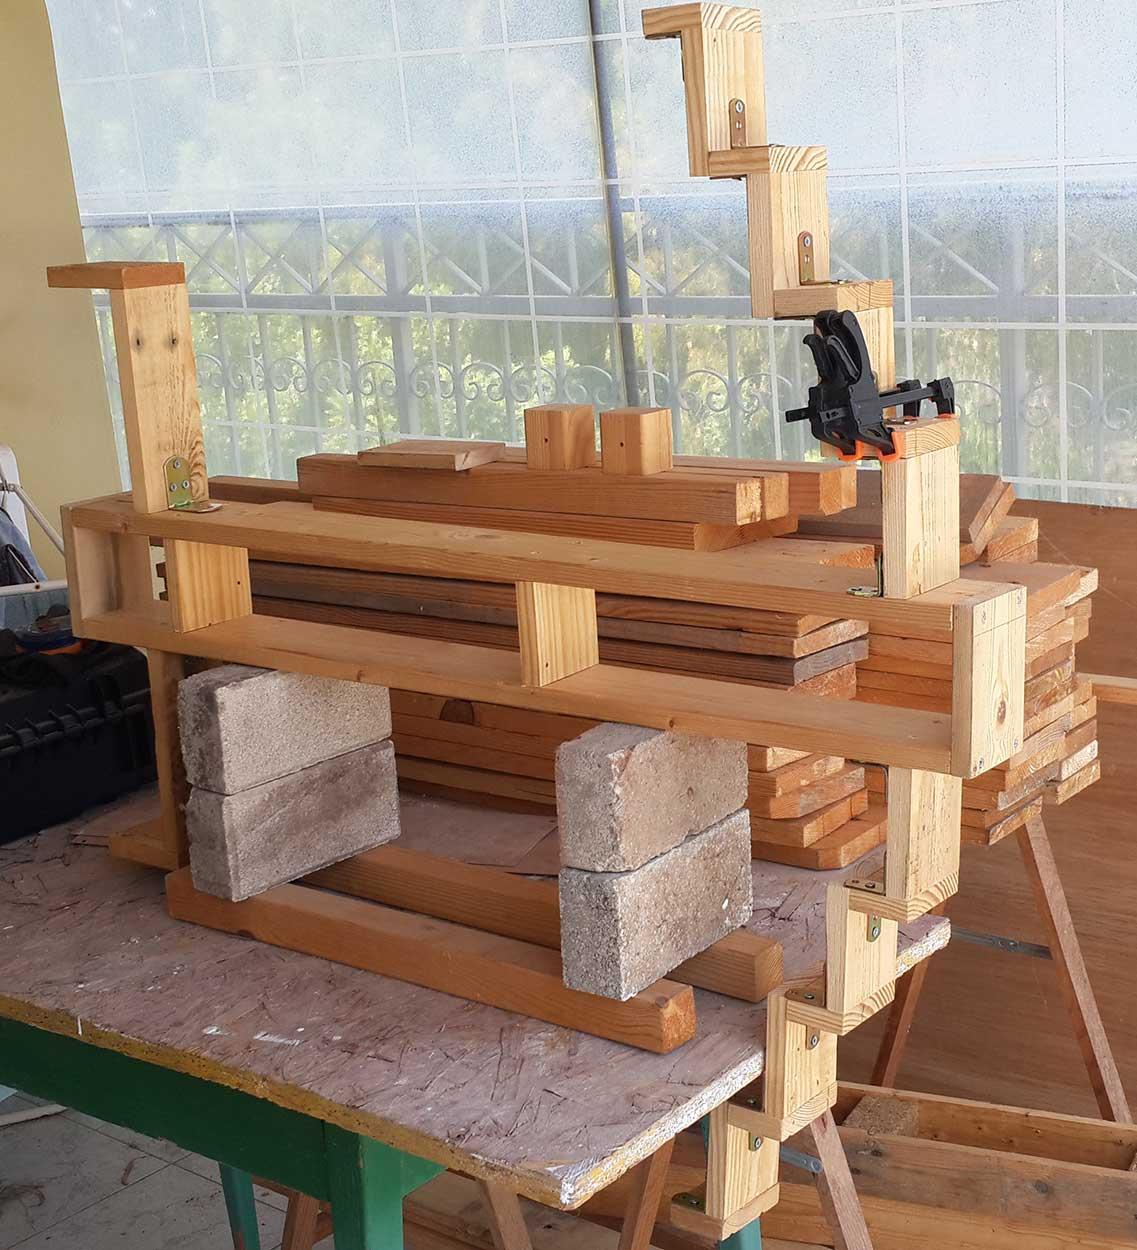
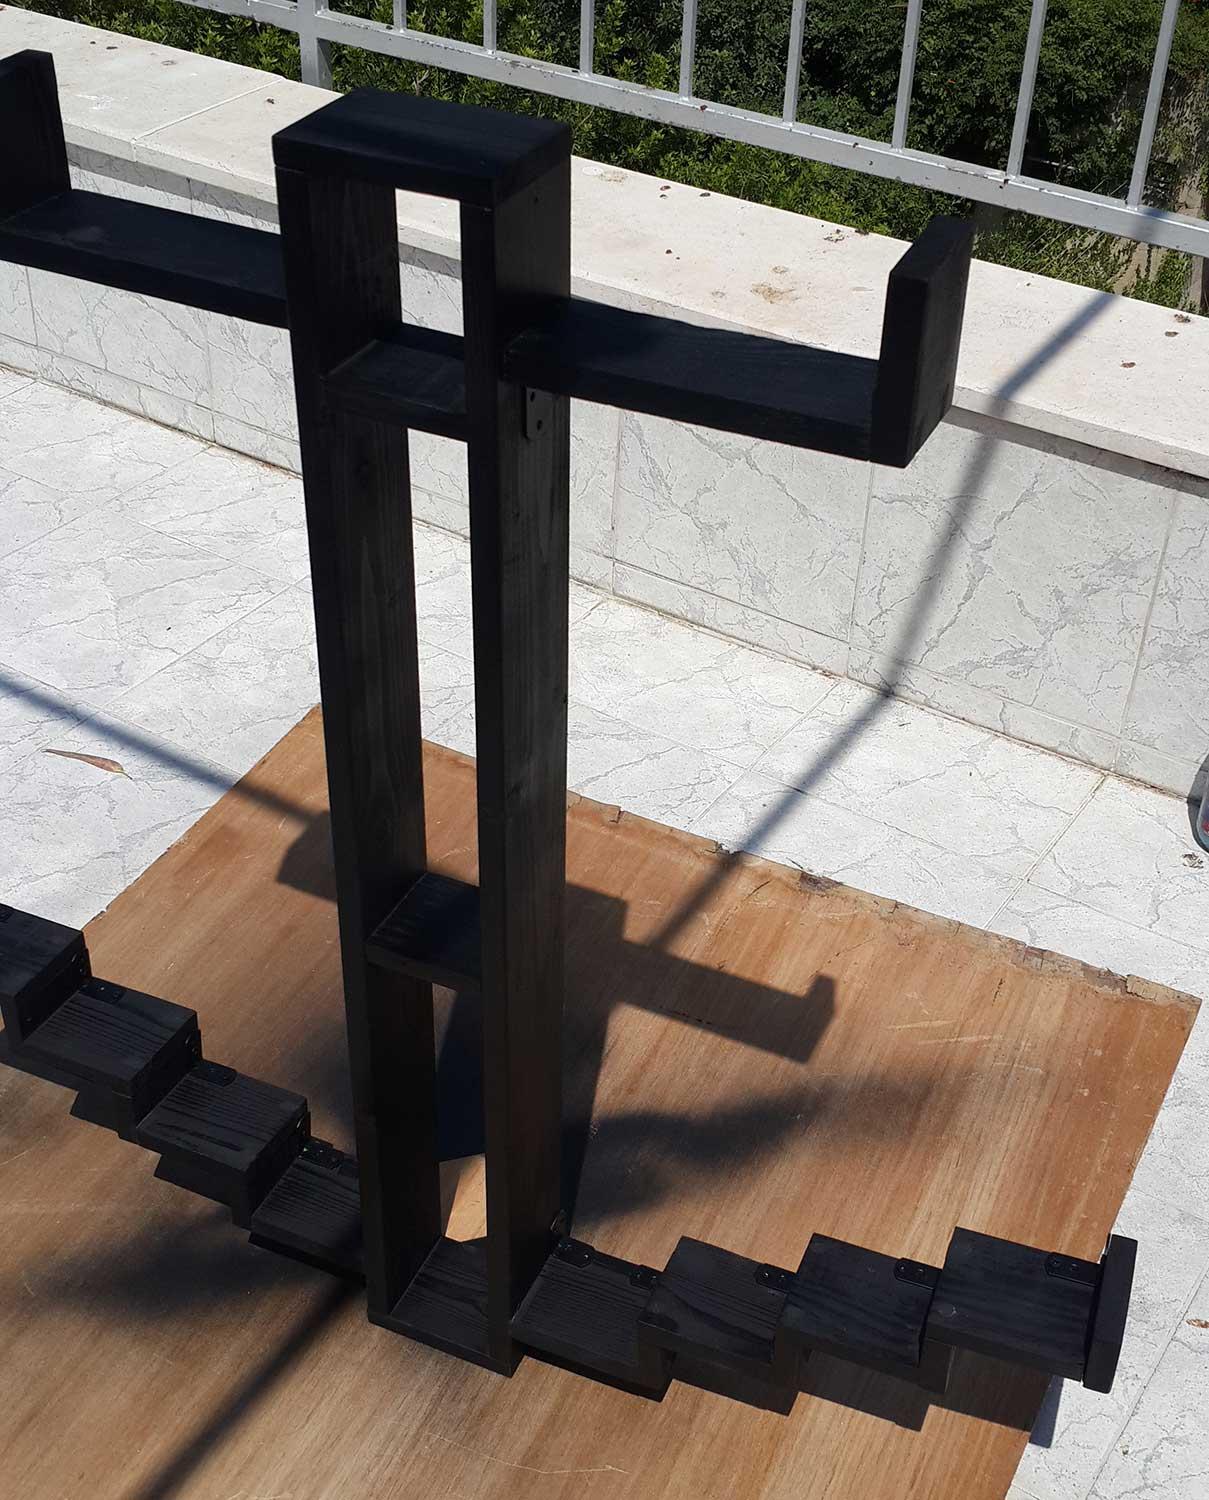
My first step was to prepare the wood and create the general shape of it without connecting anything yet, just so I could get a global picture and plan the next move.
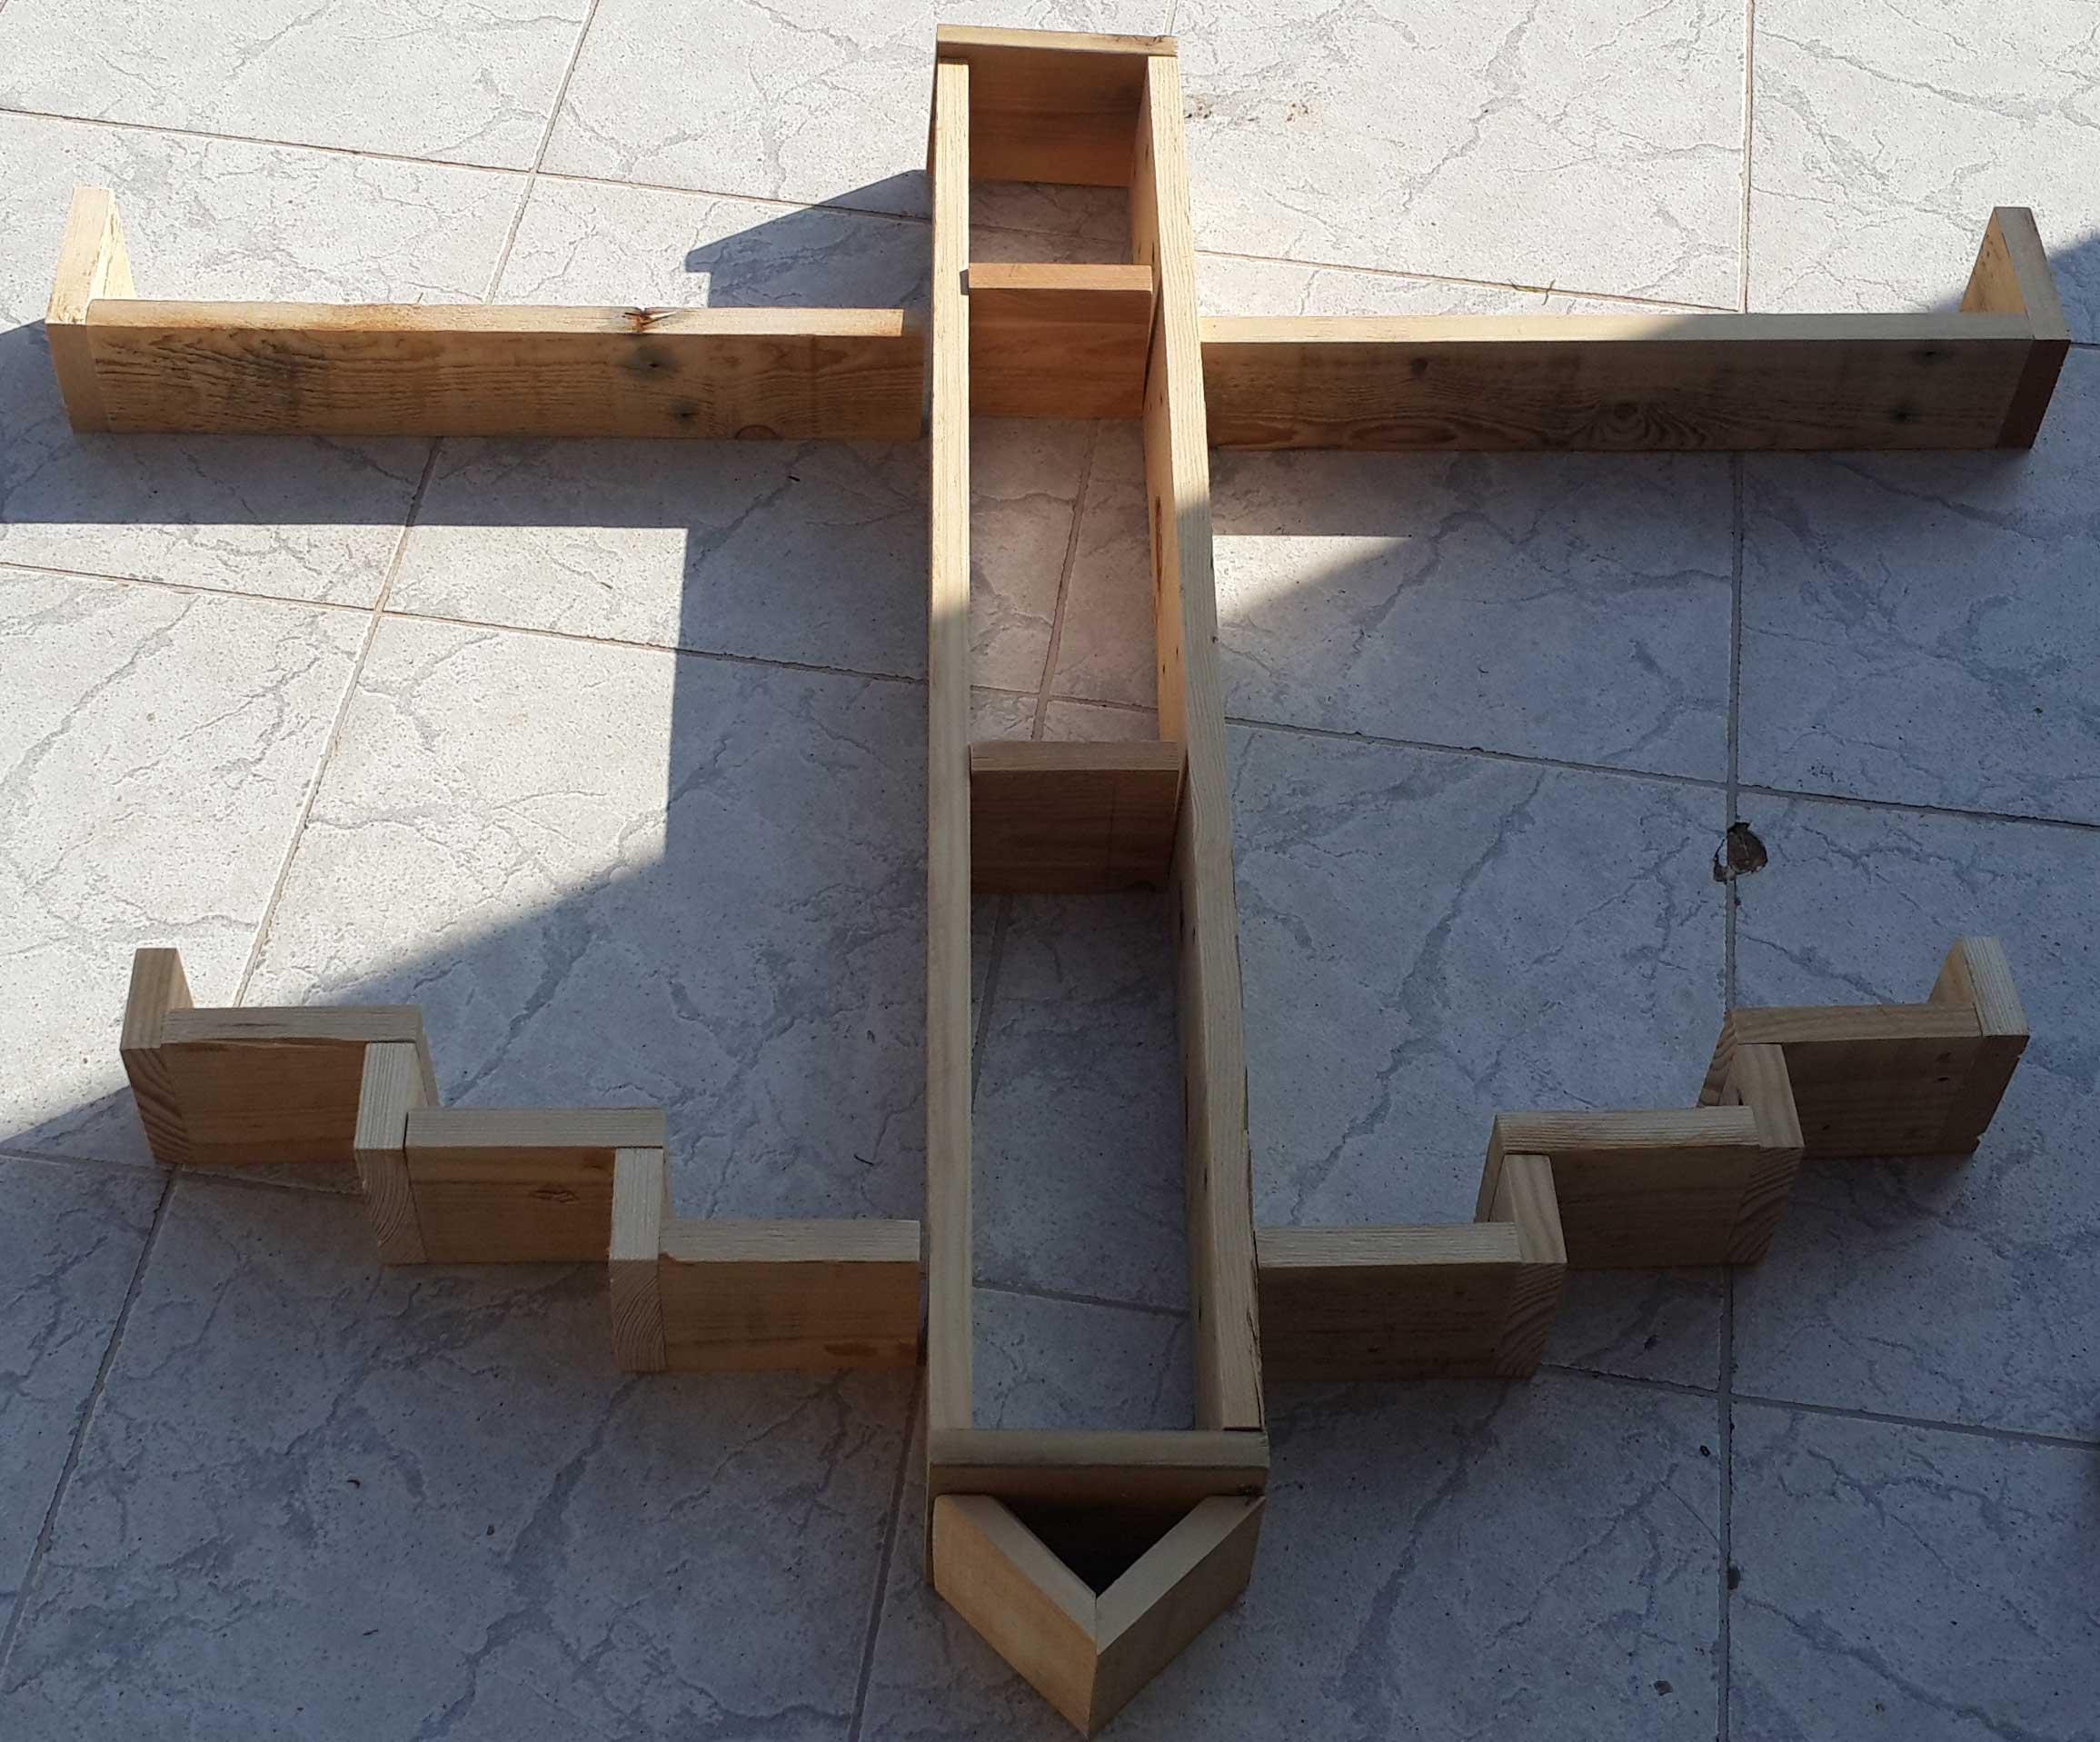
Step 2
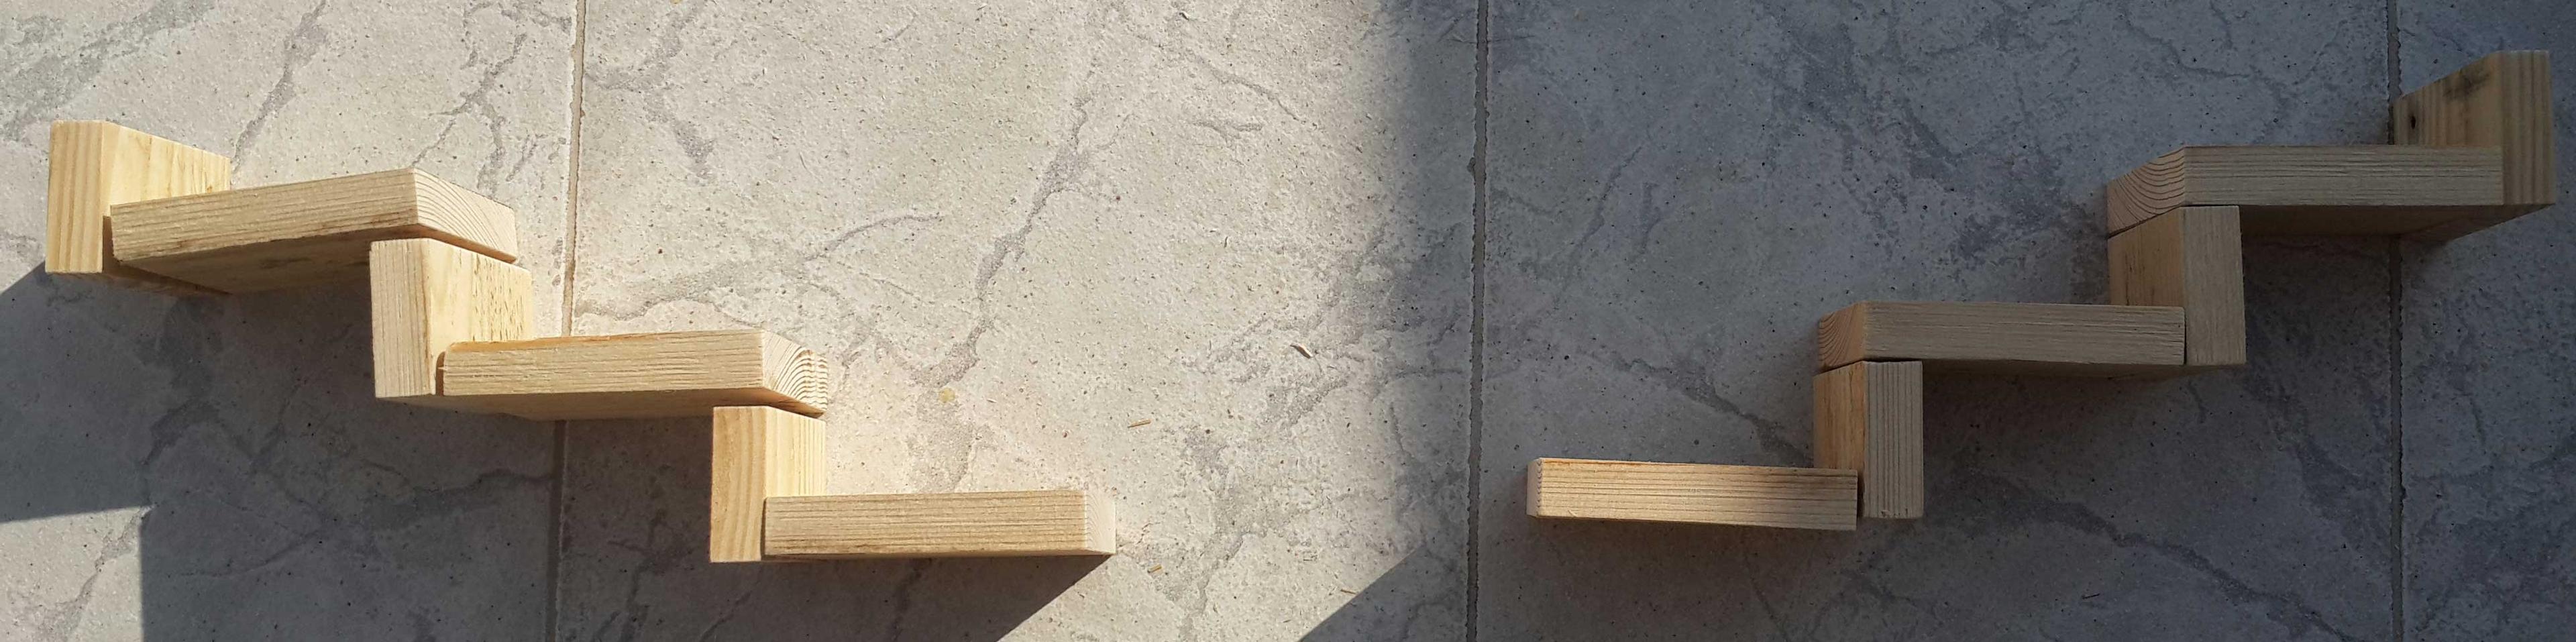
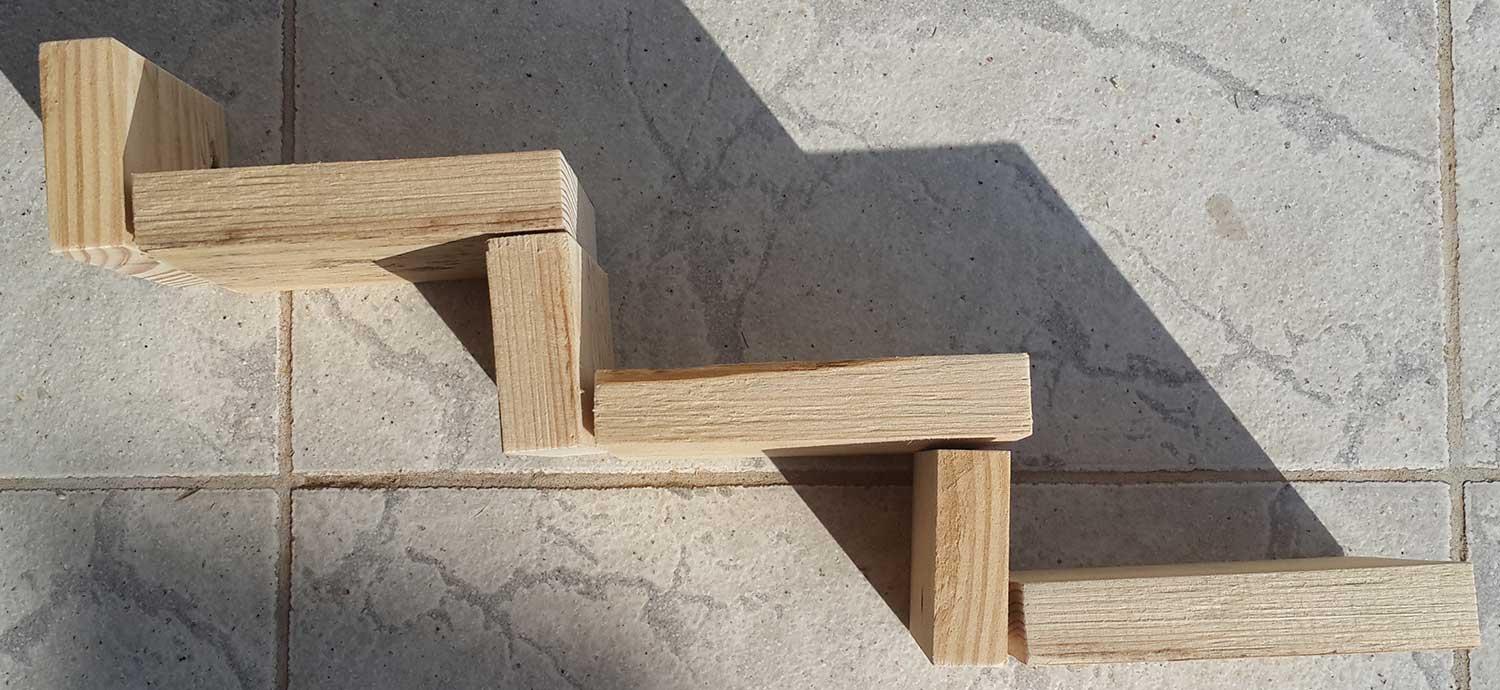
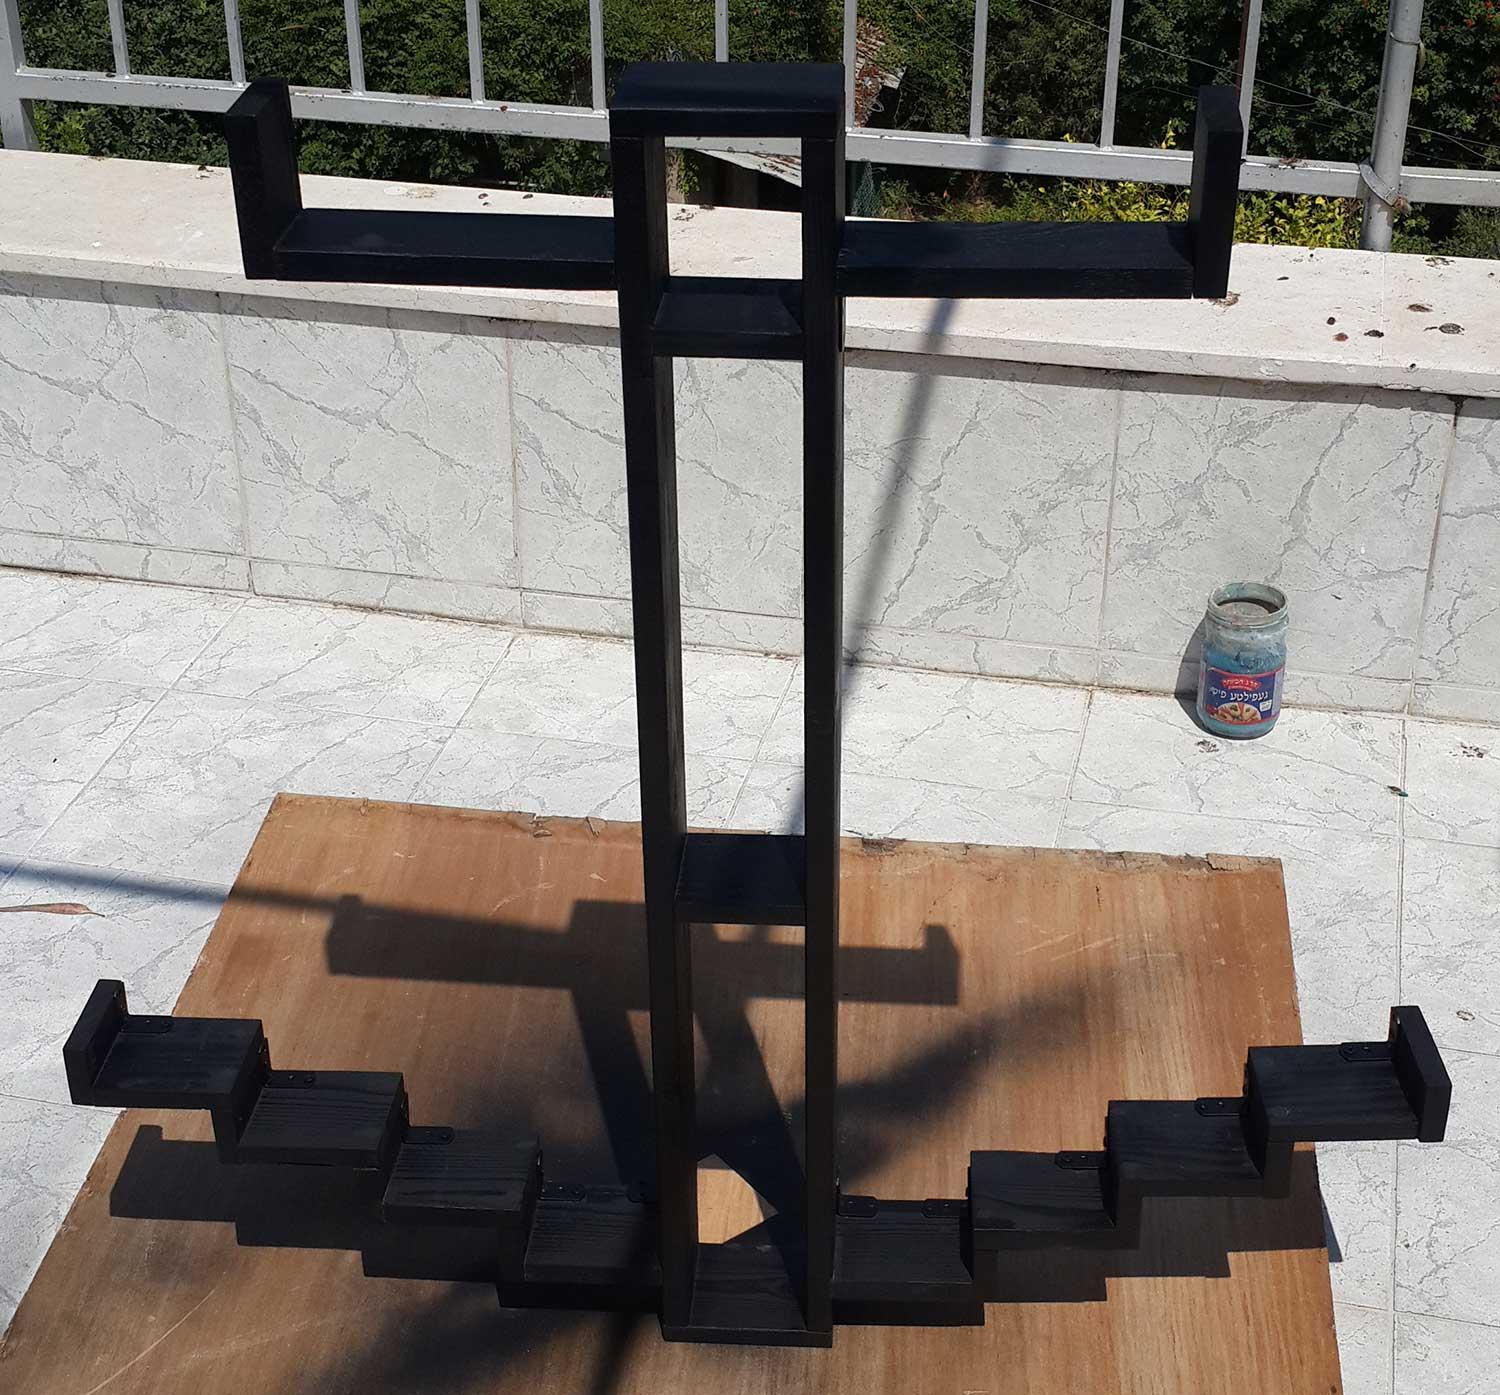
My next step was to make a lot more real looking as you can see, the stocks are much longer than the arms and in any normal anchor it is exactly the opposite. So measure and cut the stocks, extend the arms. Trial #1 was better but the arms looks too short so... Trial #3, looks good. Now I can start working on the spaces in the body it self. I started with the top and wanted to make sure that even a double shot class will have a place there. Trial #2
 Trial #3
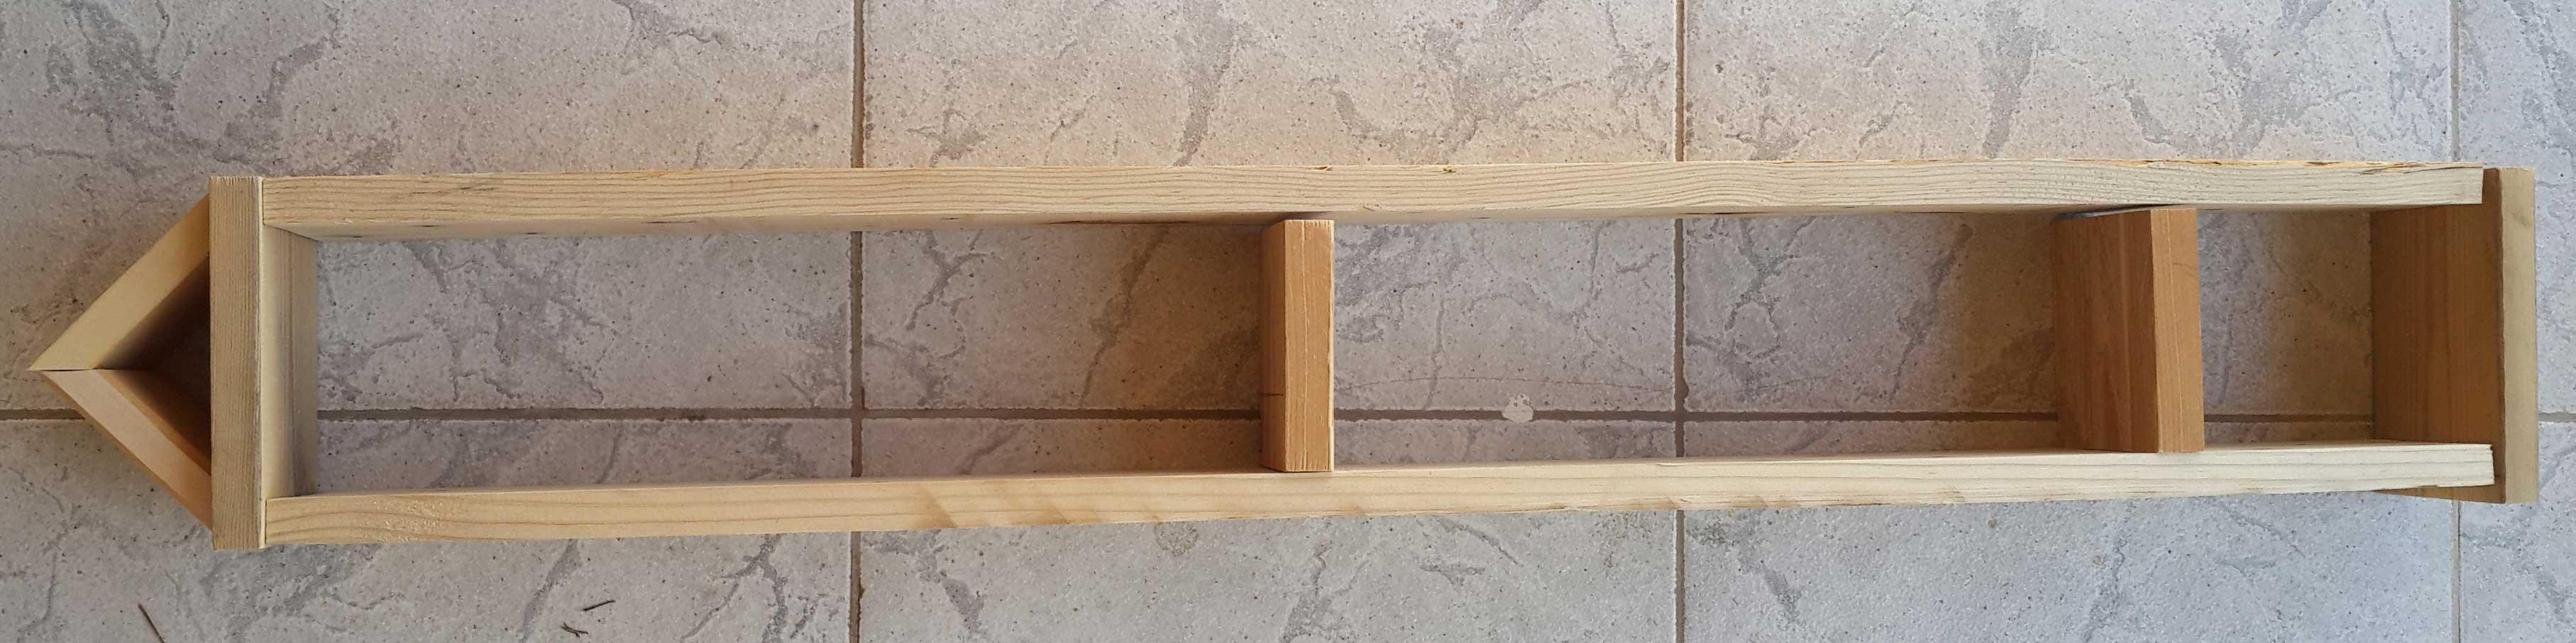
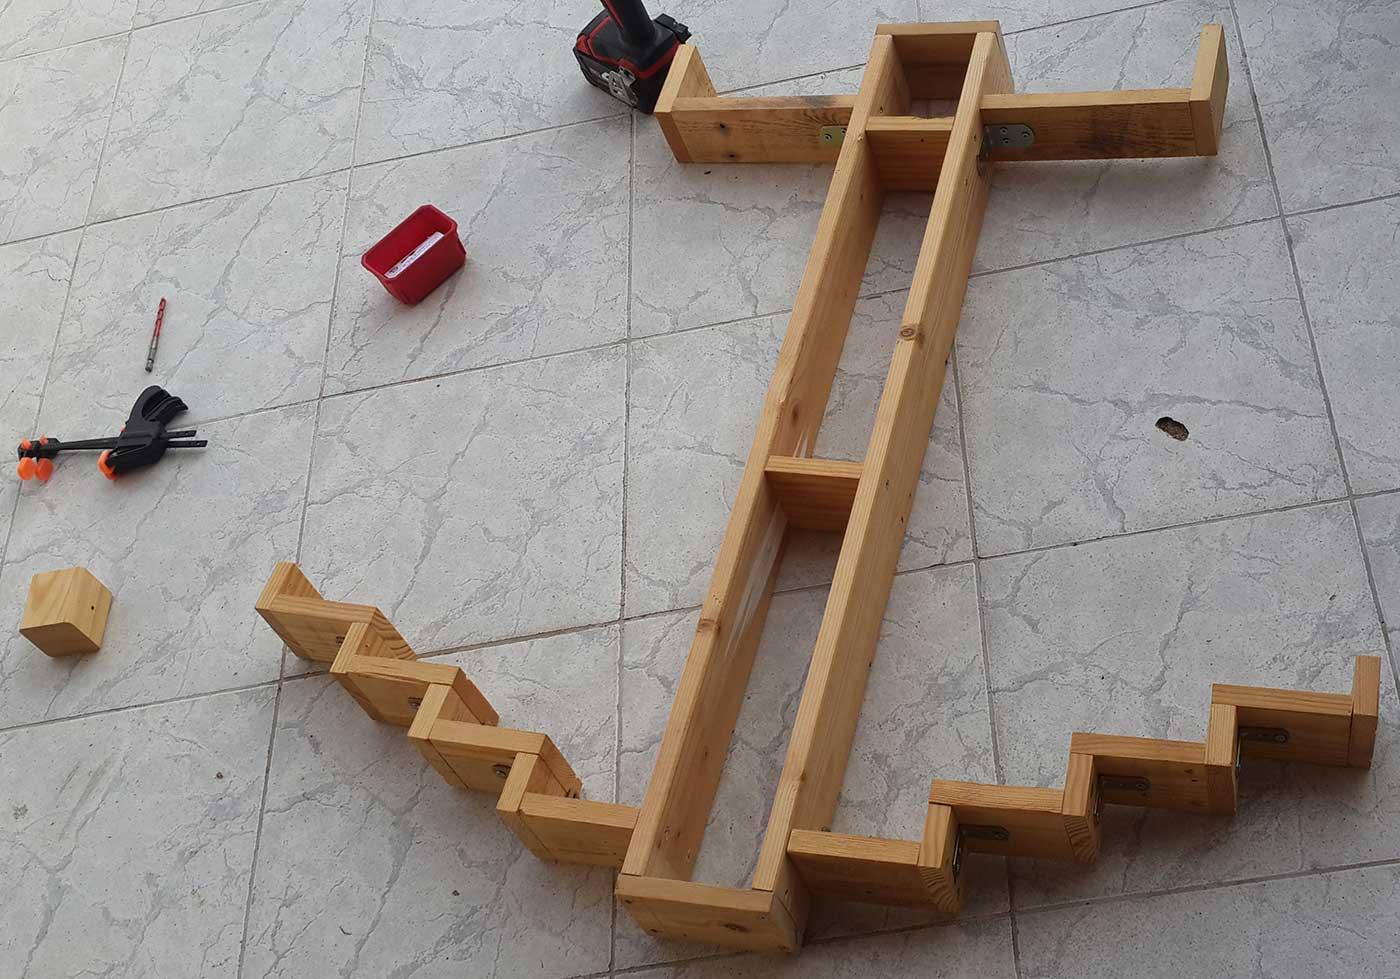
 Measuring the anchor body shelves, trying to decides the size of the box
Step 3
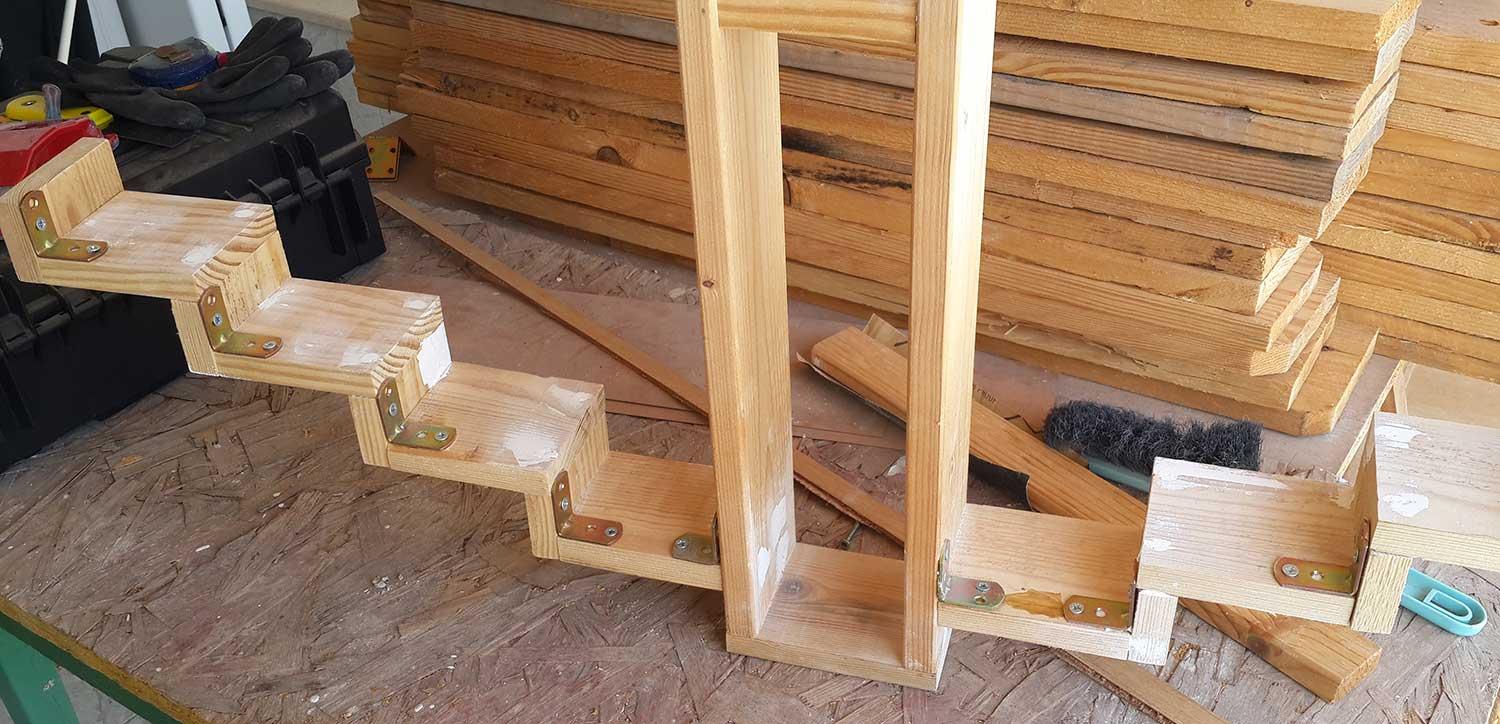
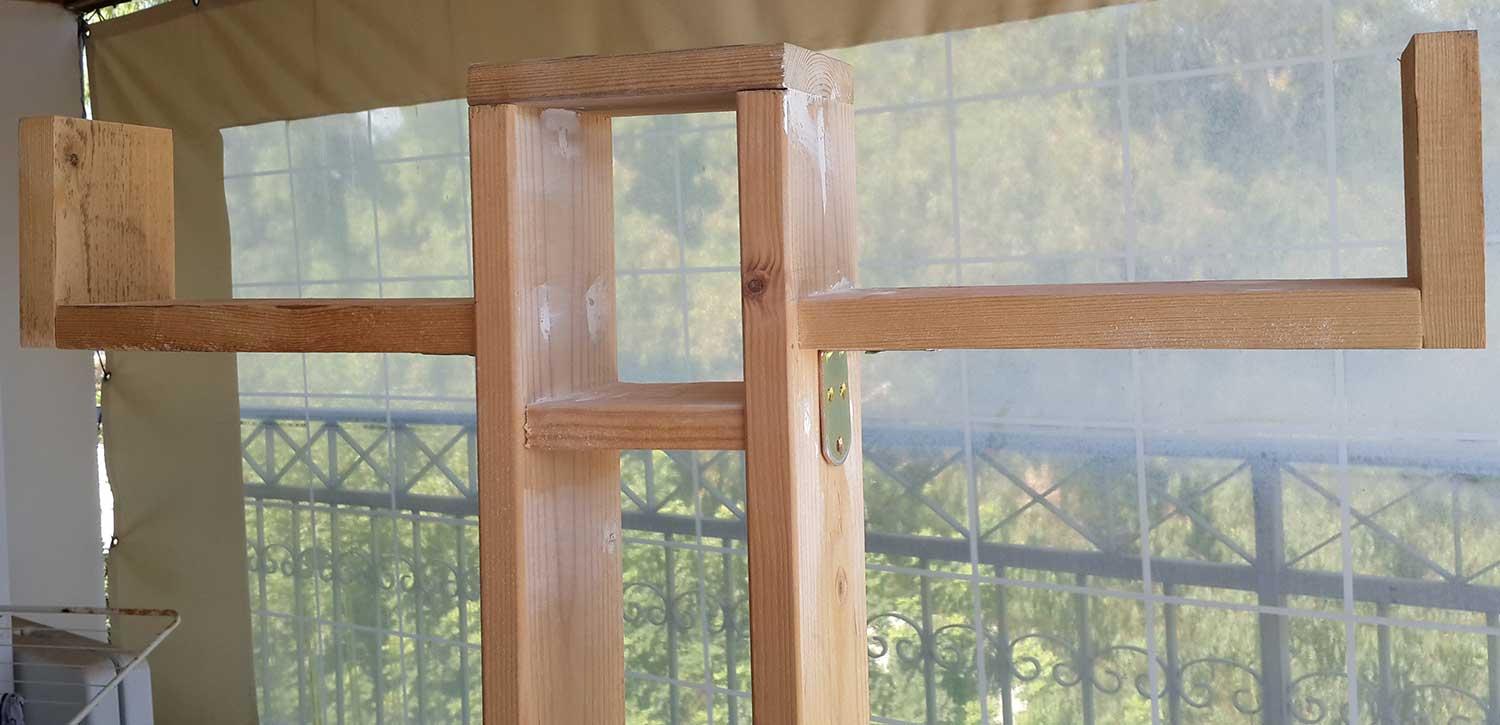
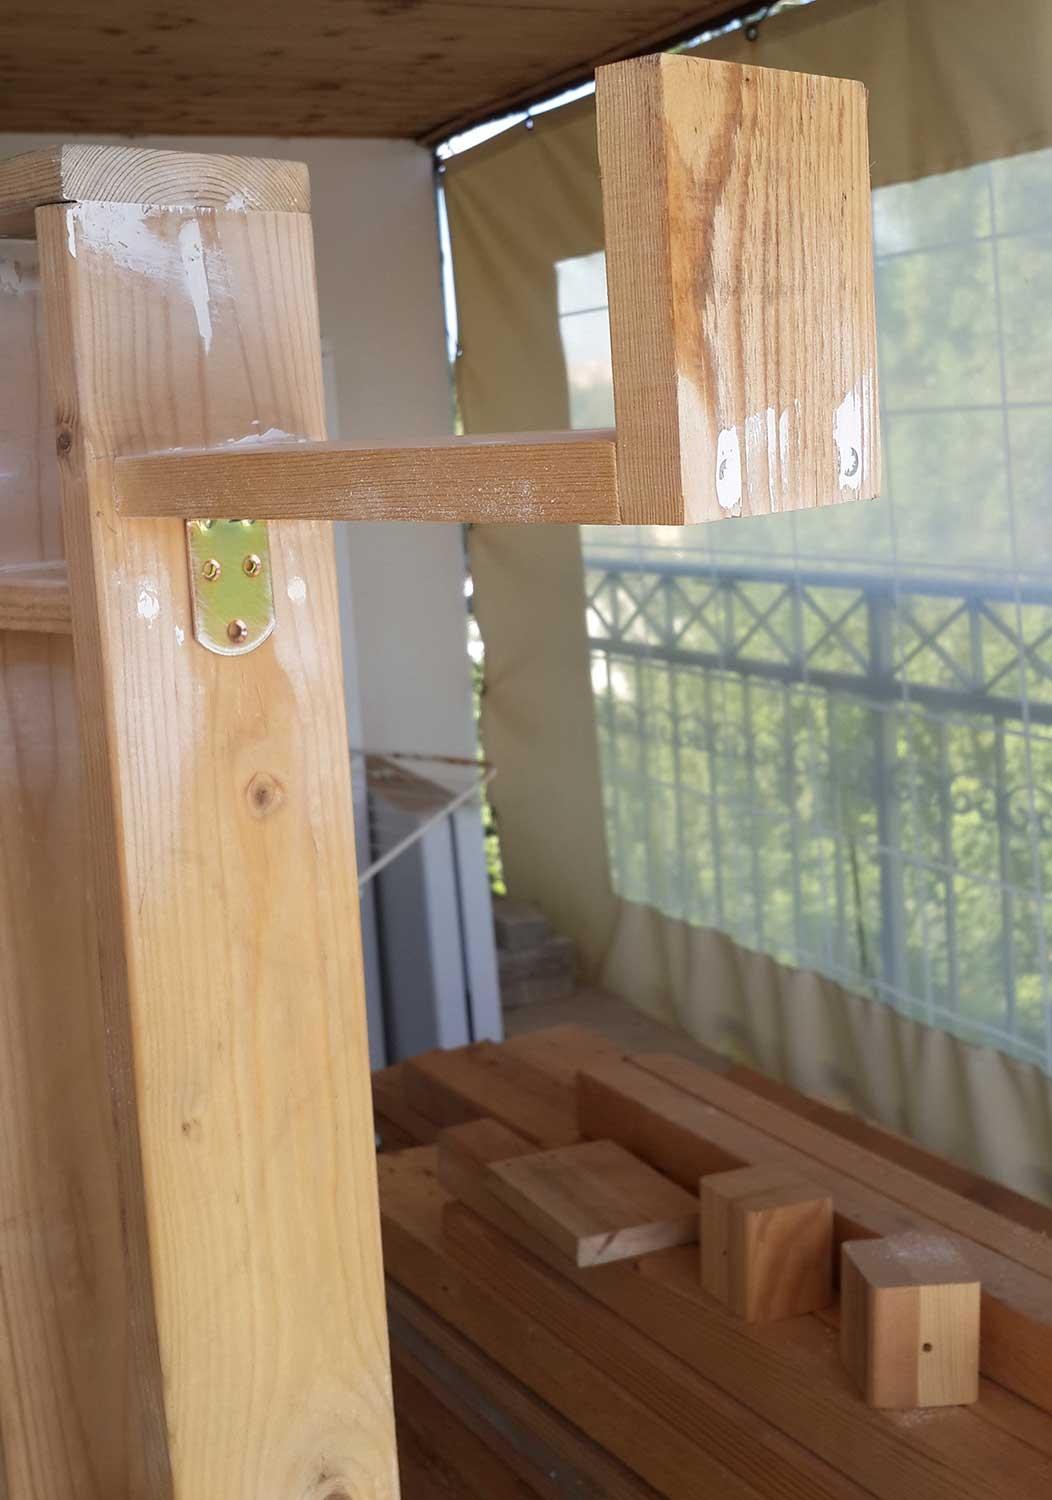
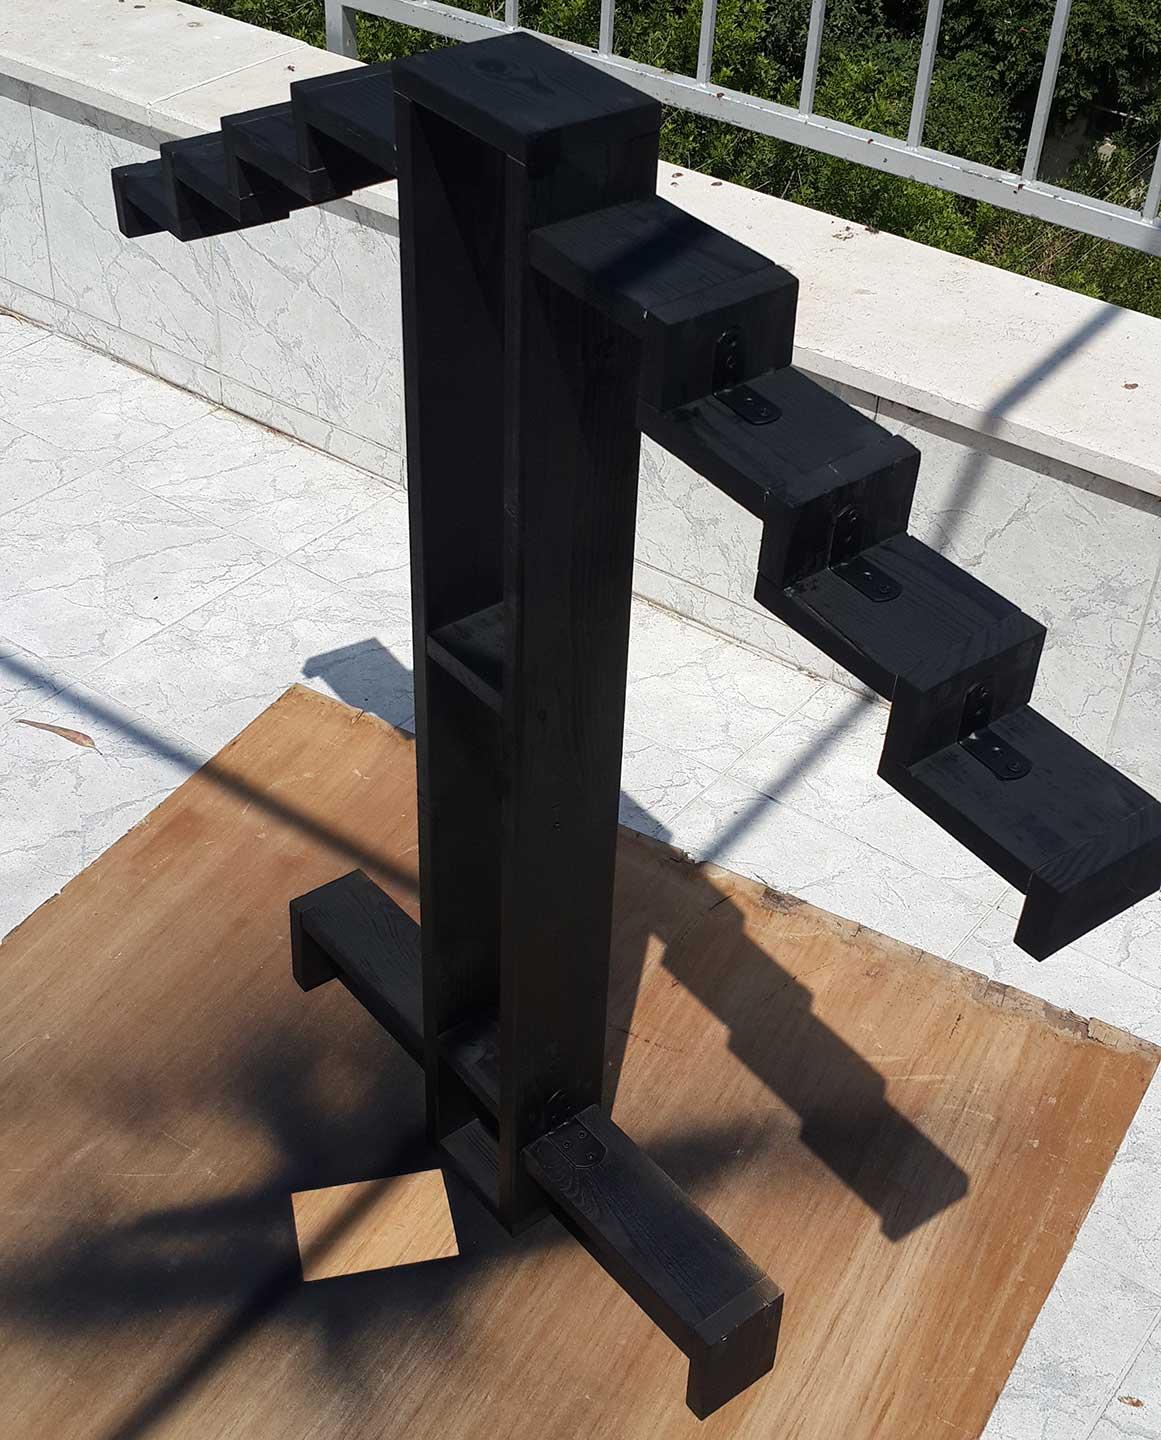
Assemble the anchor and connecting everything to its place. I added a metal connector to strength the connection of the arms as the screws only won`t hold the weight.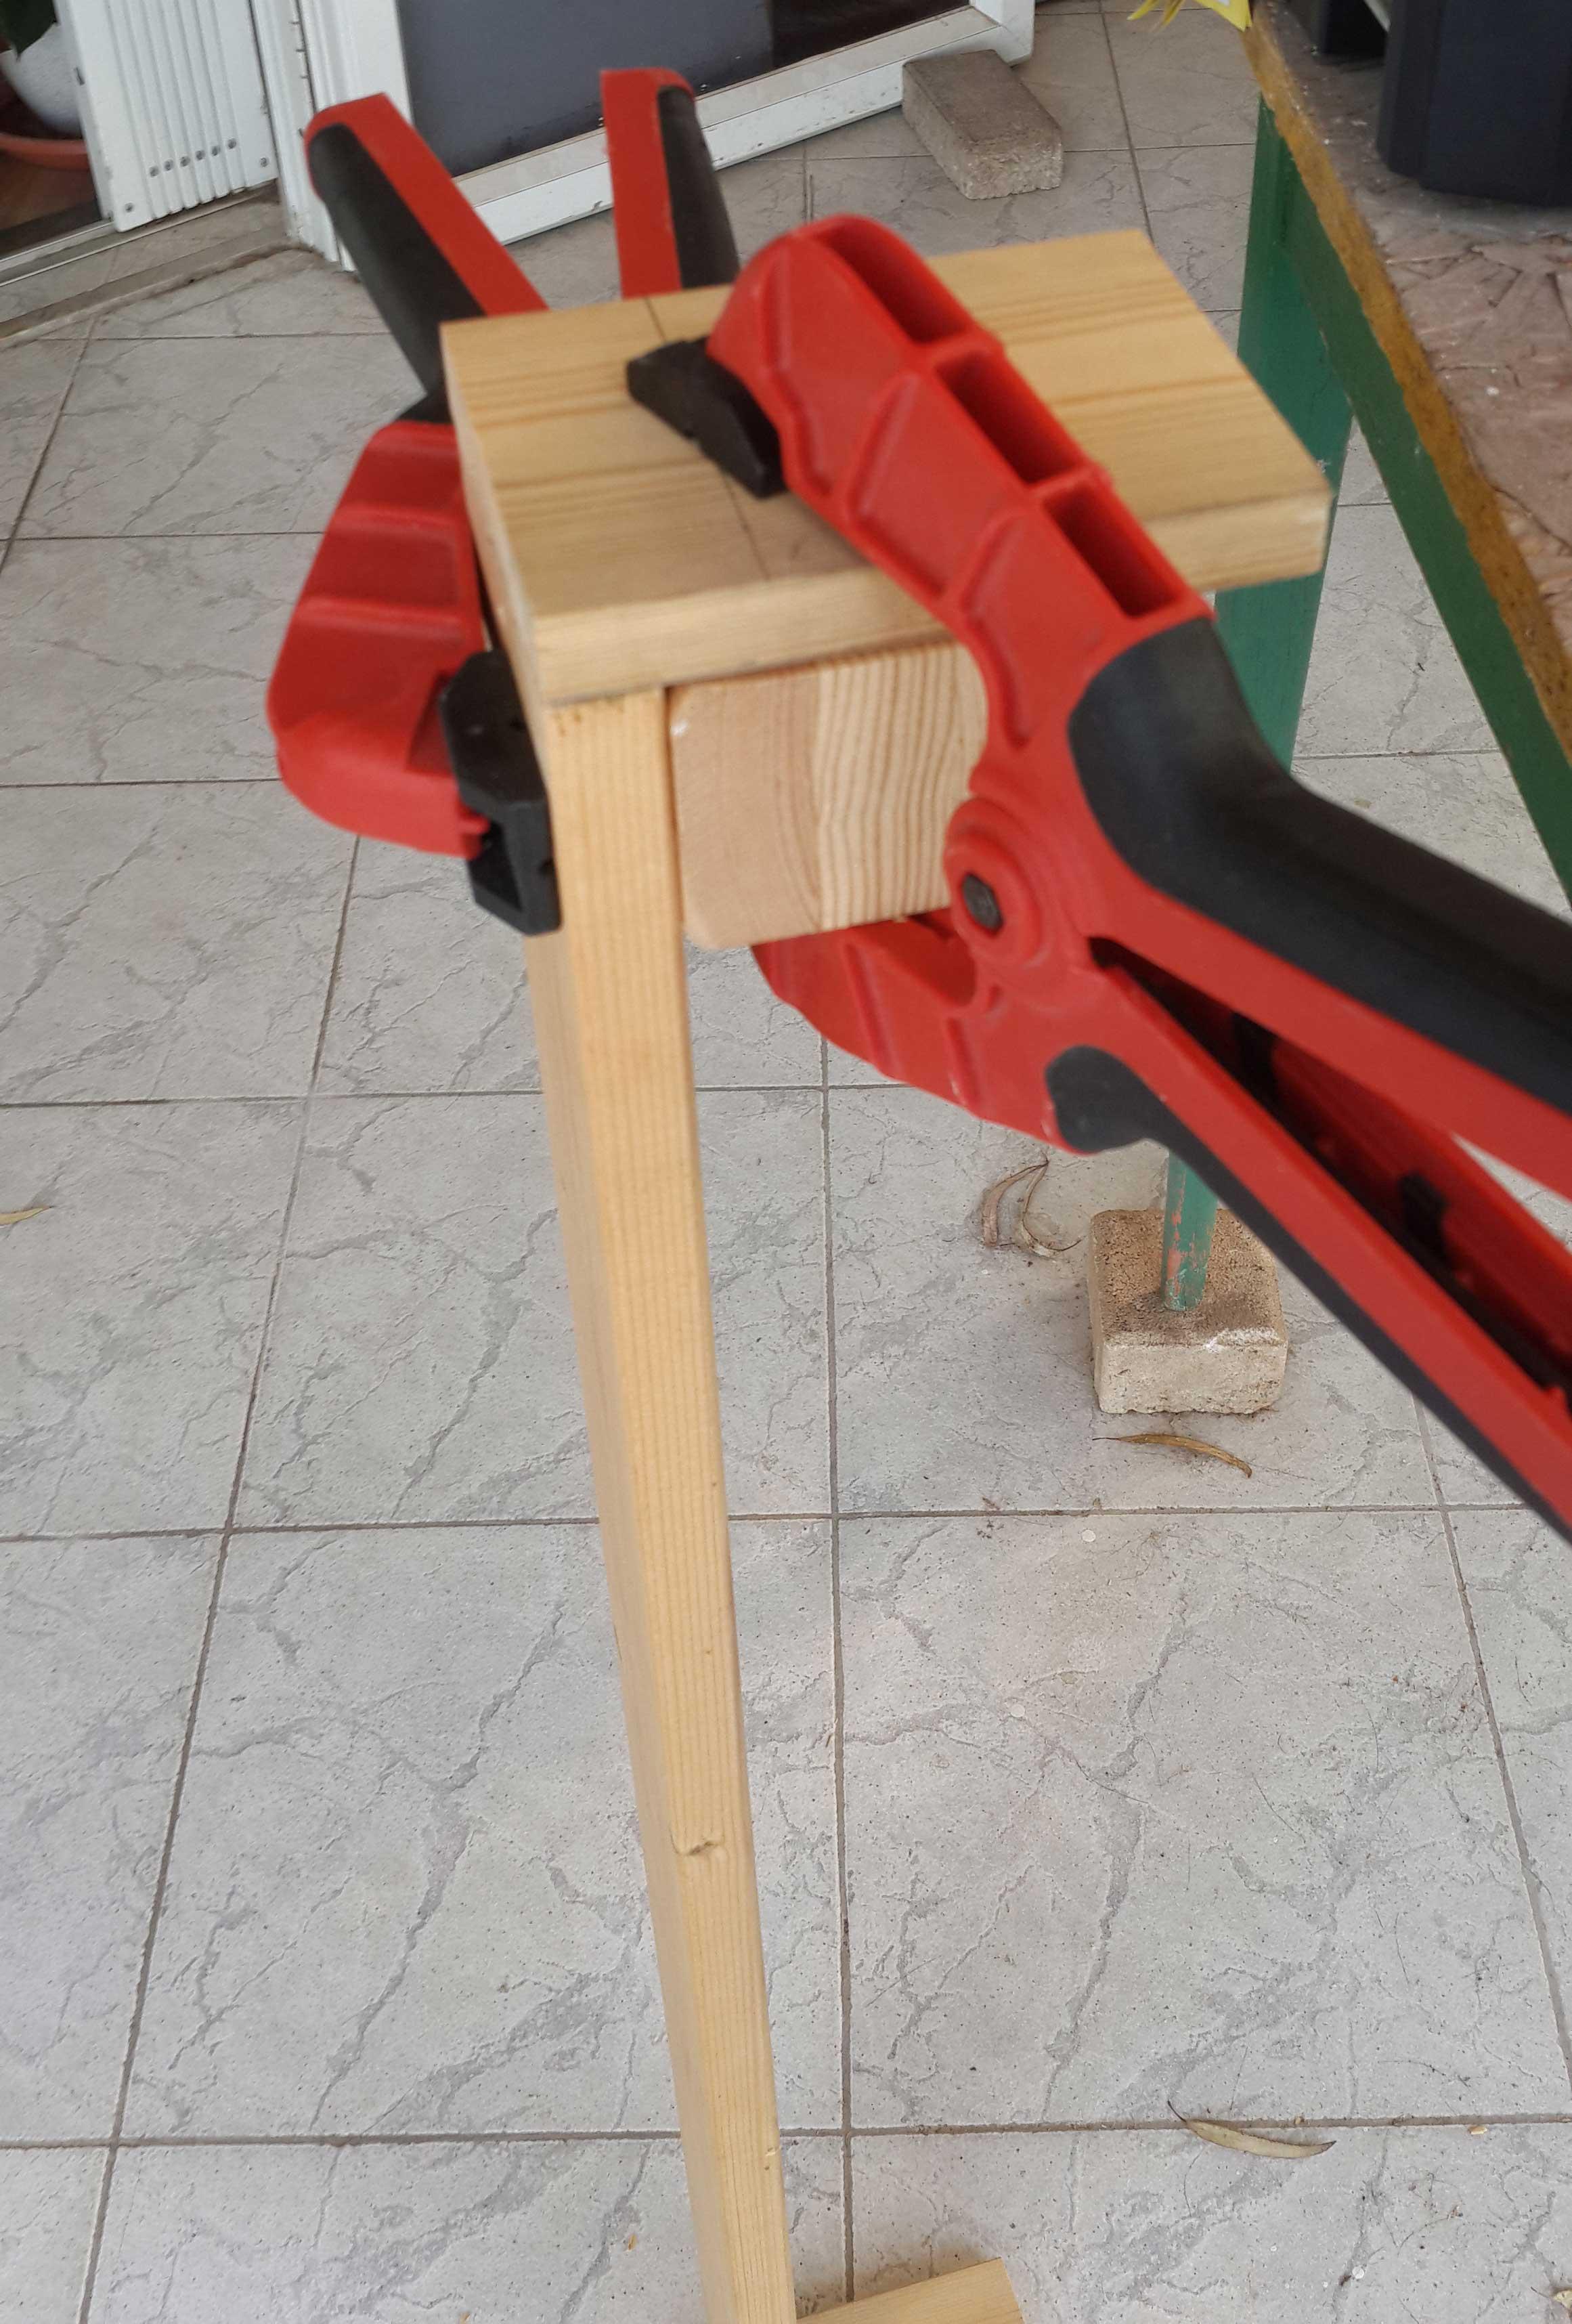

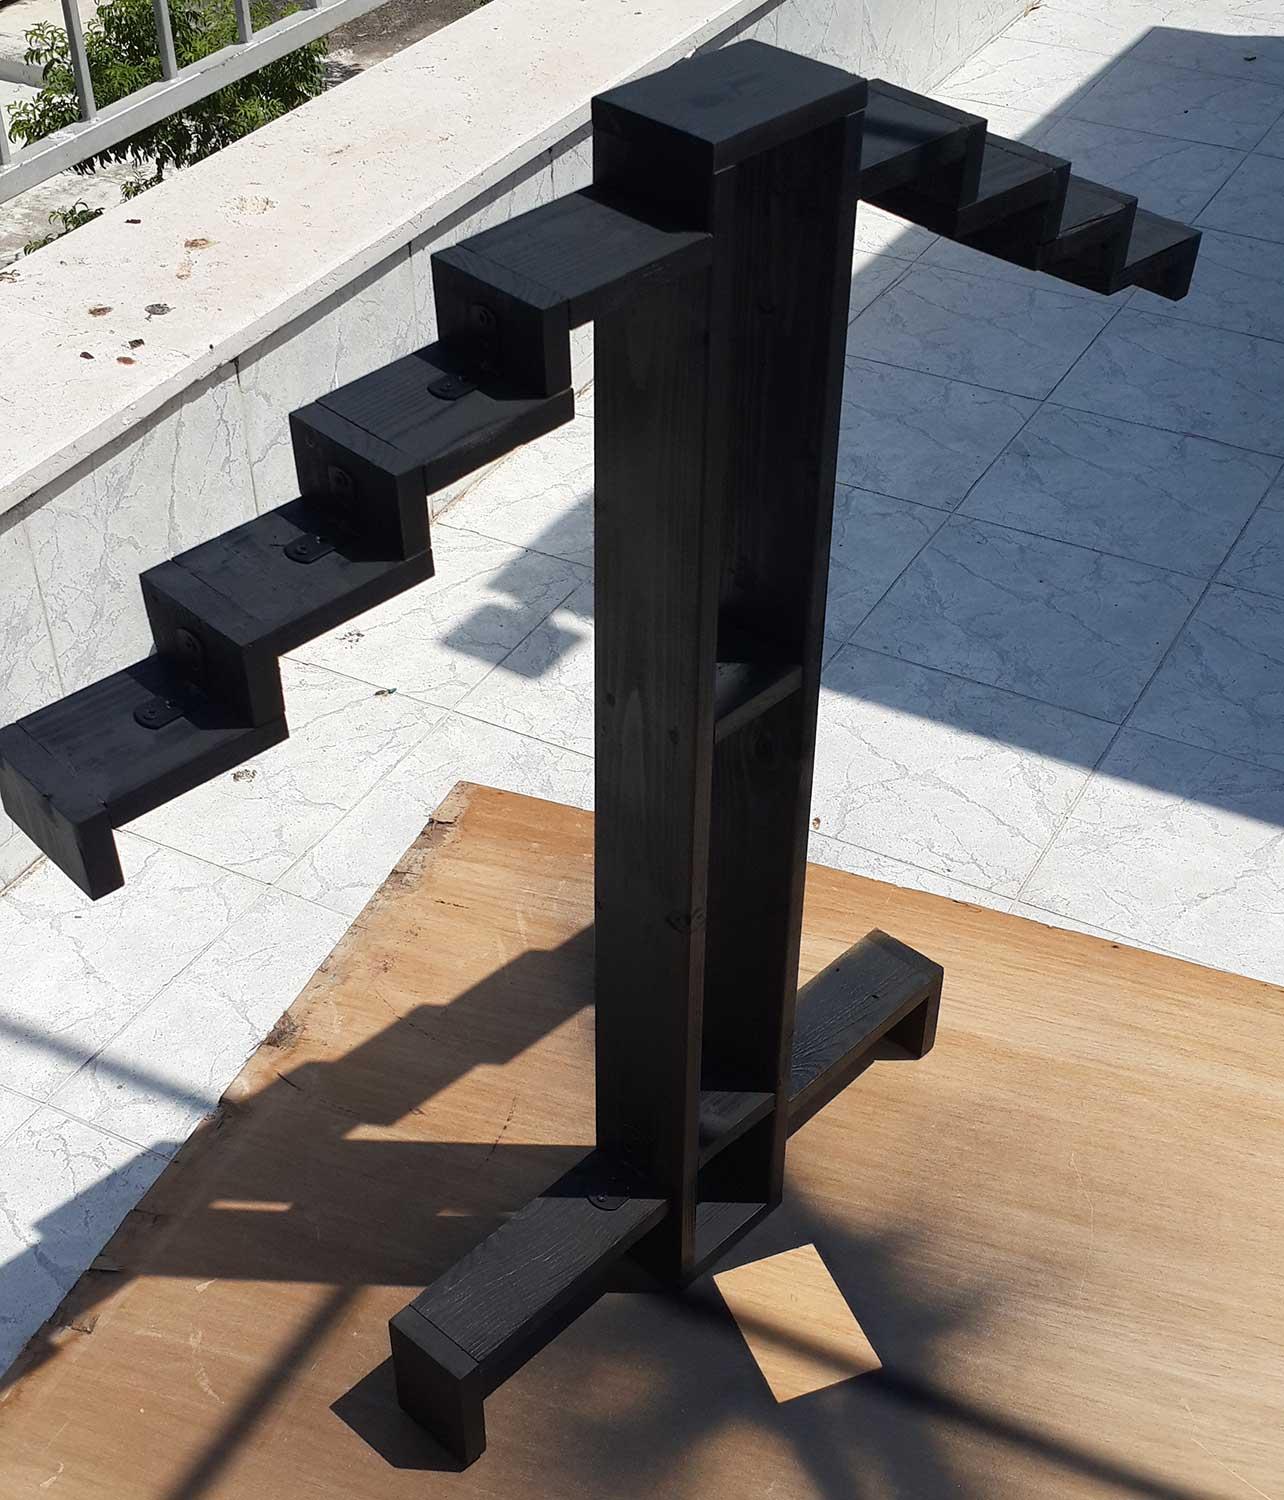
Step 4
Filling & Painting.It was during this process that I found out that the wood I used for the body was in a very bad shape. I first tried to fix few things but than saw it will take too long to even try. Easier to get new wood for the sides of the body but the new wood was little bigger. No worries, little changes of place for the stocks and more space for bigger whiskey bottles and the re-assembly is done. Gaps and cracks are filled up and sanded quickly and ready for painting.
Conclusions & Remarks
* Wood Condition
When working with a re-usable wood from pallets or anything, check it few times before starting to work with it so you won`t find cracks that runs a cross the wood like I did or weird spots on the wood (still not sure what it was but the woods where in the dumb as soon as I saw it).* Painting
Always try the paint on a small piece of wood (same kind of wood) that you are planning to paint. You can`t predict how the paint will look (wet paint and dry paint may have a difference look so wait for the paint to dry) and how the wood will react to it.