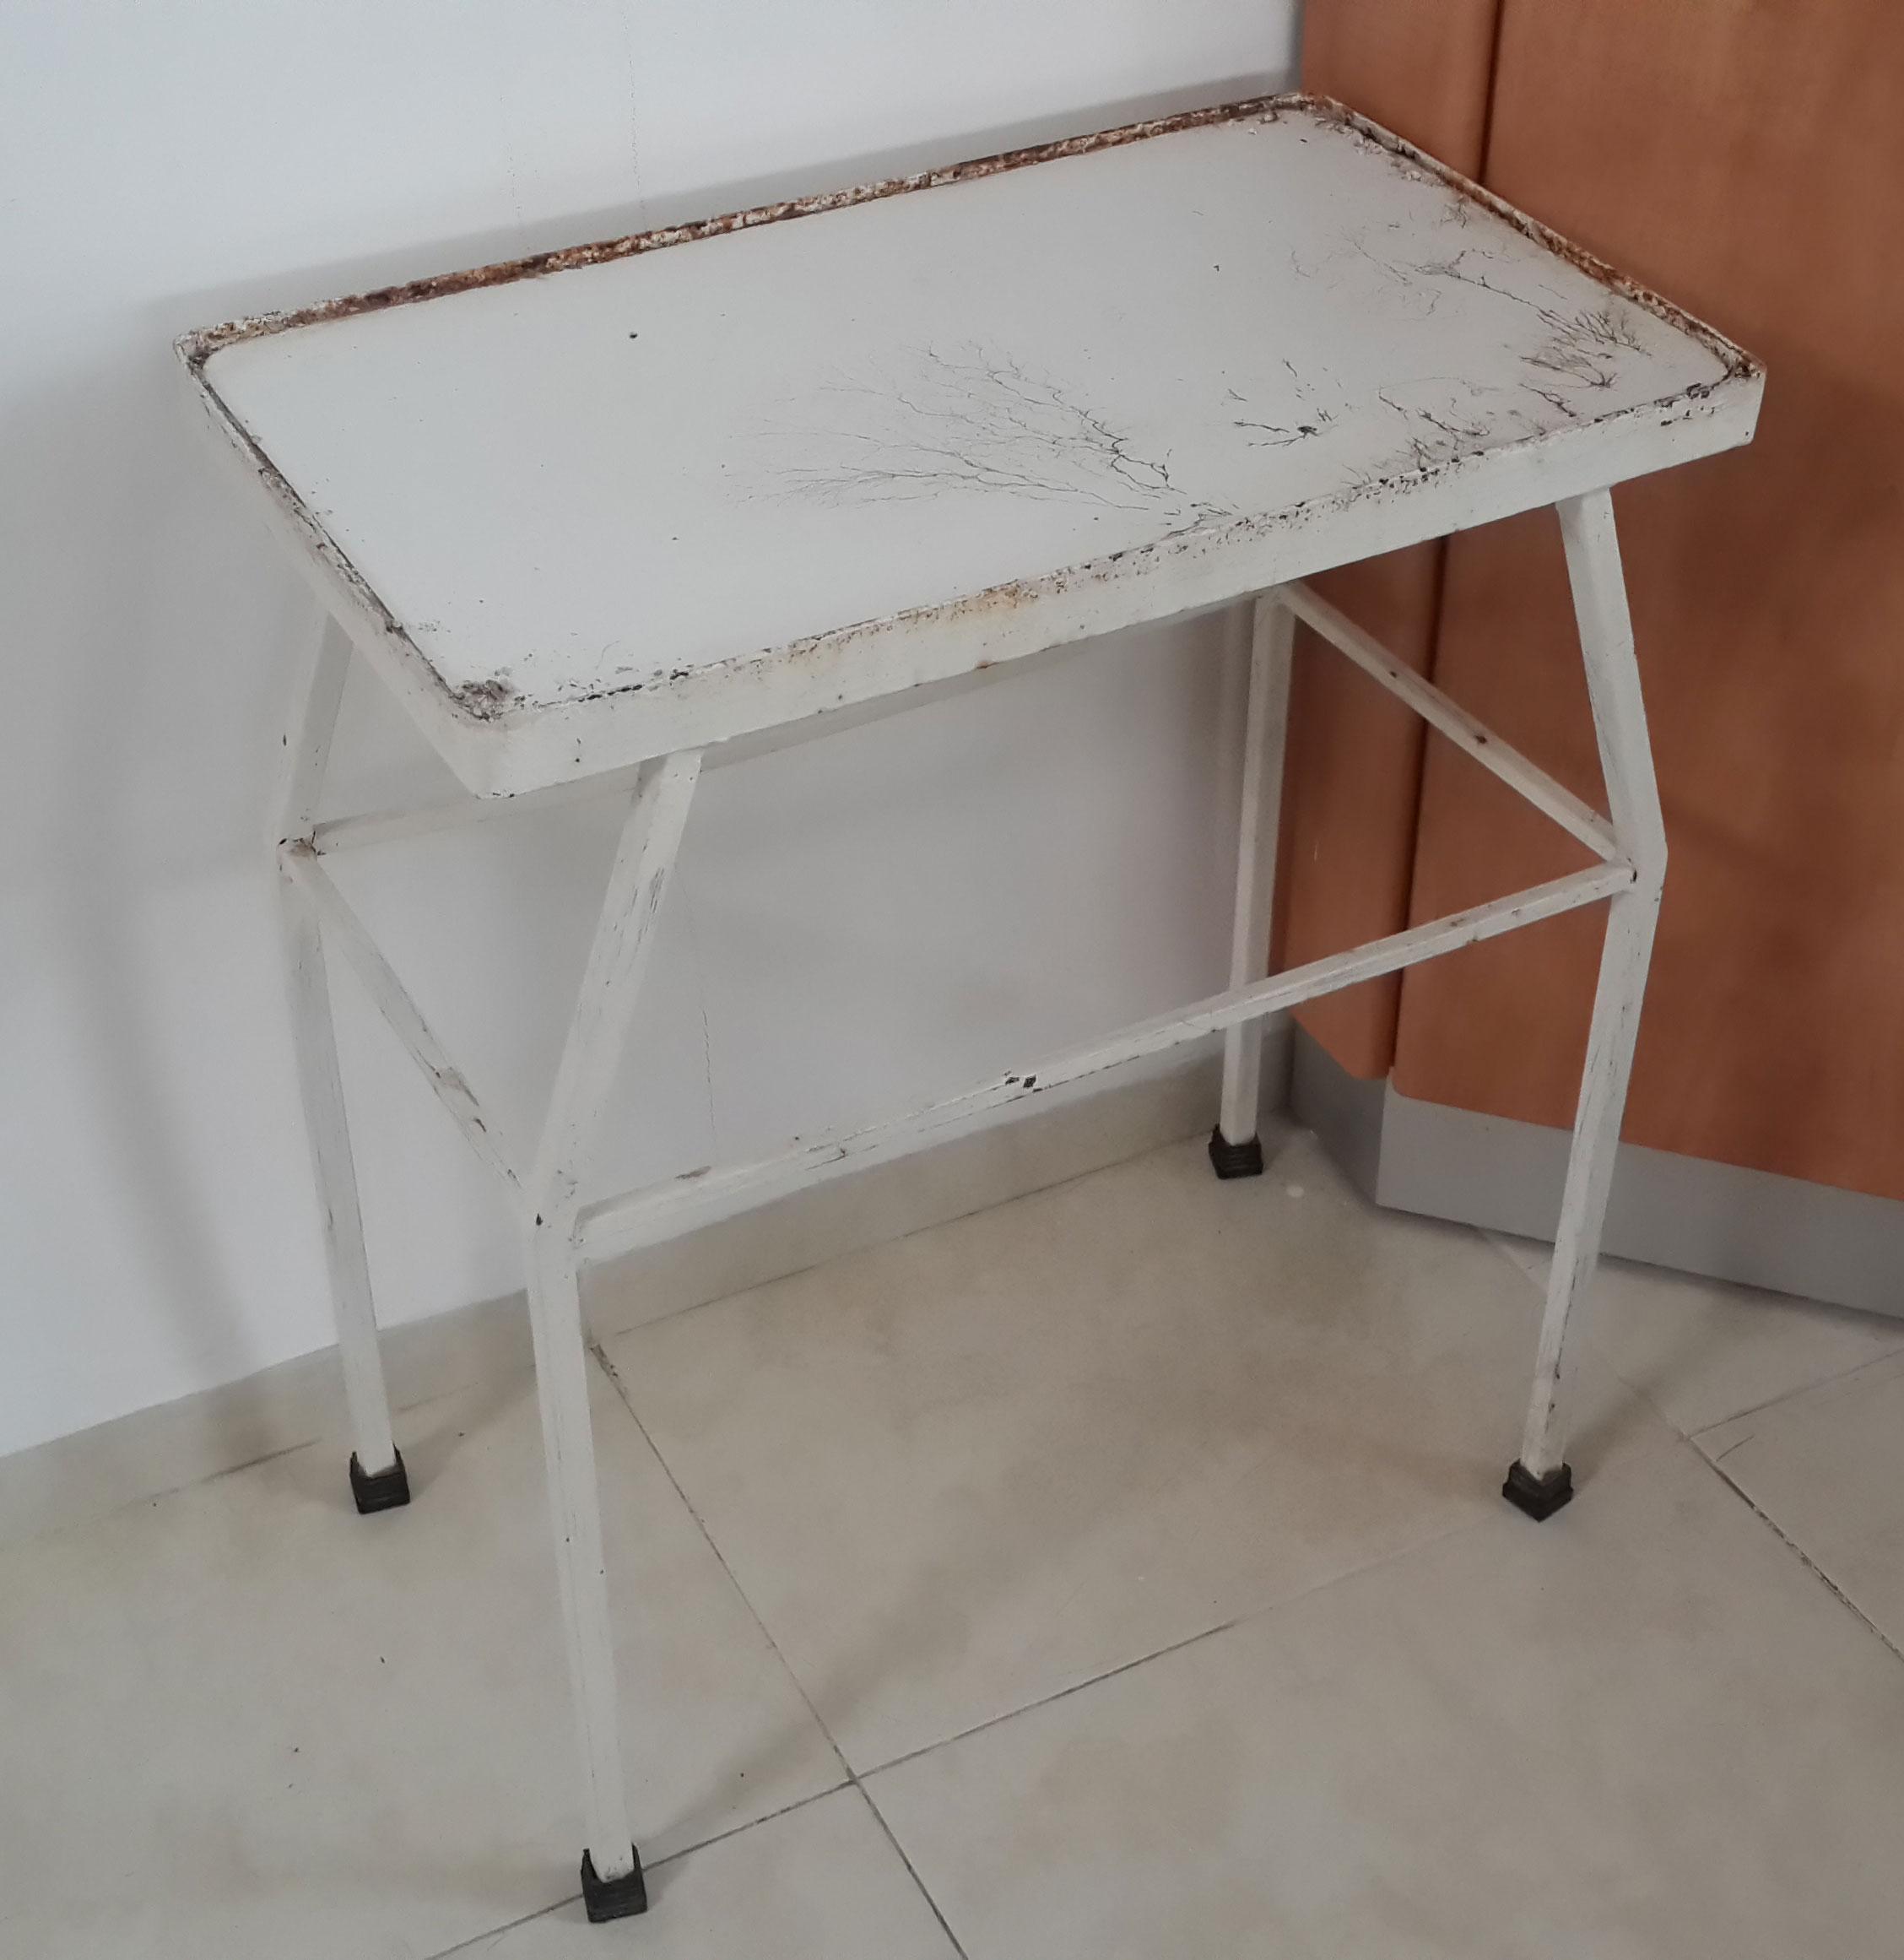
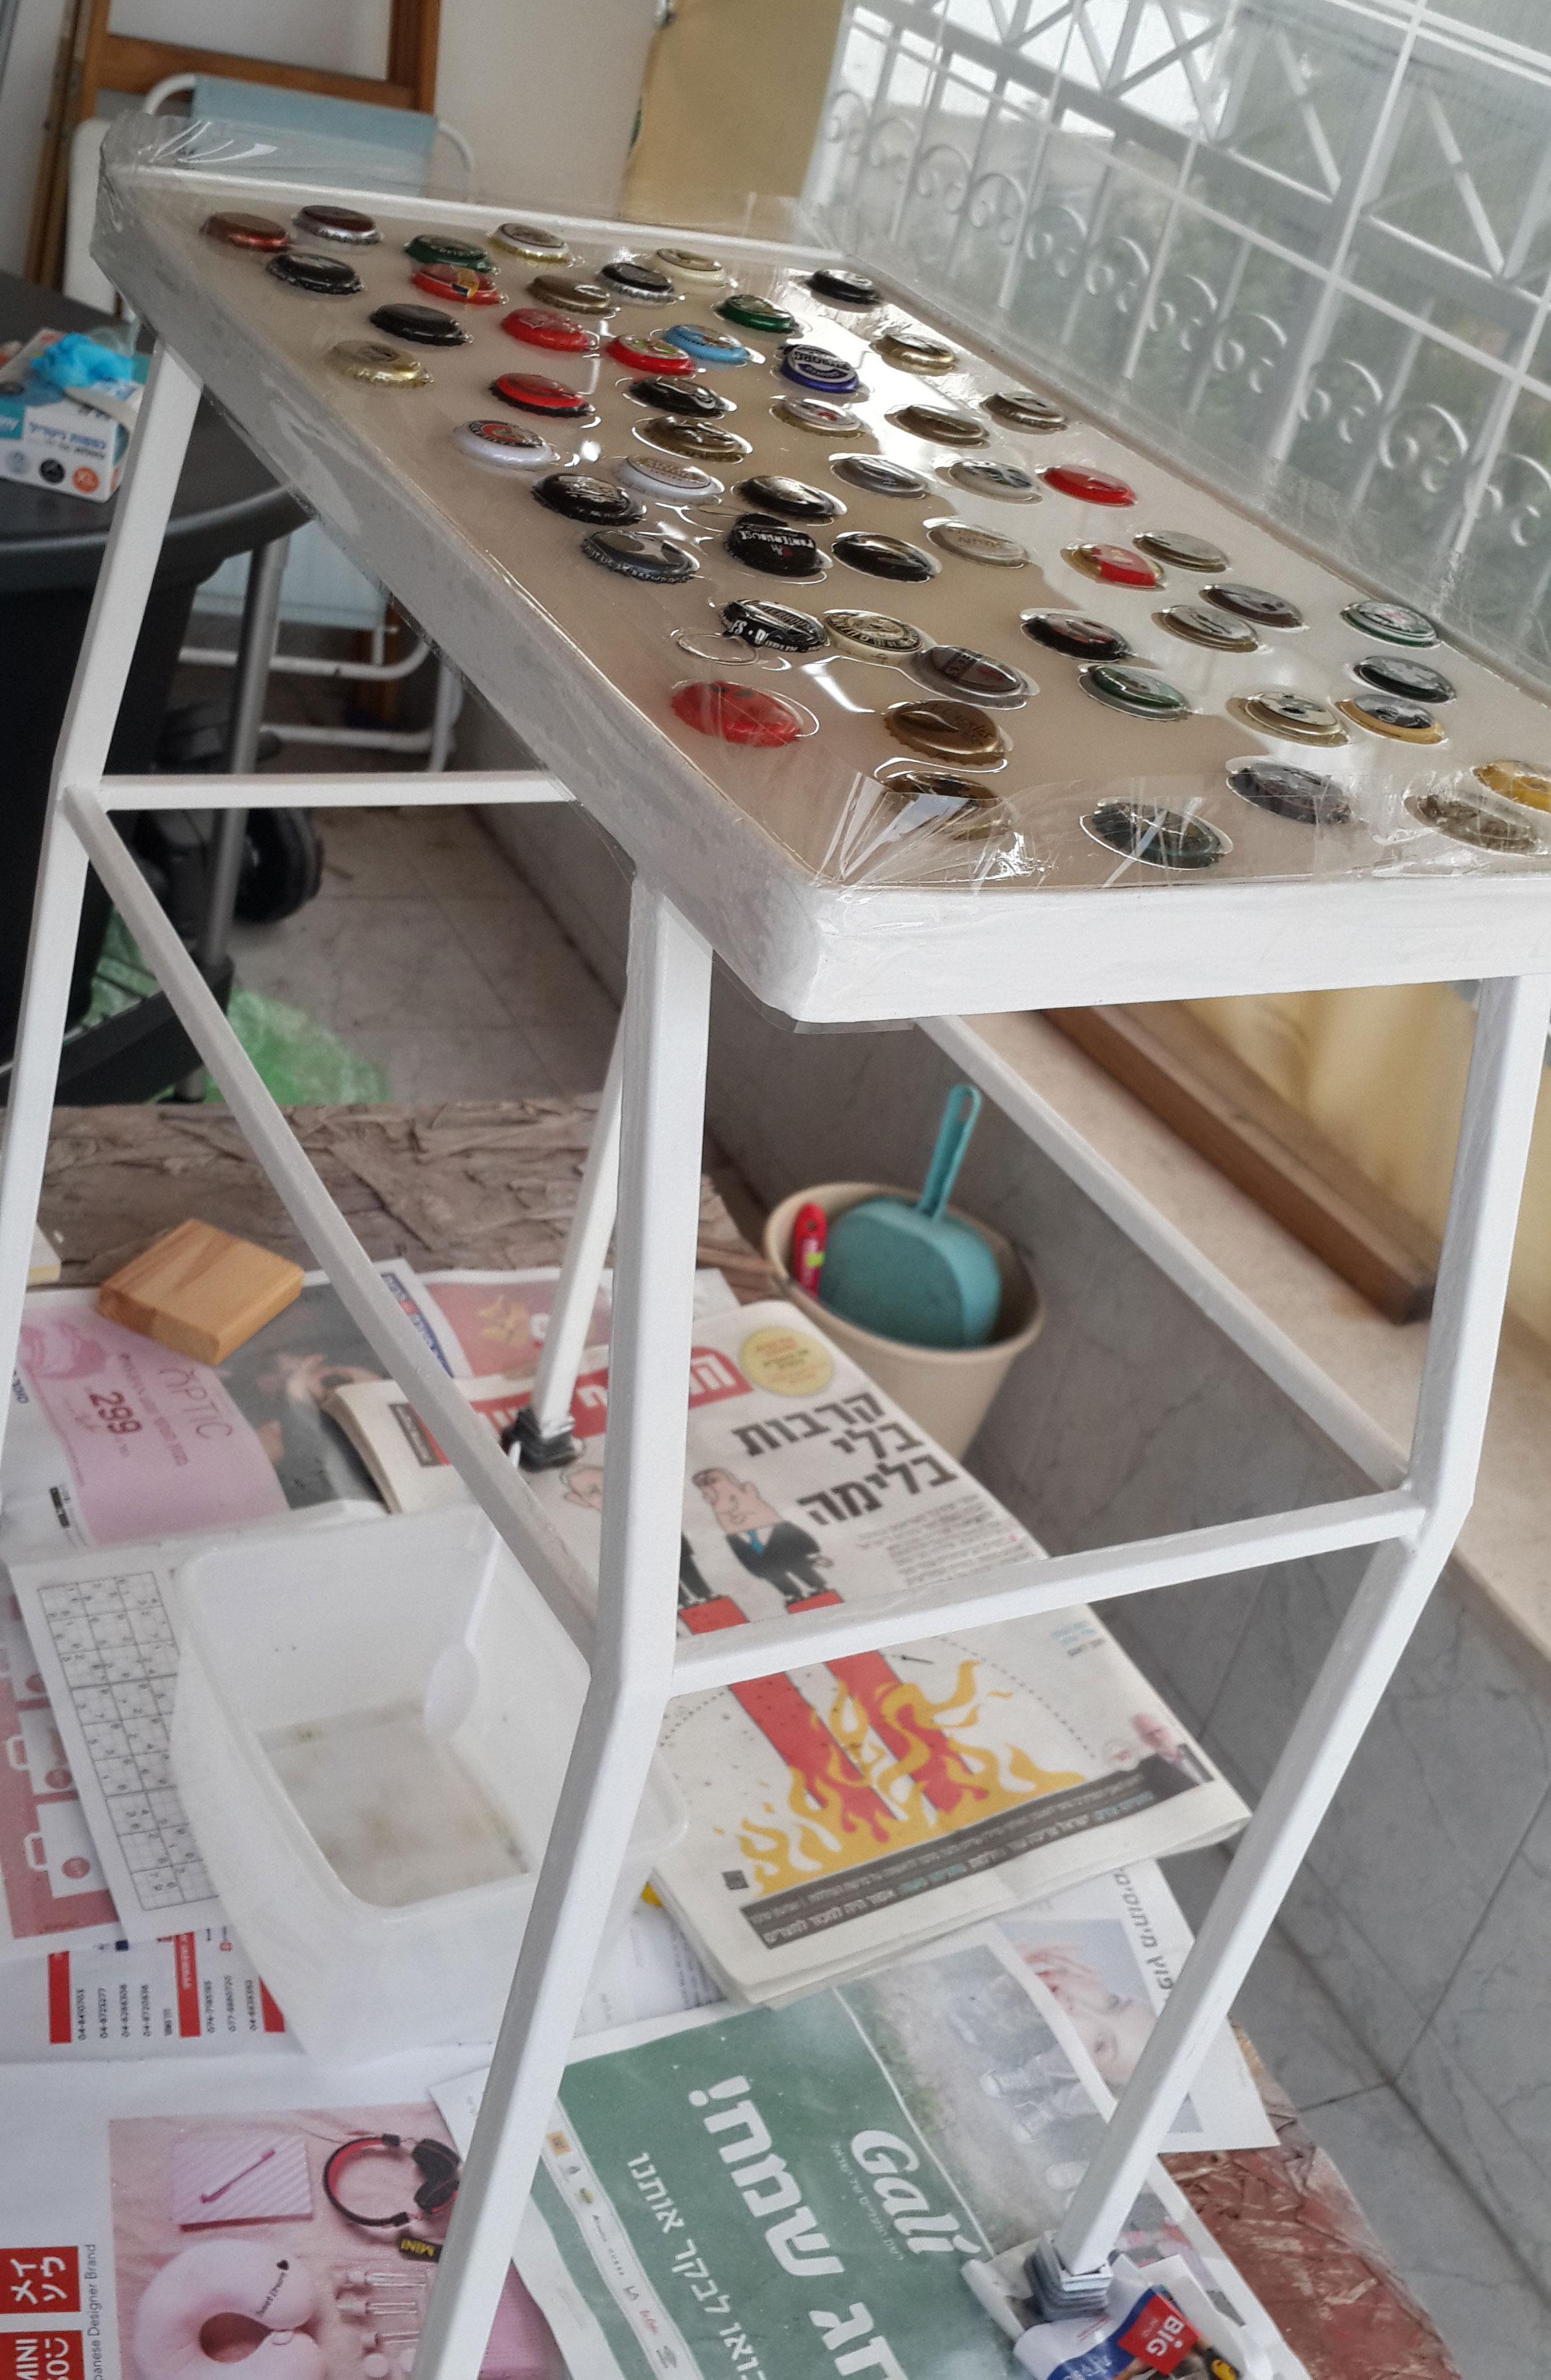
Tea Table
The last owner of the place we bought left us this table in a state that it cannot be used. We put it outside of our door for many months (about 30 months) before I even started to think what to do with it. I always said that it should be use to put some plant on it and be done with it until one day I decided I am tired of seeing it like that and I will use it to learn how to work with resin and use my extra beer bottle caps (instead of letting them stay in the bag and collect dust).
Time:
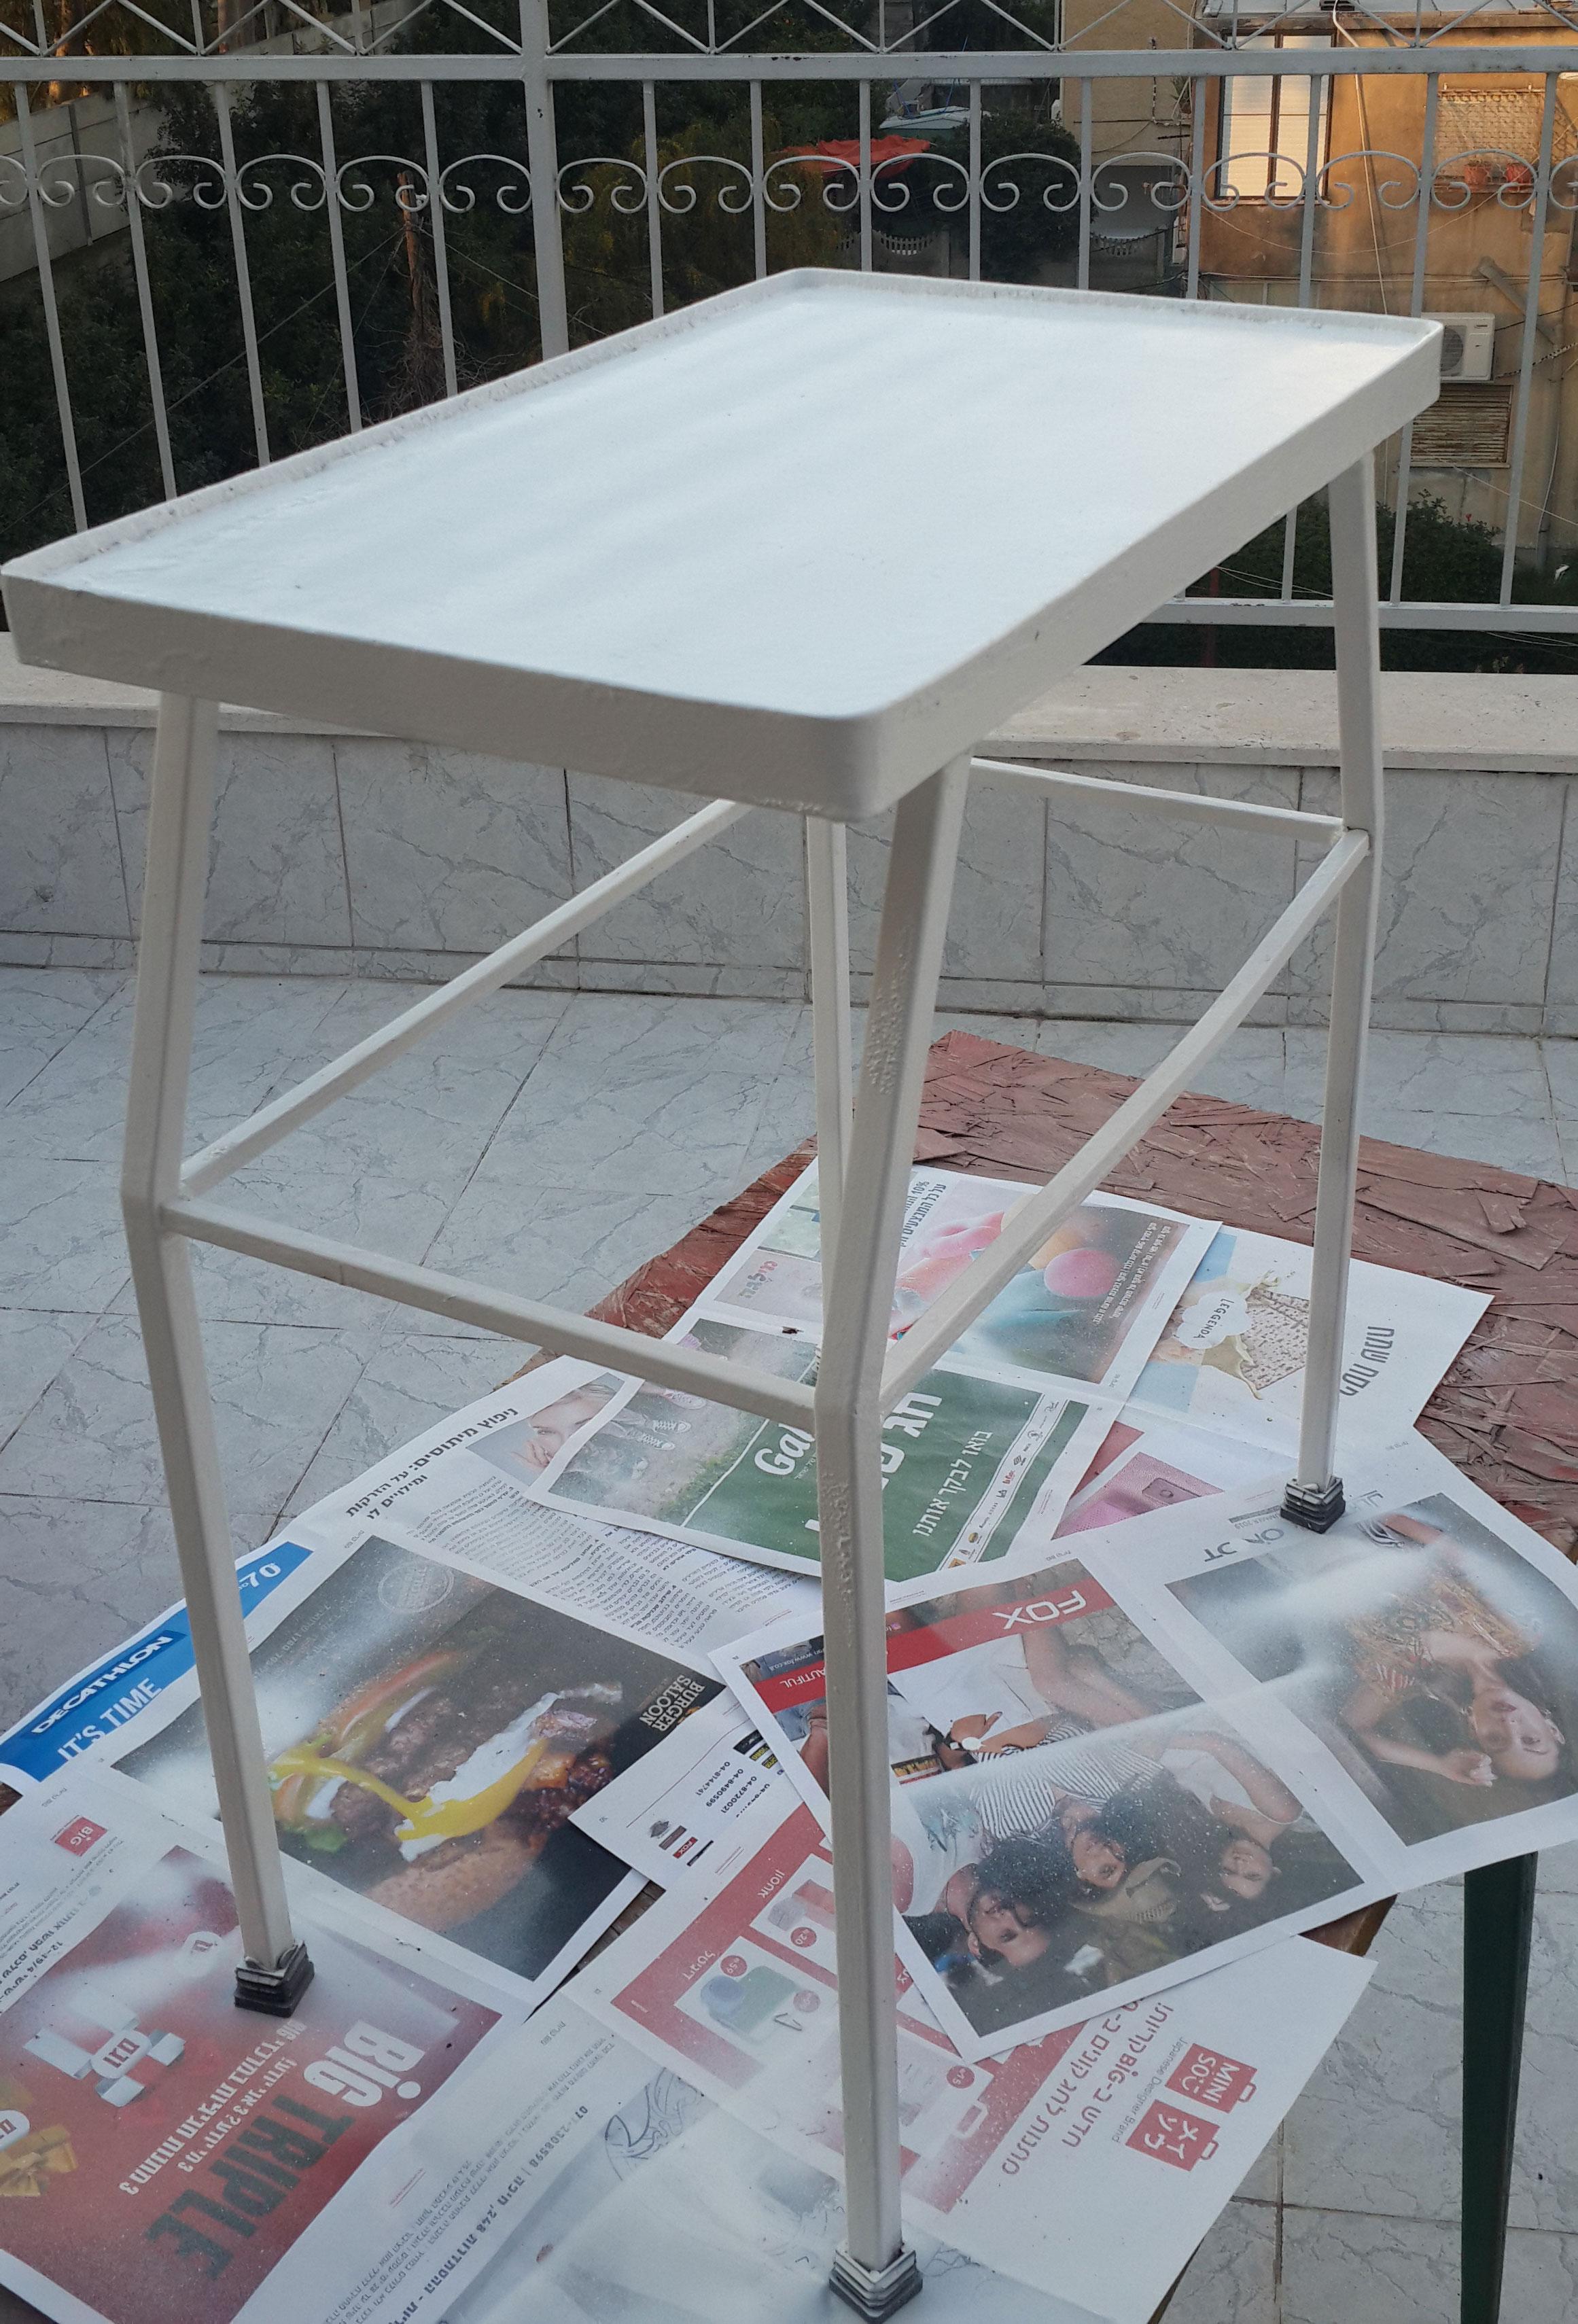
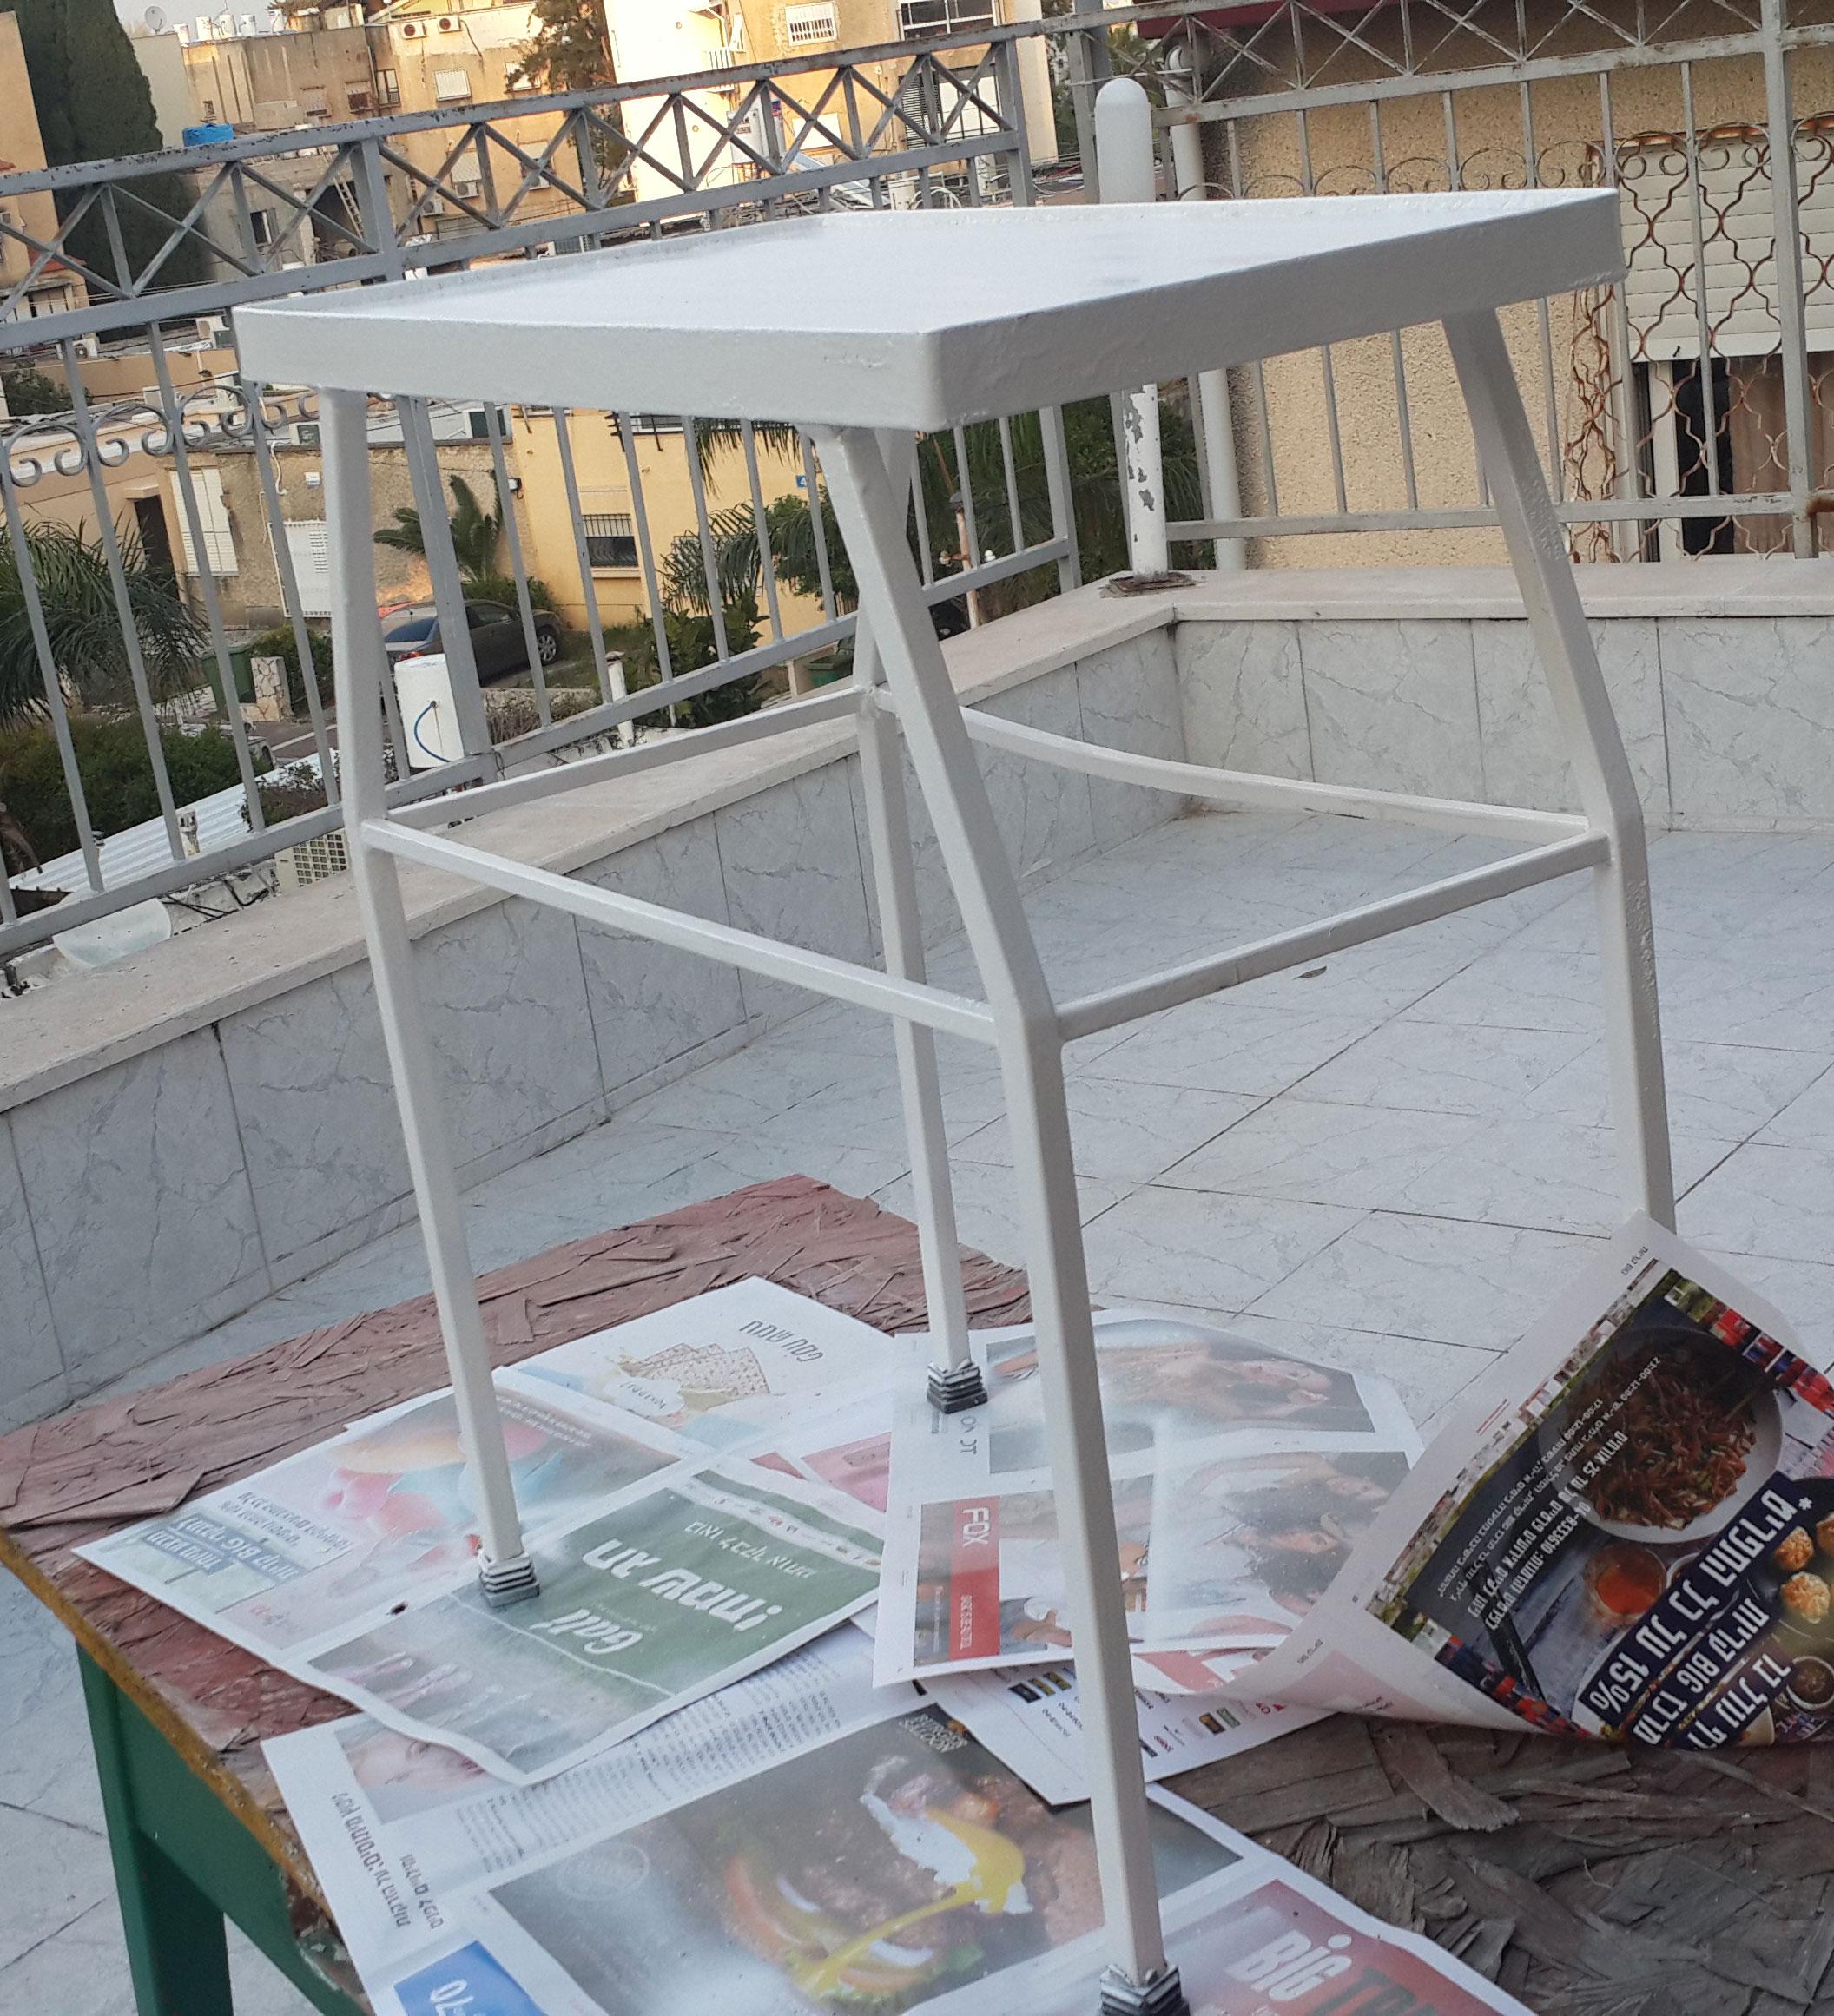
It toke about 2-3 weeks when I worked 5-6 days a week for about 10-15 minutes top per day.Before
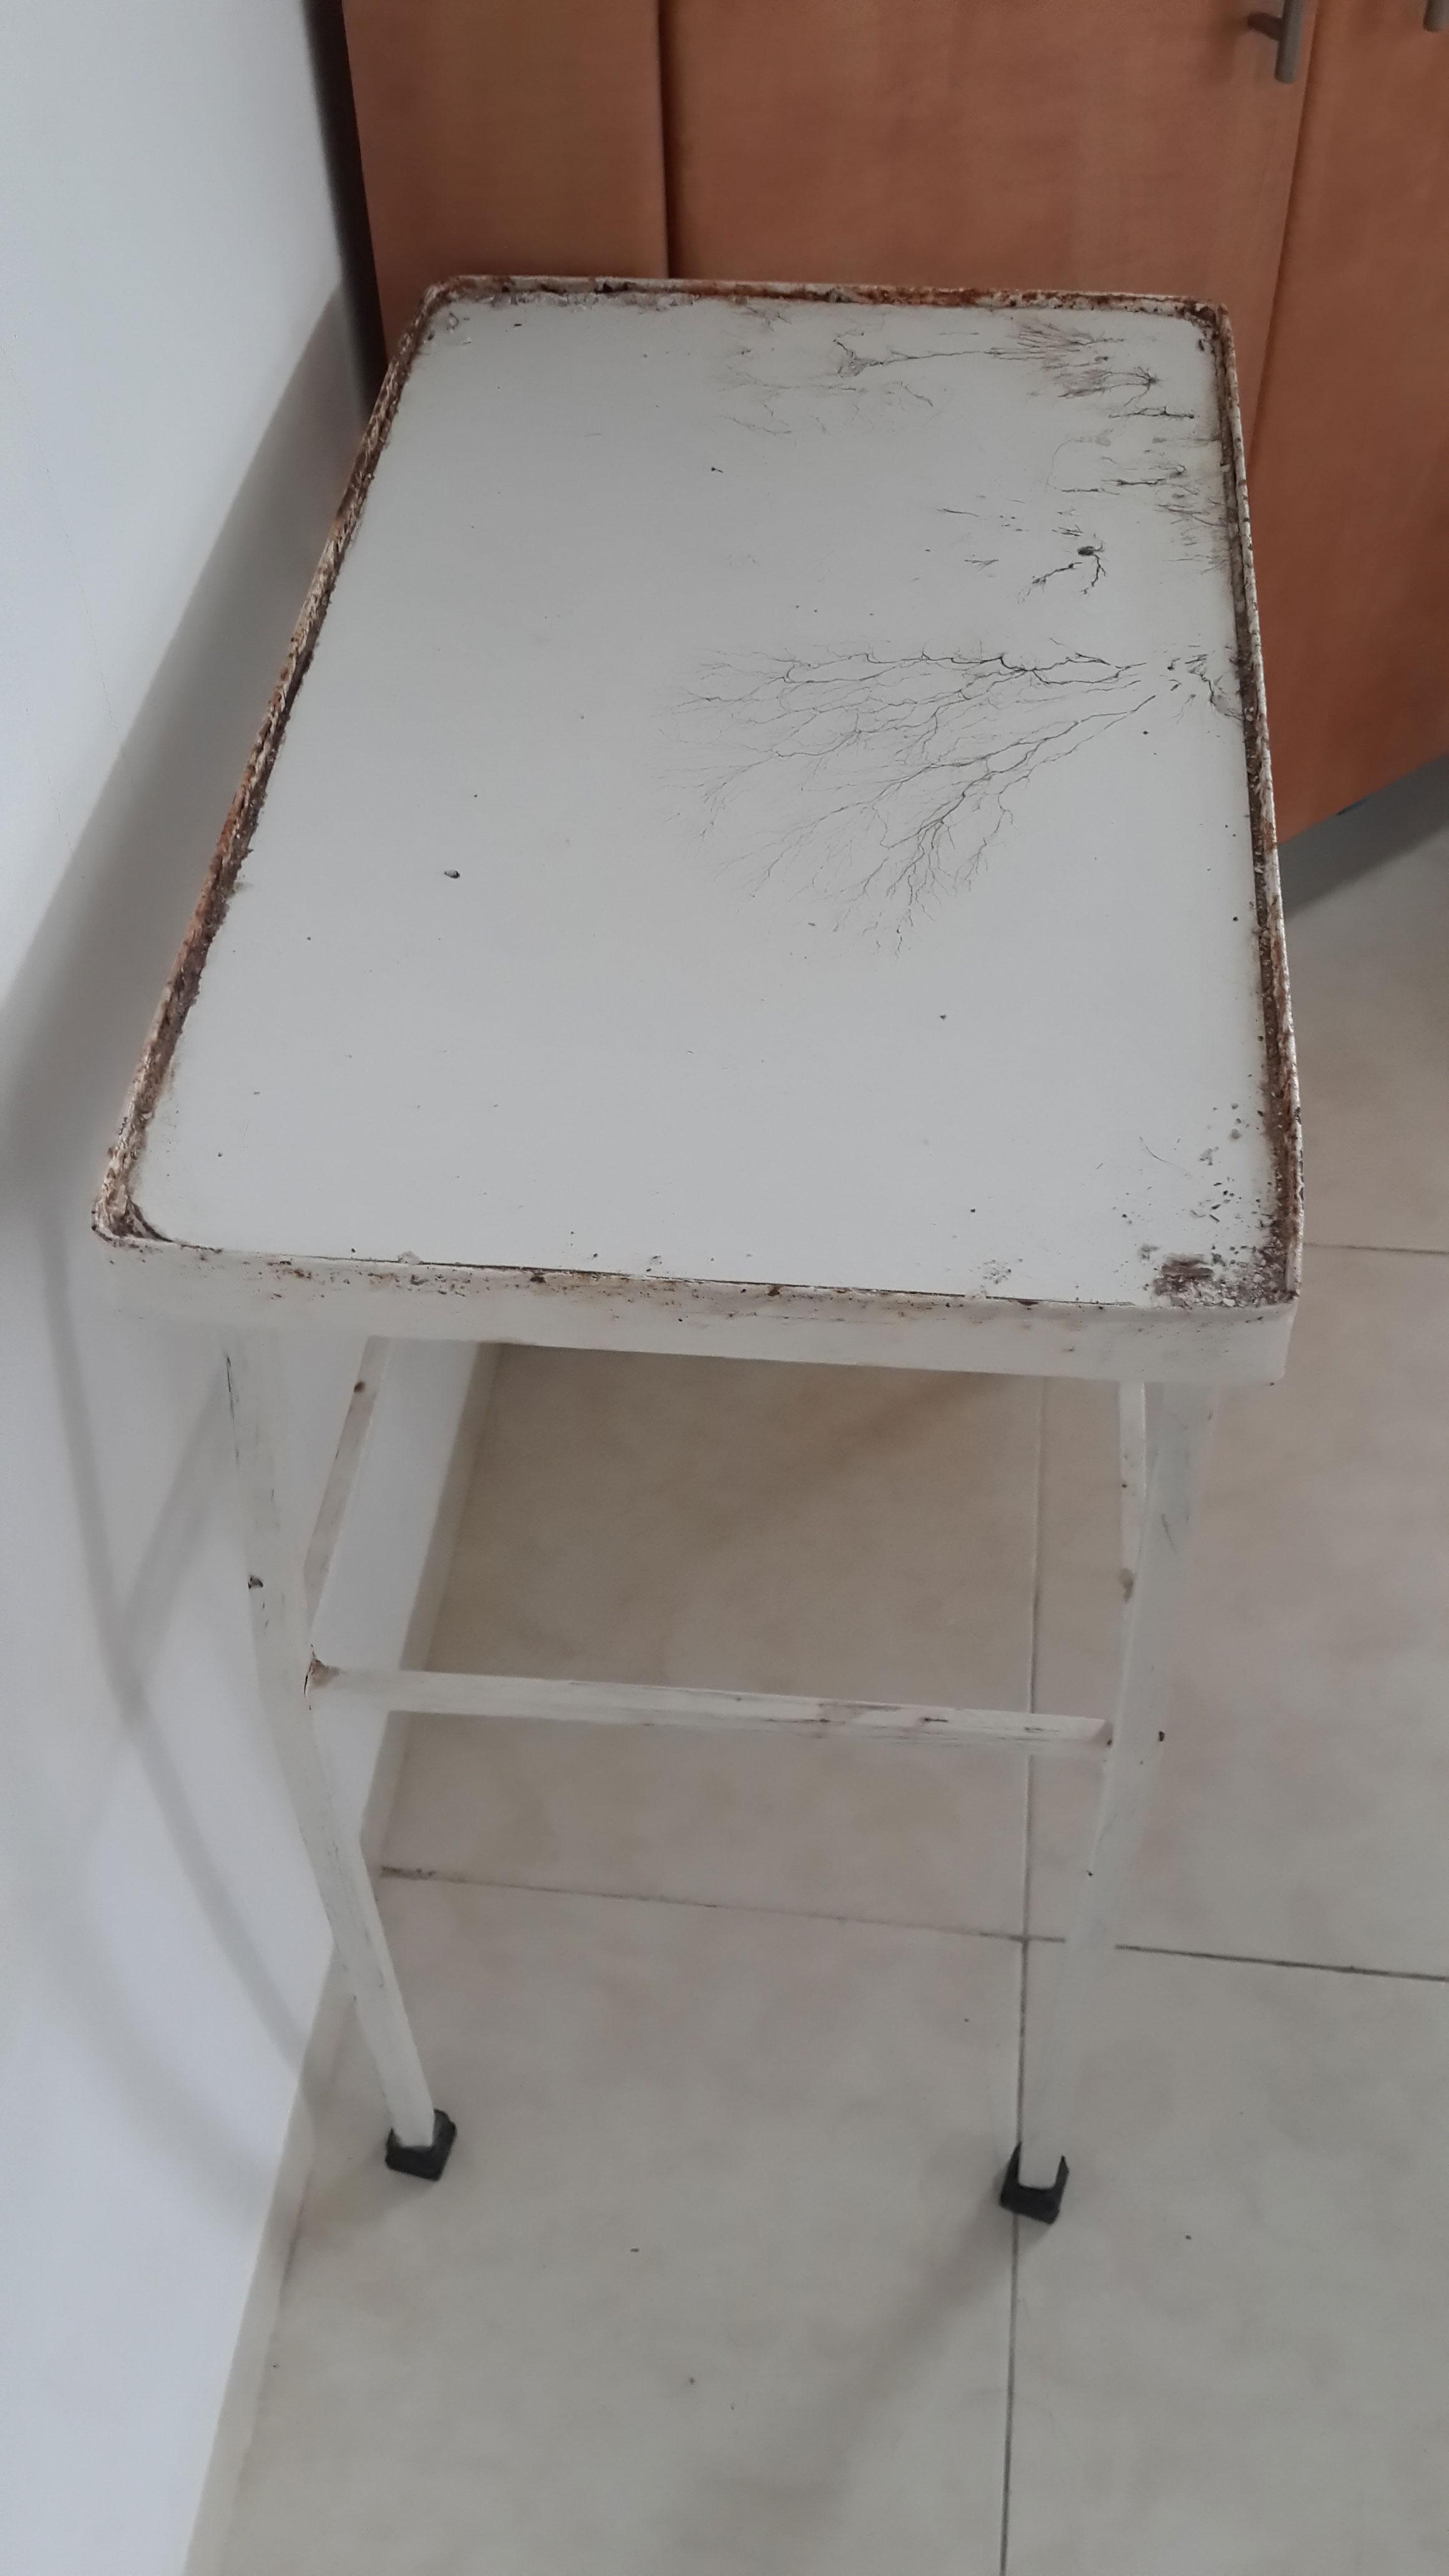
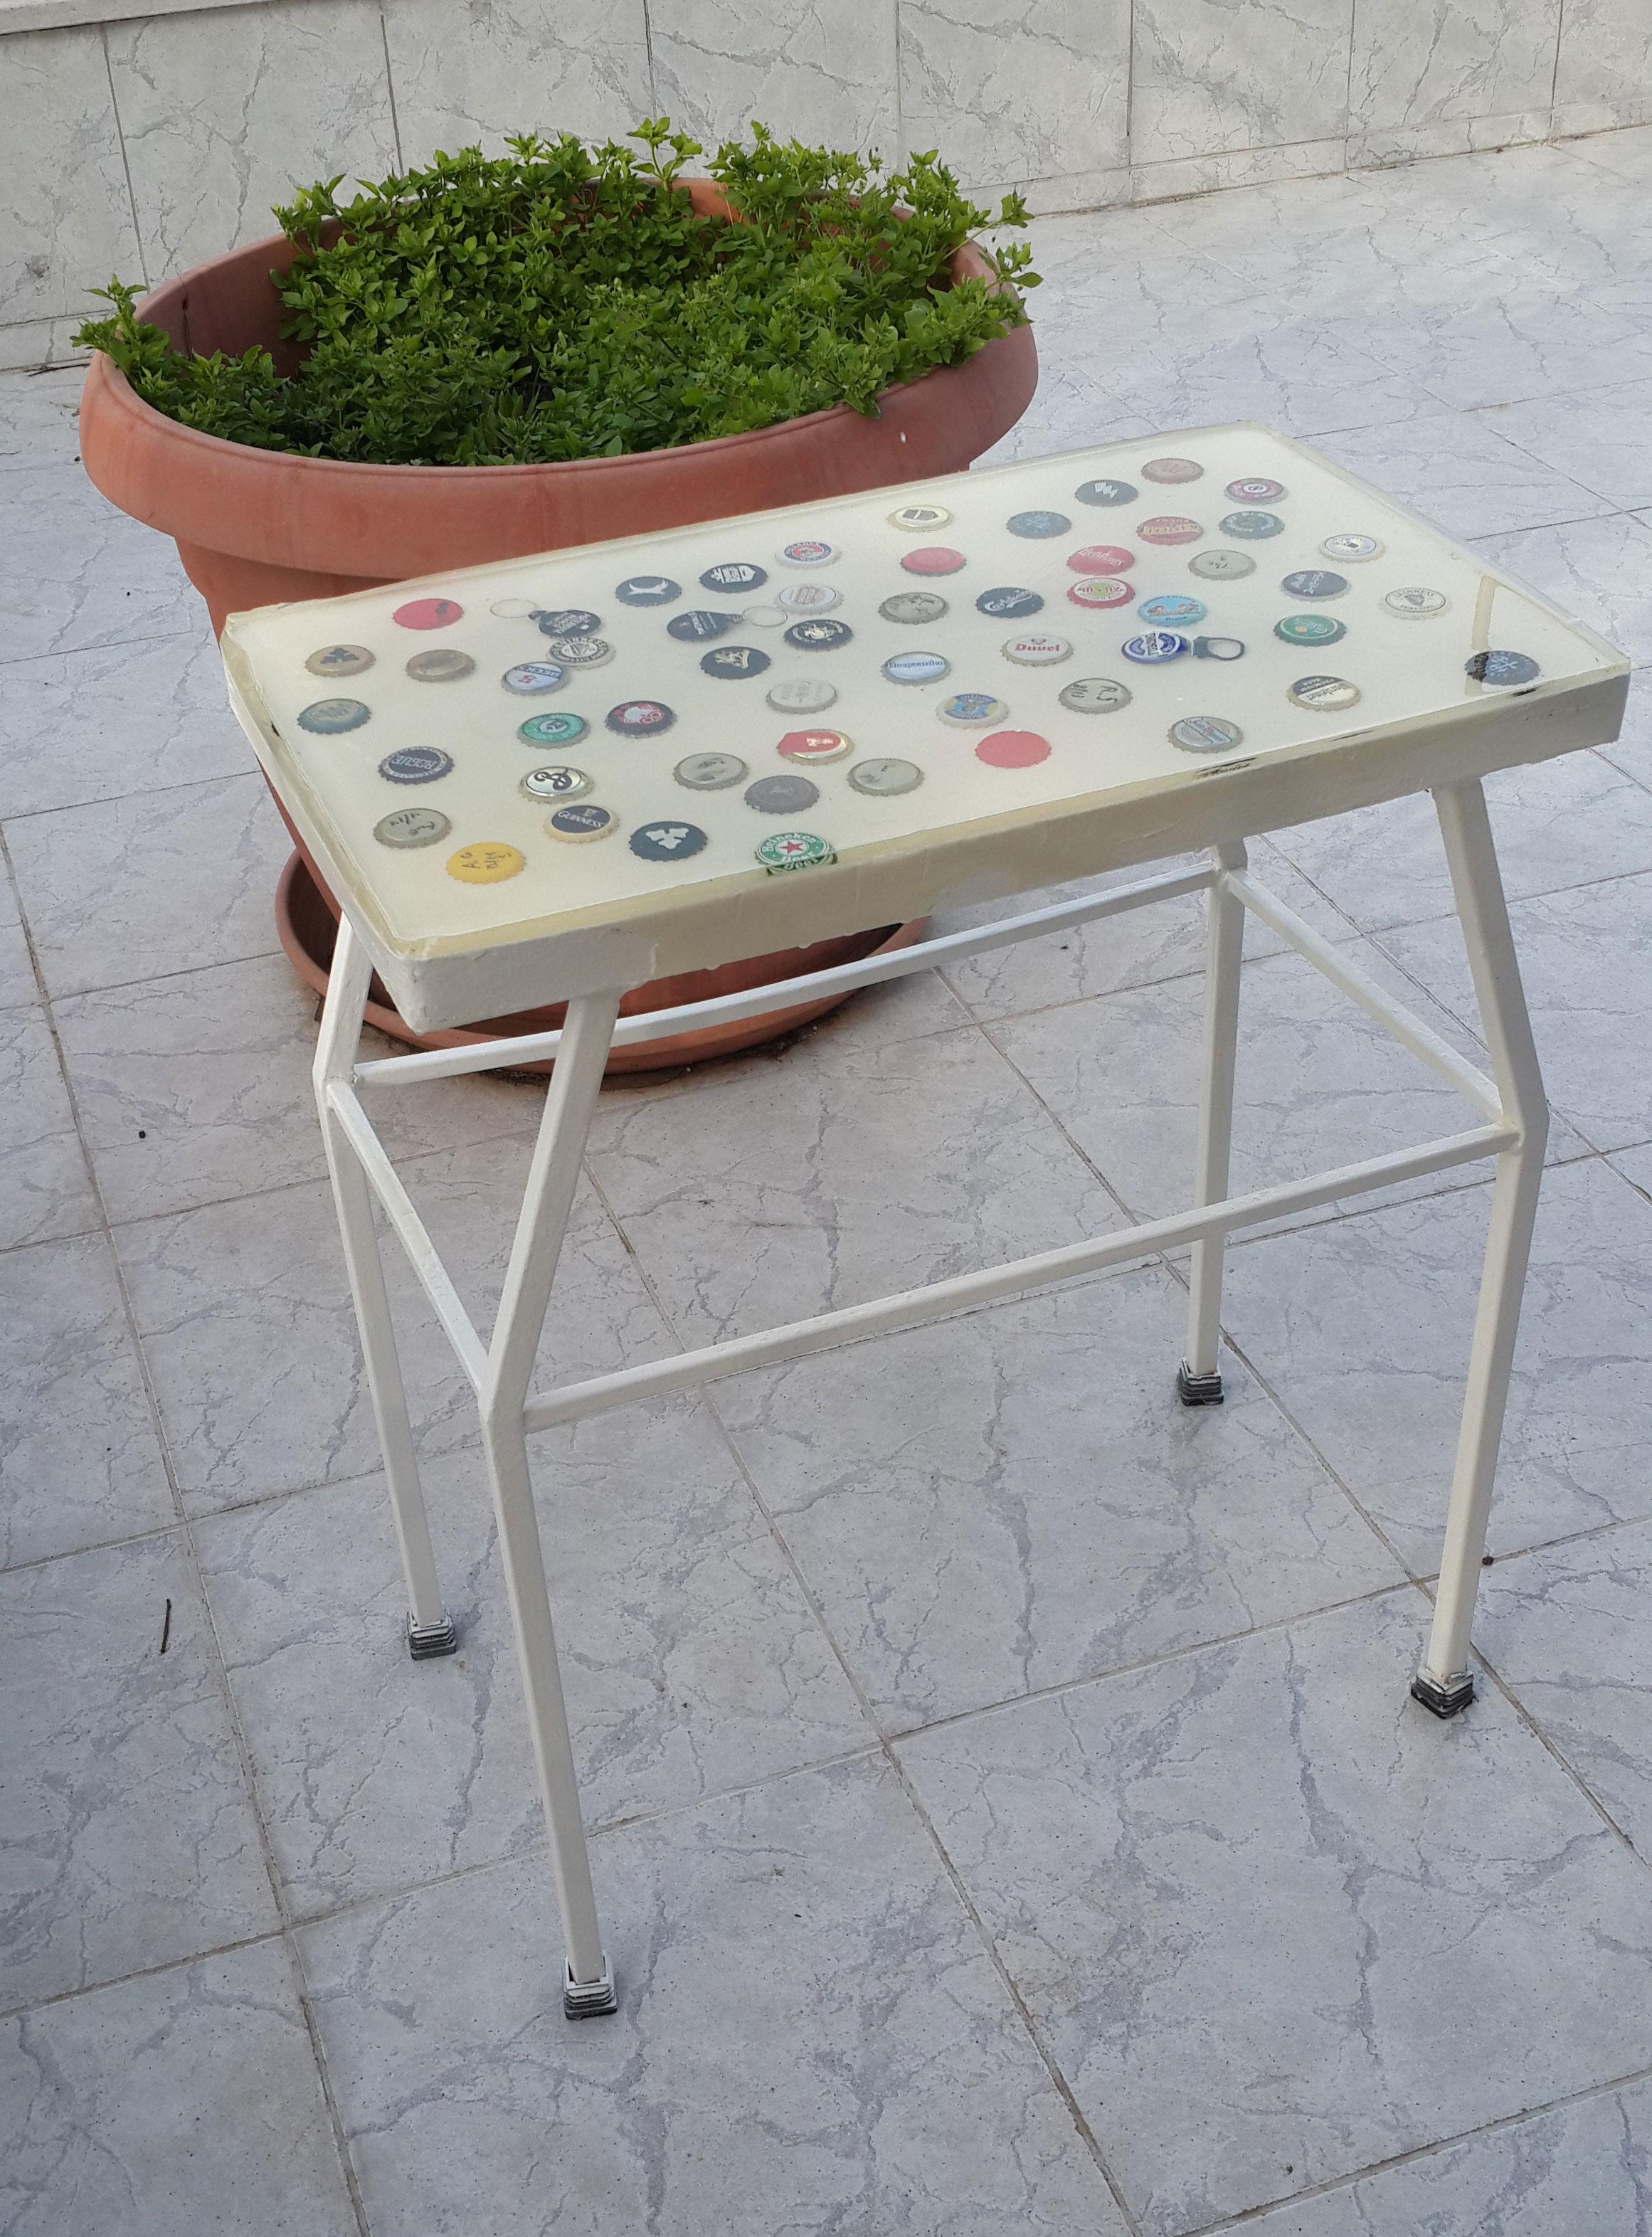
After
Steps
Step 1
Clean the rust and dust.1I used a sand paper (P2) and went few times on table, making sure to remove rust and paint chips. When I washappy and could not see any more paint chips hanging out. It was ready for step 2. This step toke me less than10 minutes but that is because the table was in a better shape than it originally looked.
Step 2
Close the gaps between the metal table and the wooden bottom. I made a mistake here and rush the process (Donot do that like me, I wont do the same mistake again and rush this step). I used a wood filler and fill thegaps, I misjudge and left few gaps (in few steps I will regret it). Waiting for it to dry (toke the worst caseand waited for 24 hours). Unfortunately I dont have pictures from this step.
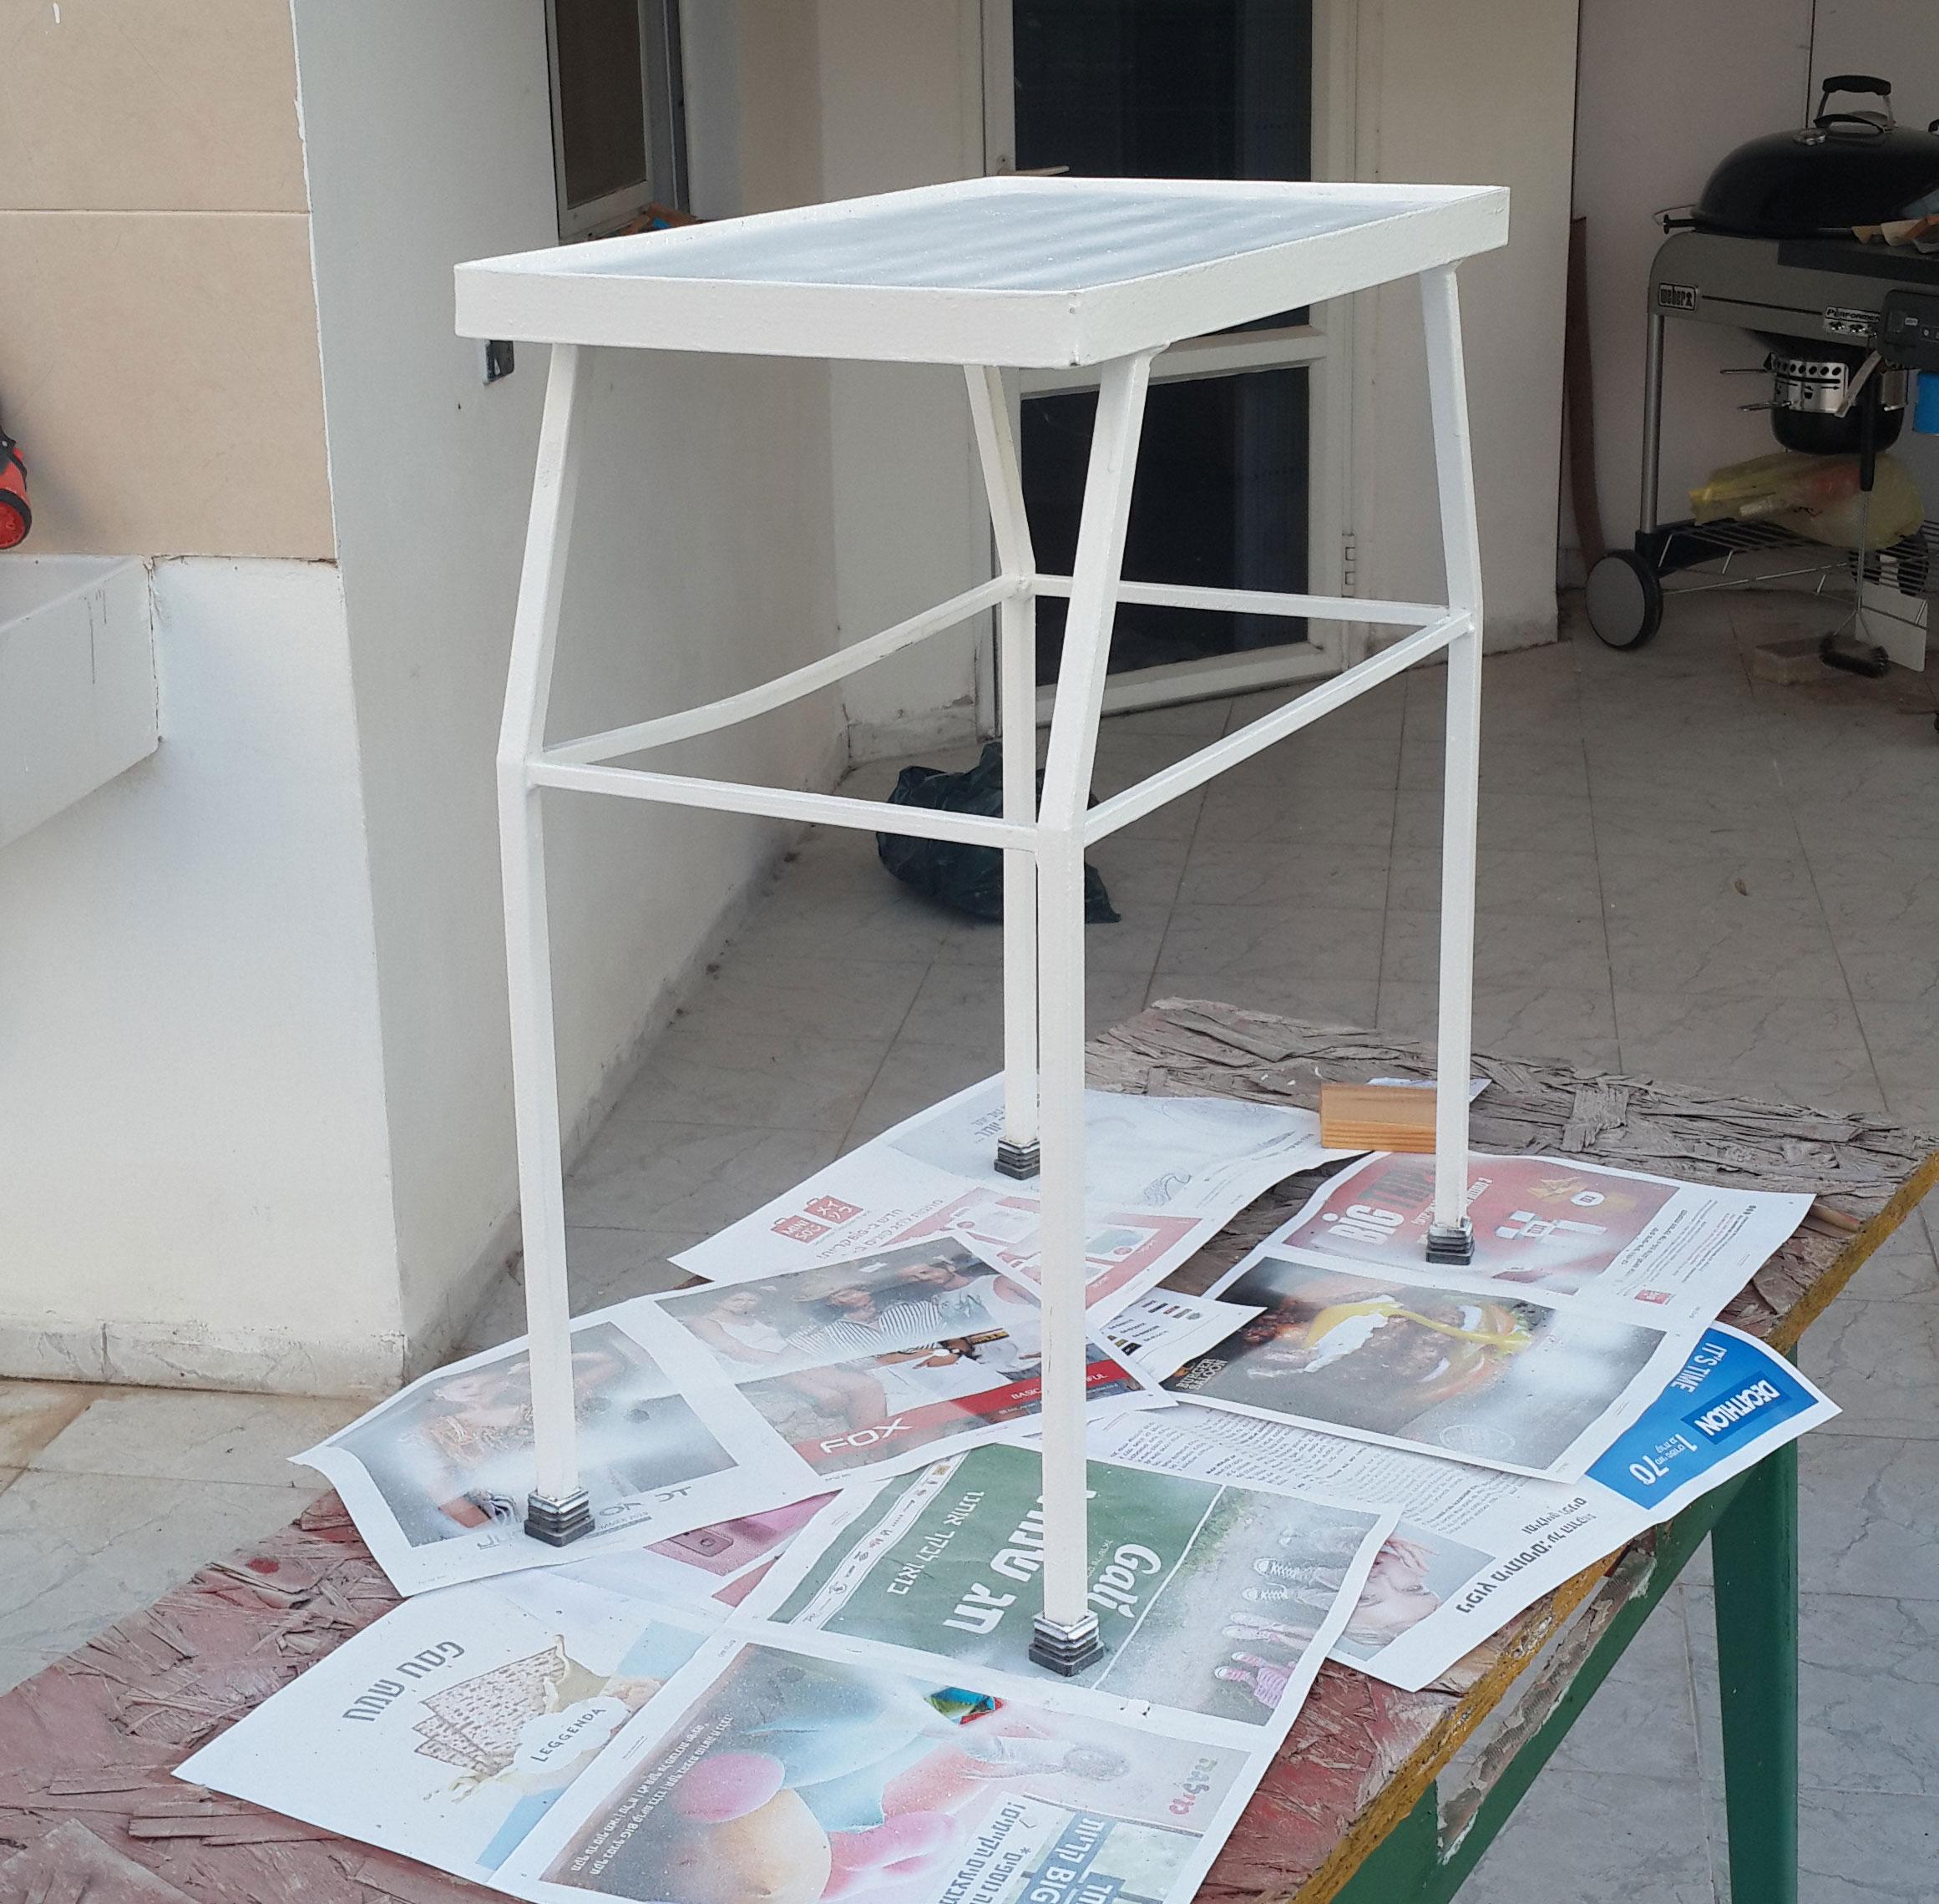
Step 3
Painting the table with the chosen color (white in this case), making sure to cover the all table includingthe bottom of the table. This step toke 2-3 days, mostly I waited for the paint to dry (again 24 hoursbetween each layer). I than put a finisher to protect the paint and make it look more shiny (The hobby shopowner advised me to put a finisher on the paint and table to make it look more shiny and smooth, I have doneso and it really do look better with the finisher).
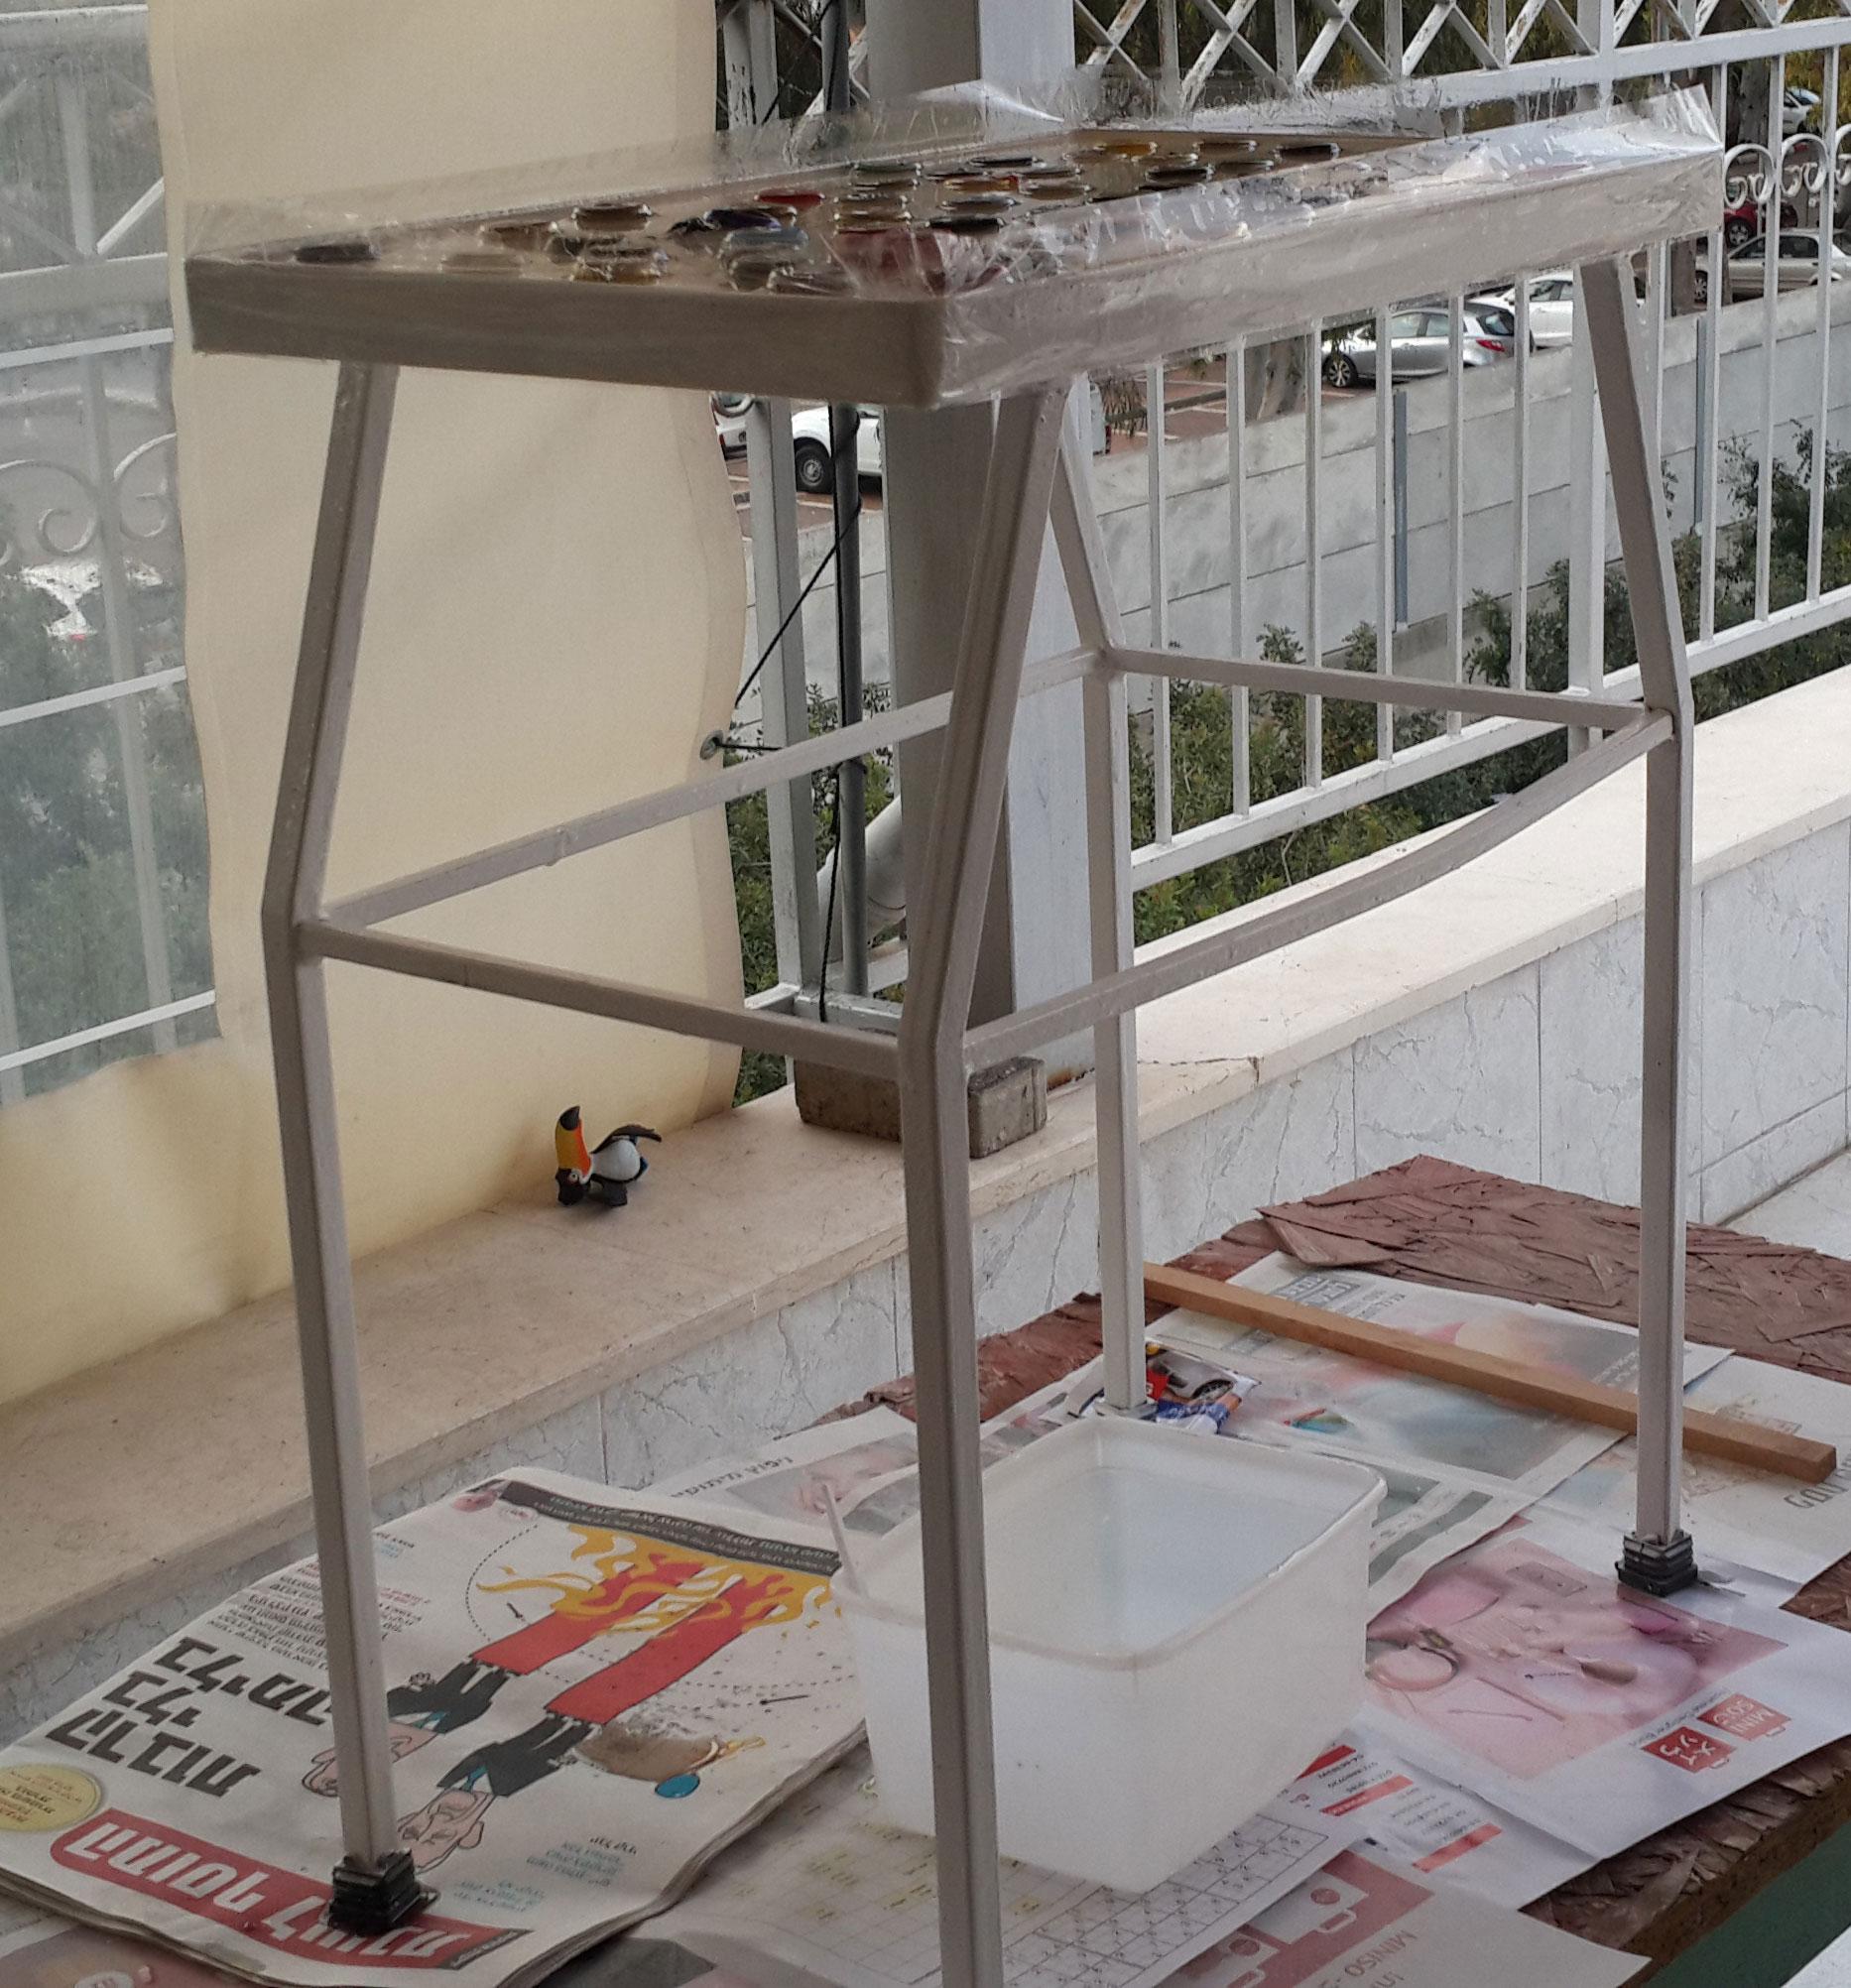
Step 4
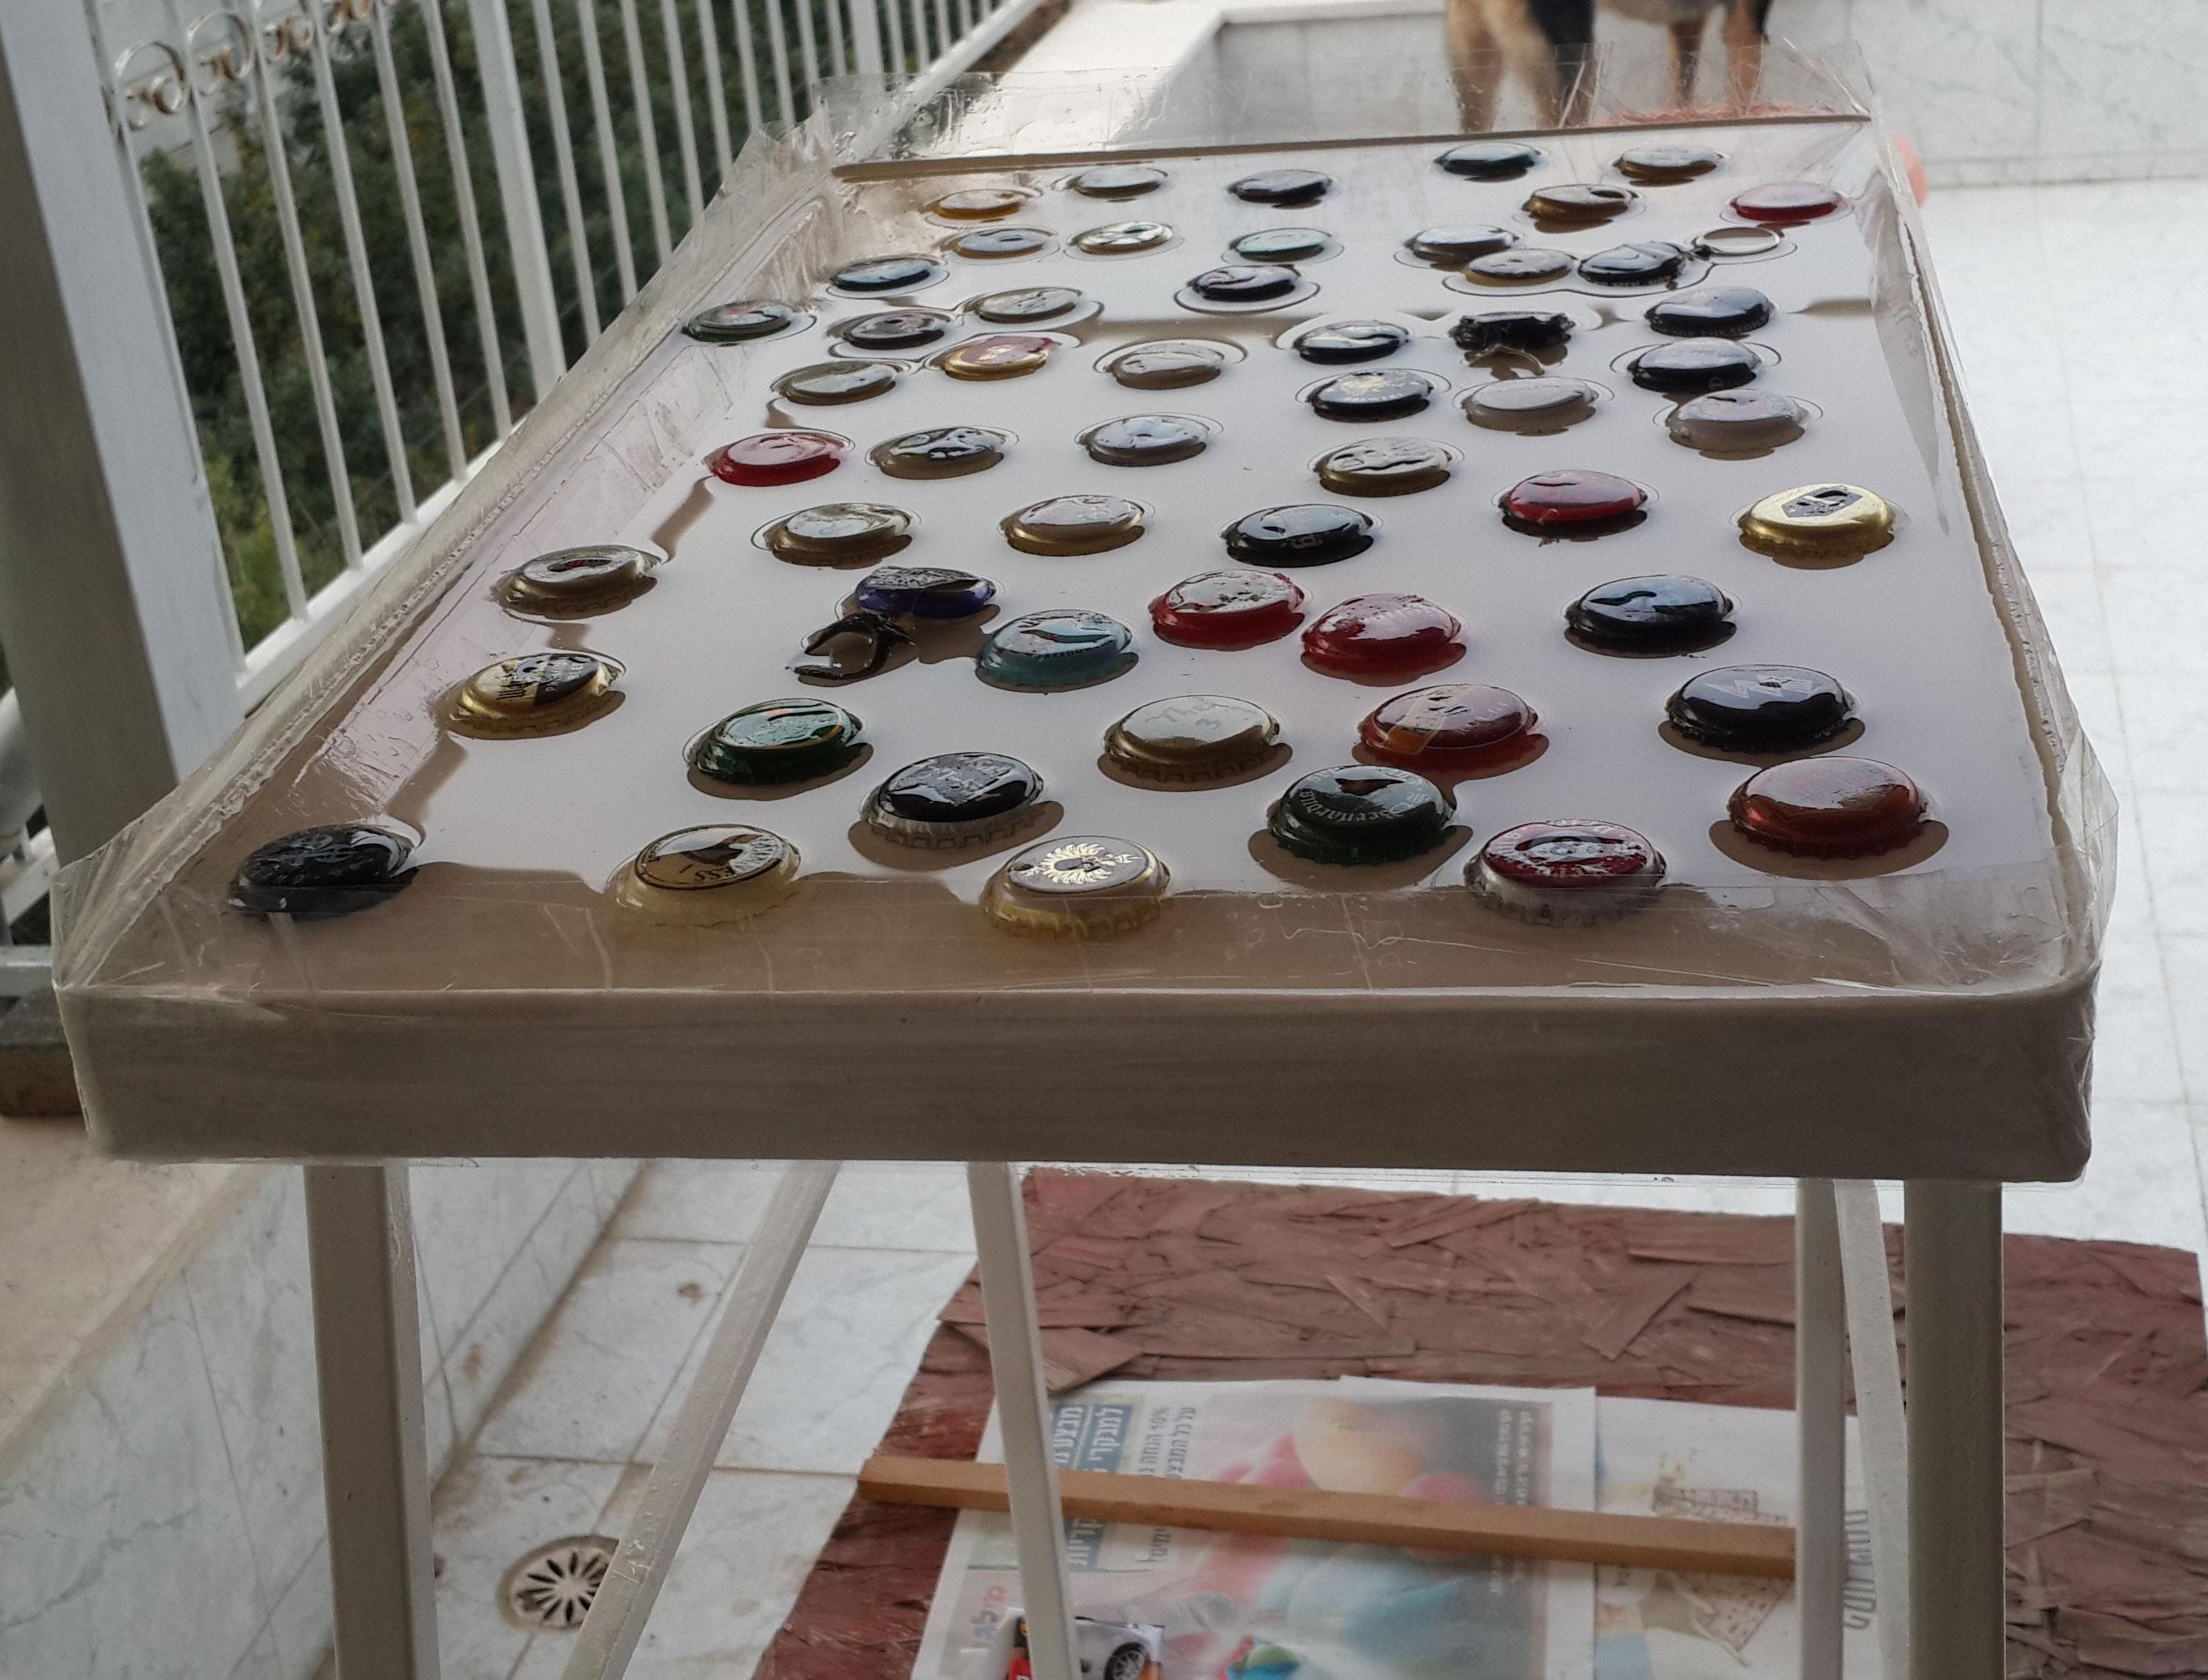
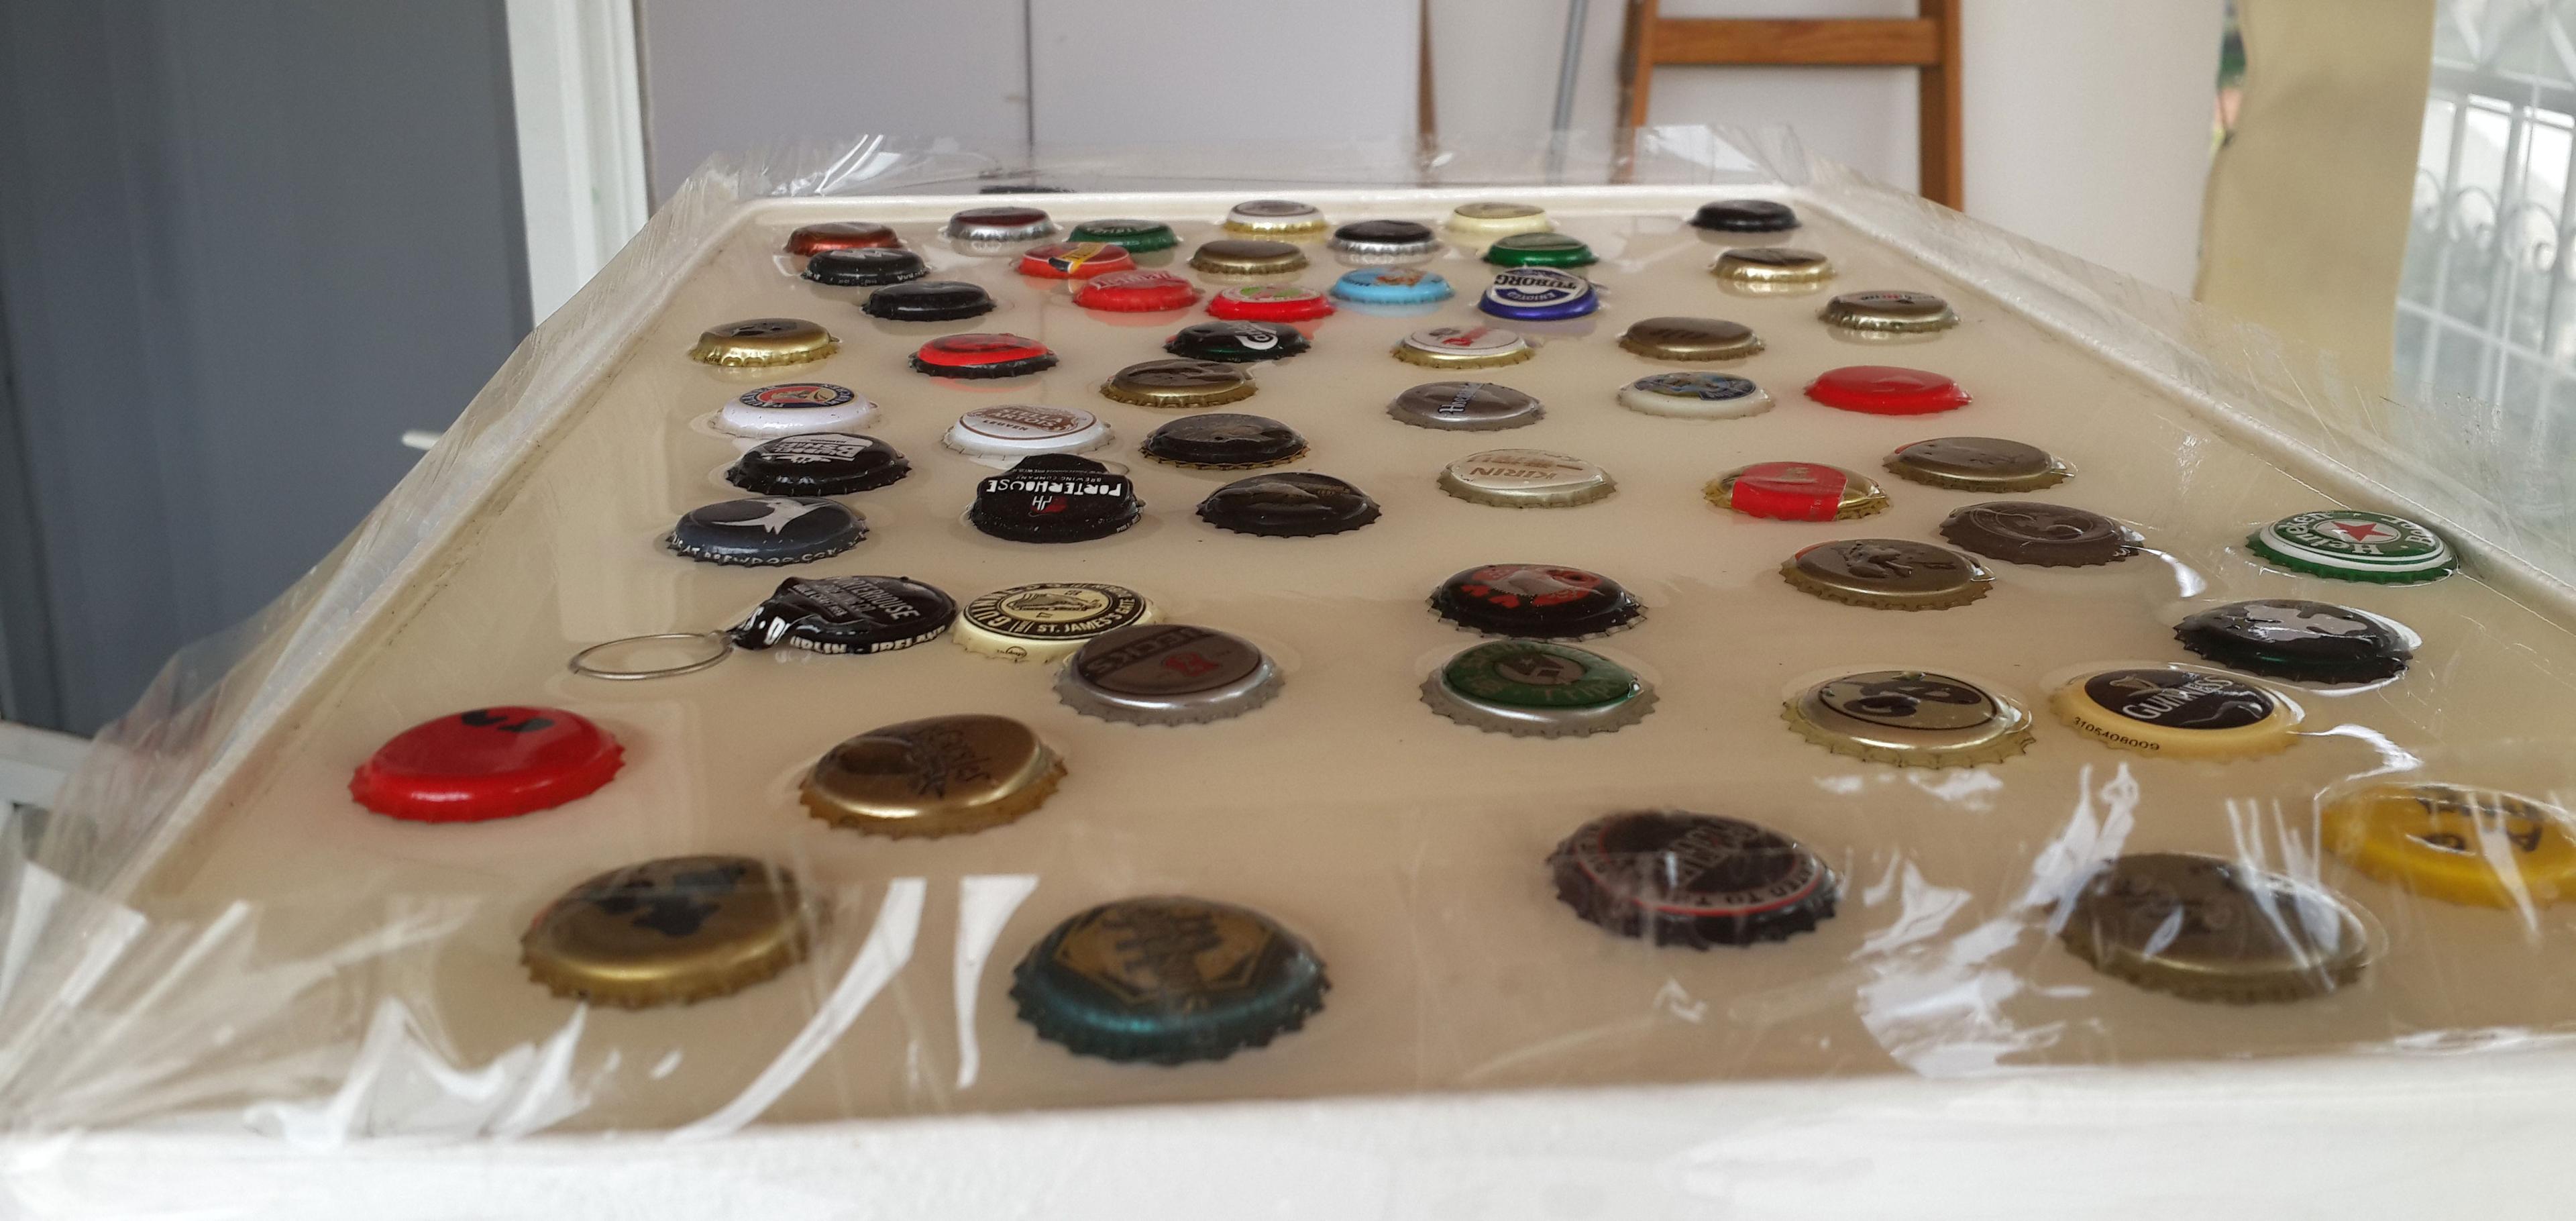
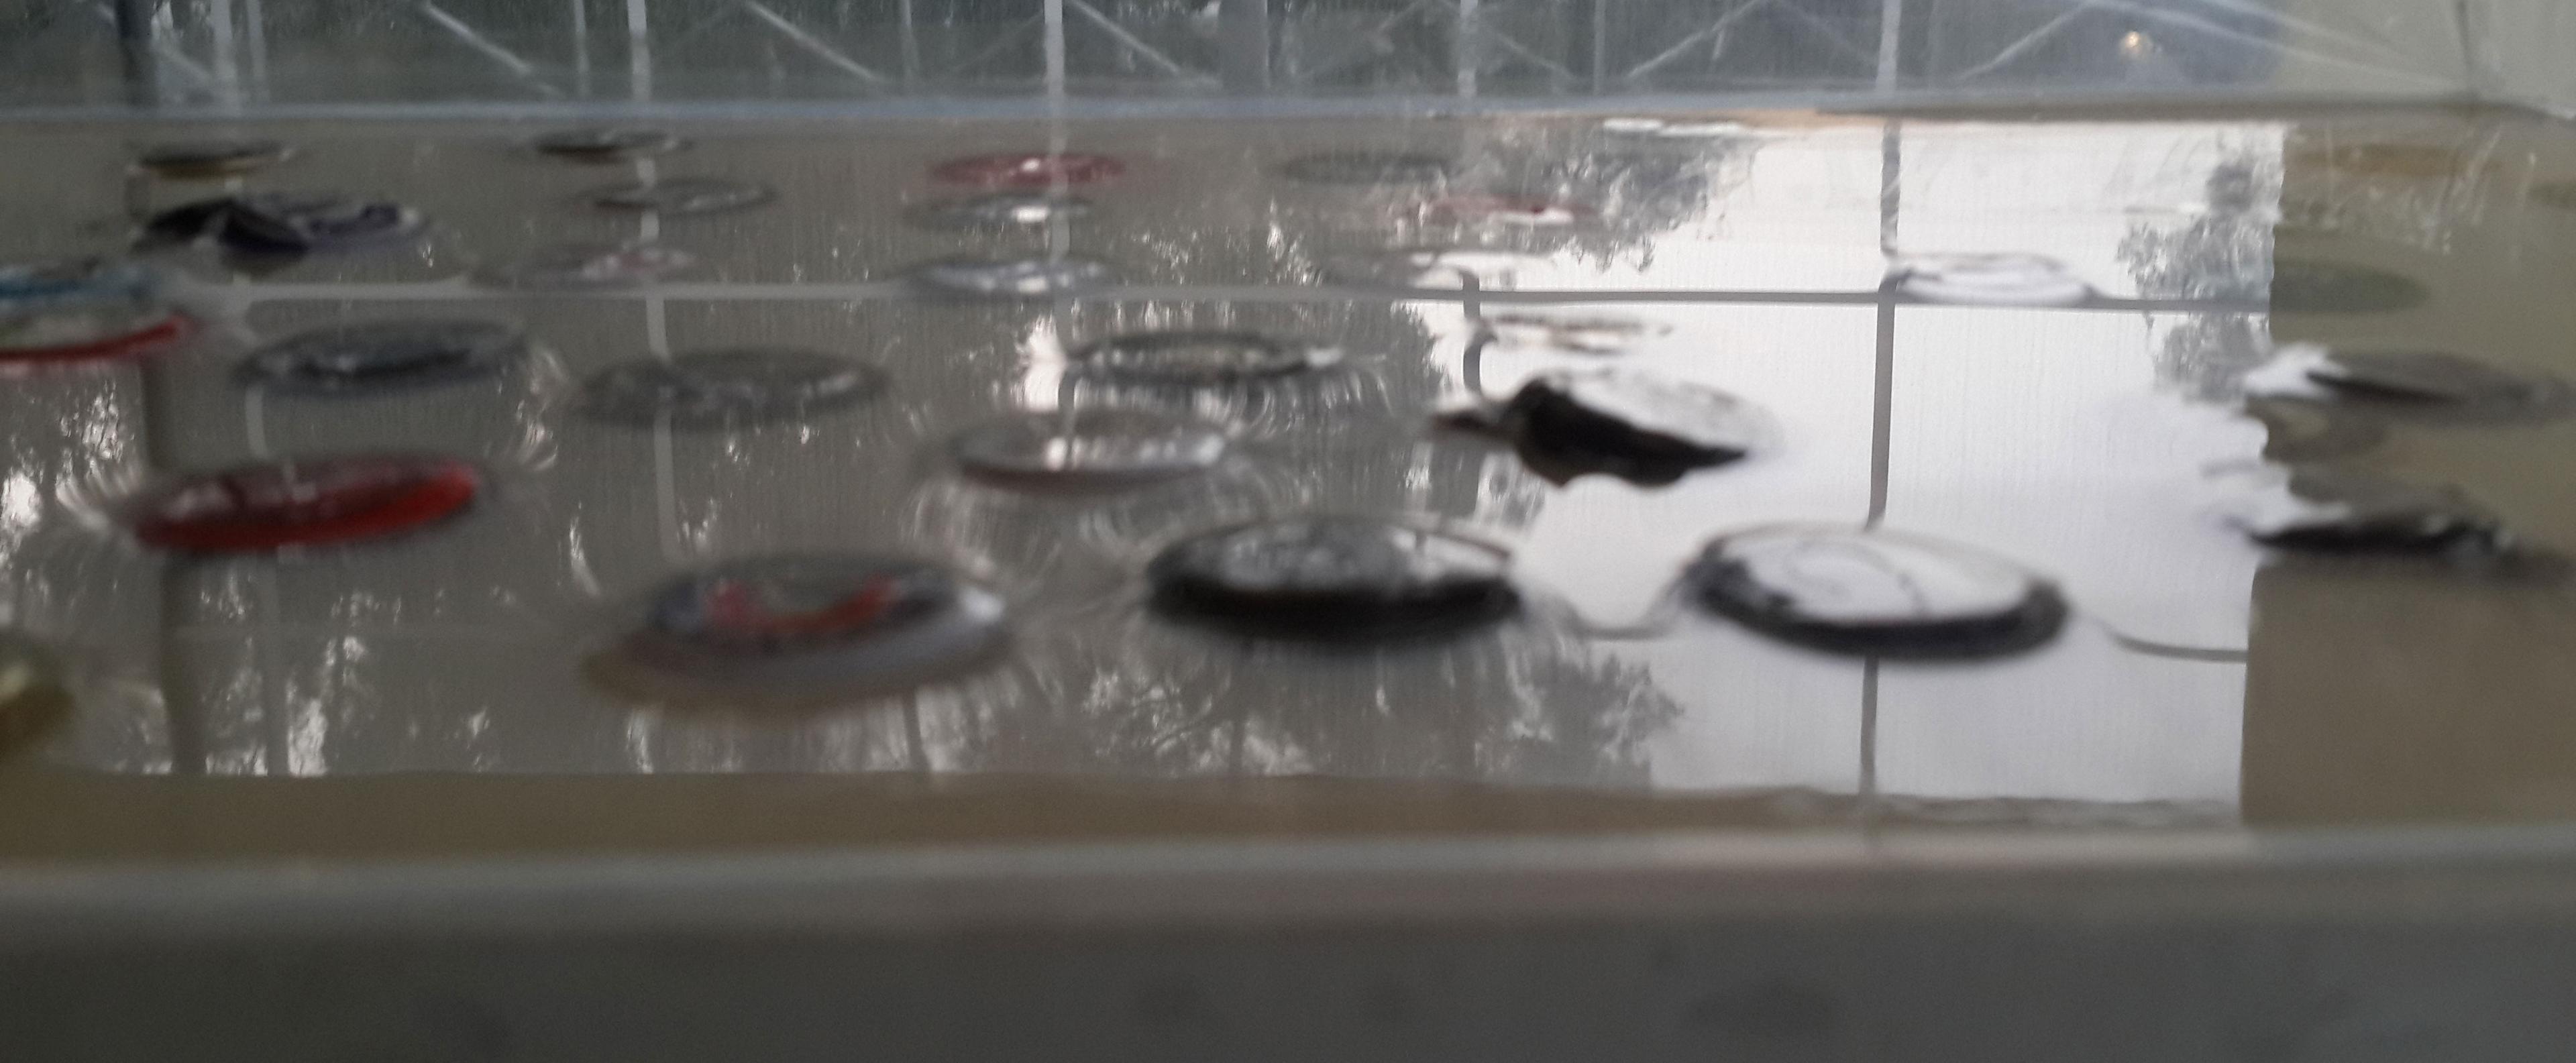
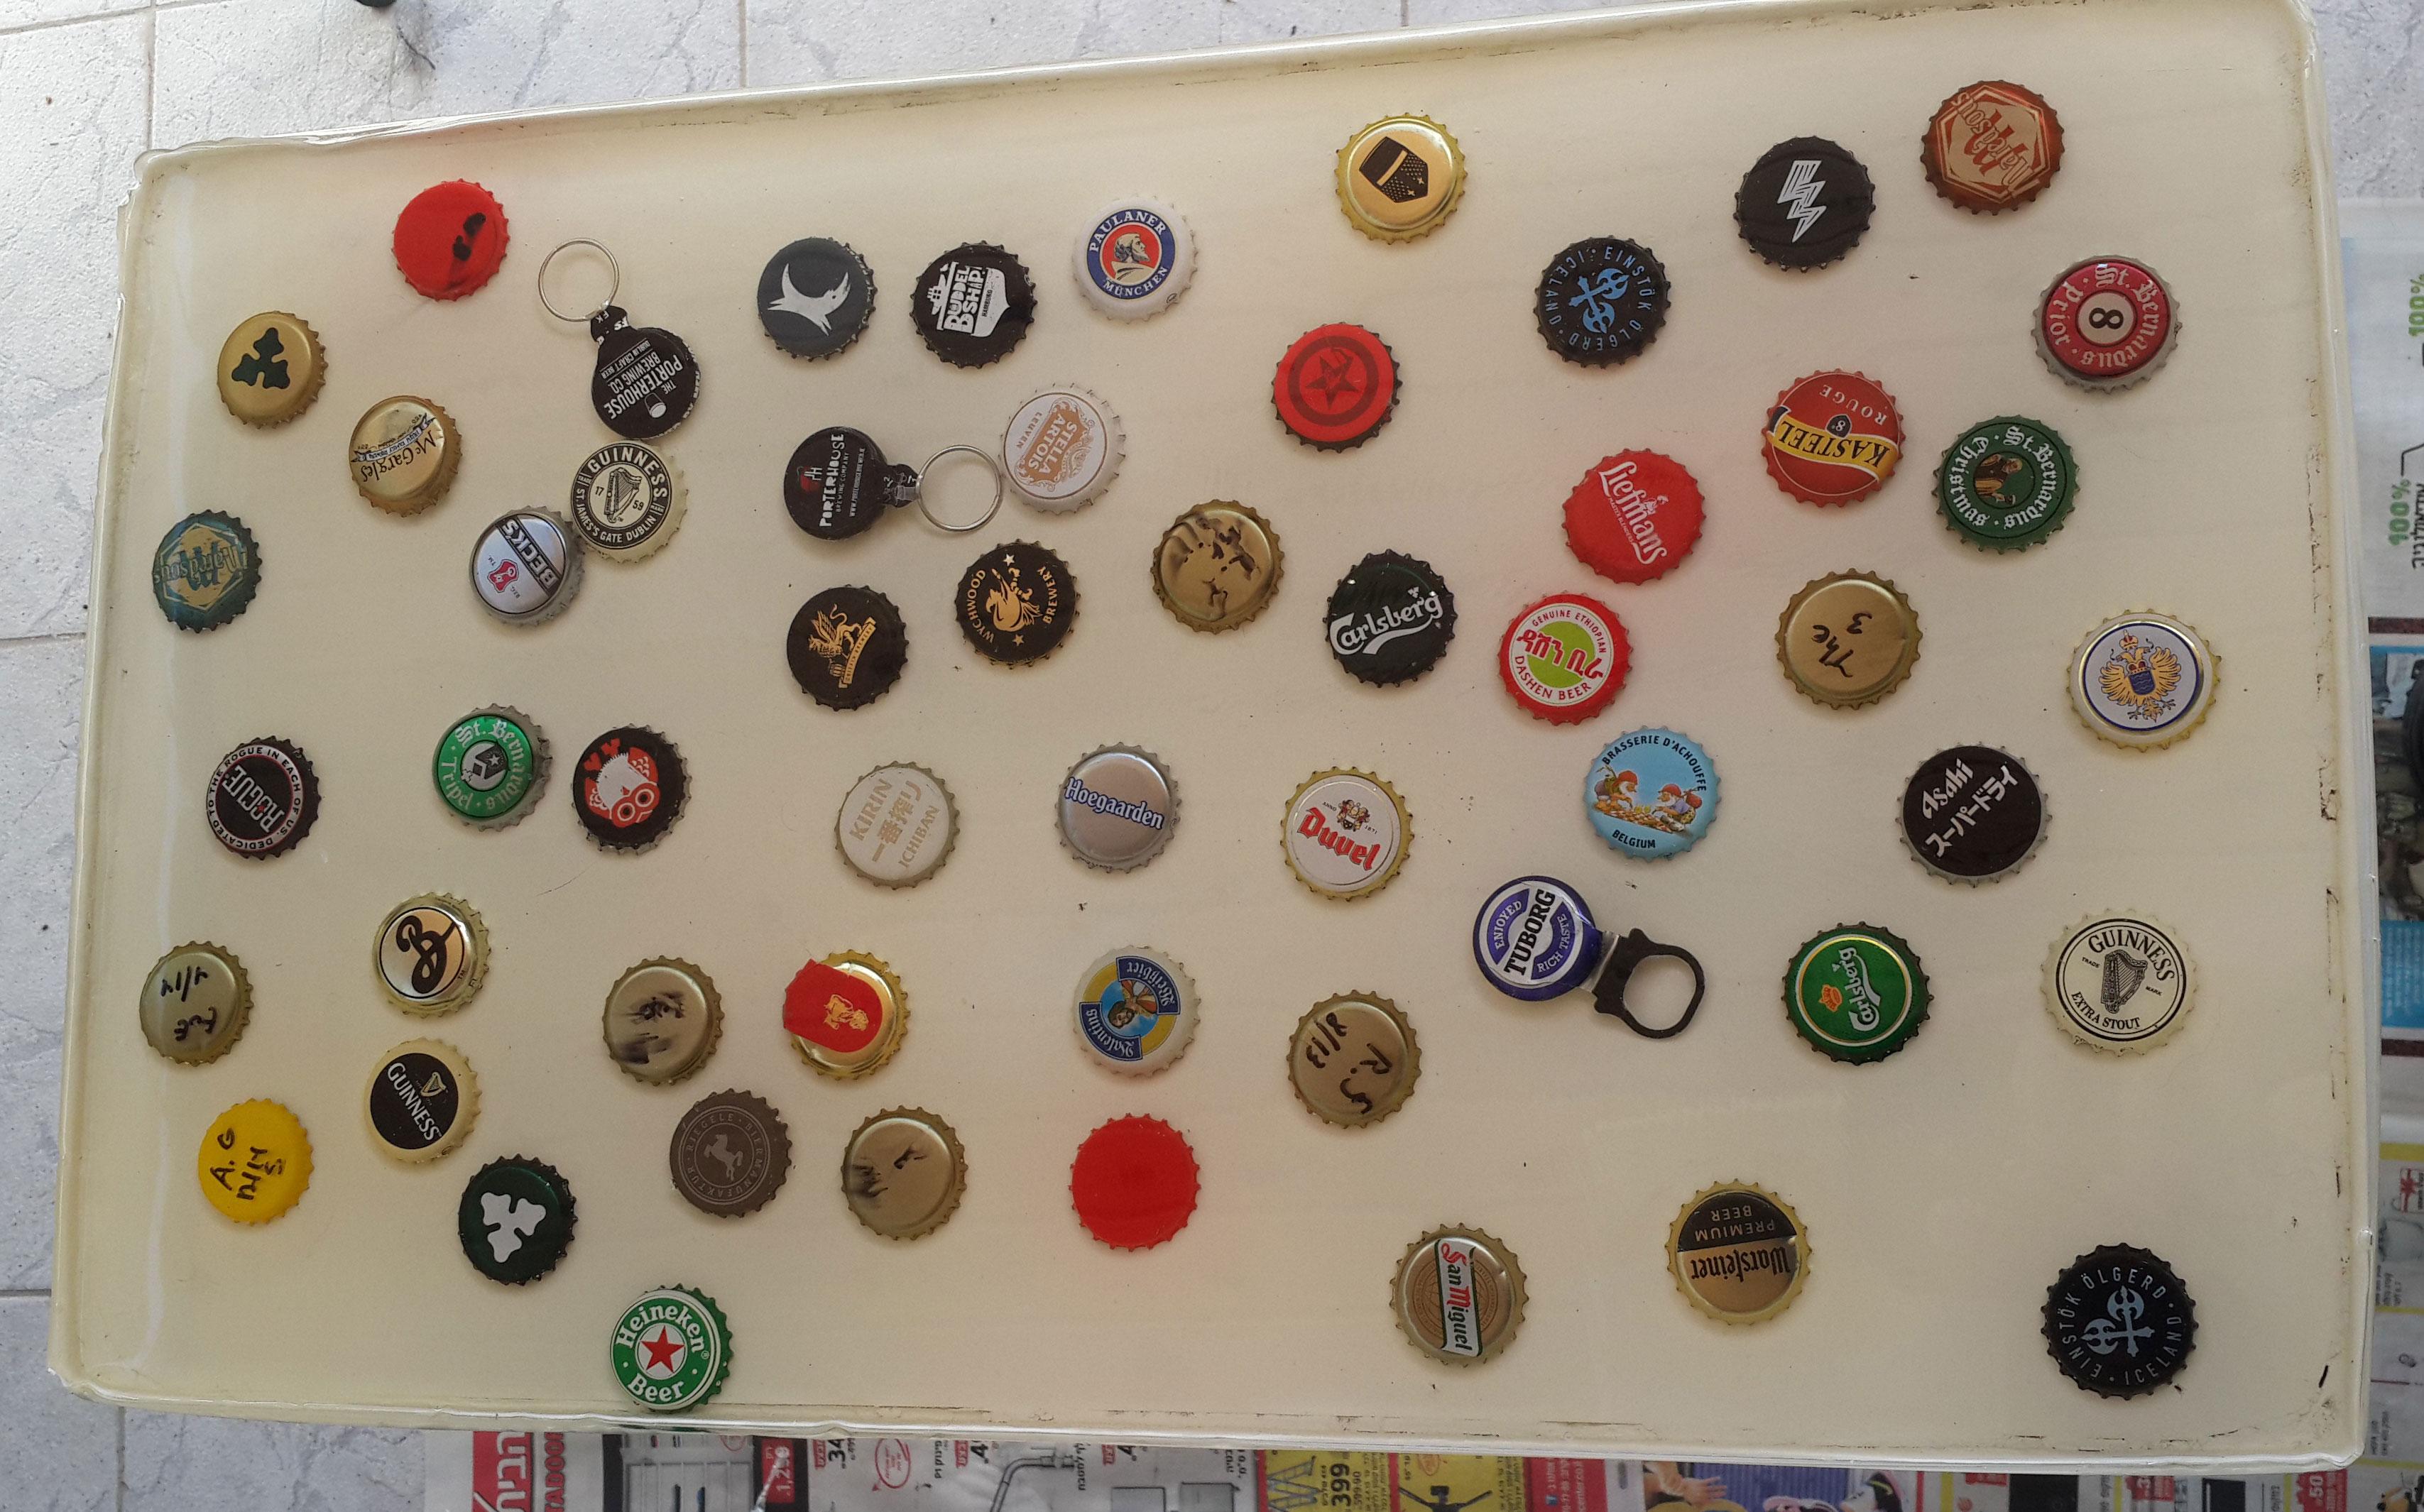
The main event/course! Few words about the resin I was very worry about mixing them after I read and saw fewvideos on the internet, saying that is very important to mix them right and for a long time. I guess there aremany types of resin and I bought one that was very easy to use. 2 jars of agent A and agent B. Mix them togetheruntil you see a consistence liquid (or for about 5 minutes), it toke me less to get the wanted results. I used aduct type and wrapped the table few times (later on, I found out it was a mistake). I used a beer bottle capsthat I collected and selected the ones which were in best condition and the most level. You will notice thatsome of them are written, this beer caps are my own beer (I am a home brewer), While puring the resin in thetable I found out that the resin is removing the waterproof marker I used to write on the caps. I quickly foundreplacements for this caps and covered them with finisher (the same one I used on the table after painting thetable), waited as long as I could to let it dry and put it in the resin before it will dry. It did its job andprotected the written on the caps. One more thing I saw during this step, I put the caps before I poured theresin and the caps started to travel. If you want to avoid it, put the resin up to the same level or at least75% of the cap height and only than place the caps where you want them to be. Do not be afraid to push the capsdown, a little bobble of air will come out and it will secure the cap in place. This step toke about a week ofwork but than I didnt calculated the amount of resin I needed and always bought it in pairs.Remember that I used a duct type??The moment the resin start to push the duct type, it created gaps between the duct types and the table where theresin poured out and start leaking all over.How did I deal with that?The simple way, I just tried to get thus gaps closed until the resin got a little harder (luckily again, it wasin only one small place). Remember that I didnt closed all the gaps in the wood-table? Well, as you probablyexpected it started to leak from the bottom too (luckily only from 2 small places). You can use a vaseline toclose this gaps. I used it to closed the bottom gaps and it did its job, now I should have to remember to cleanit after I am done (I didnt...)
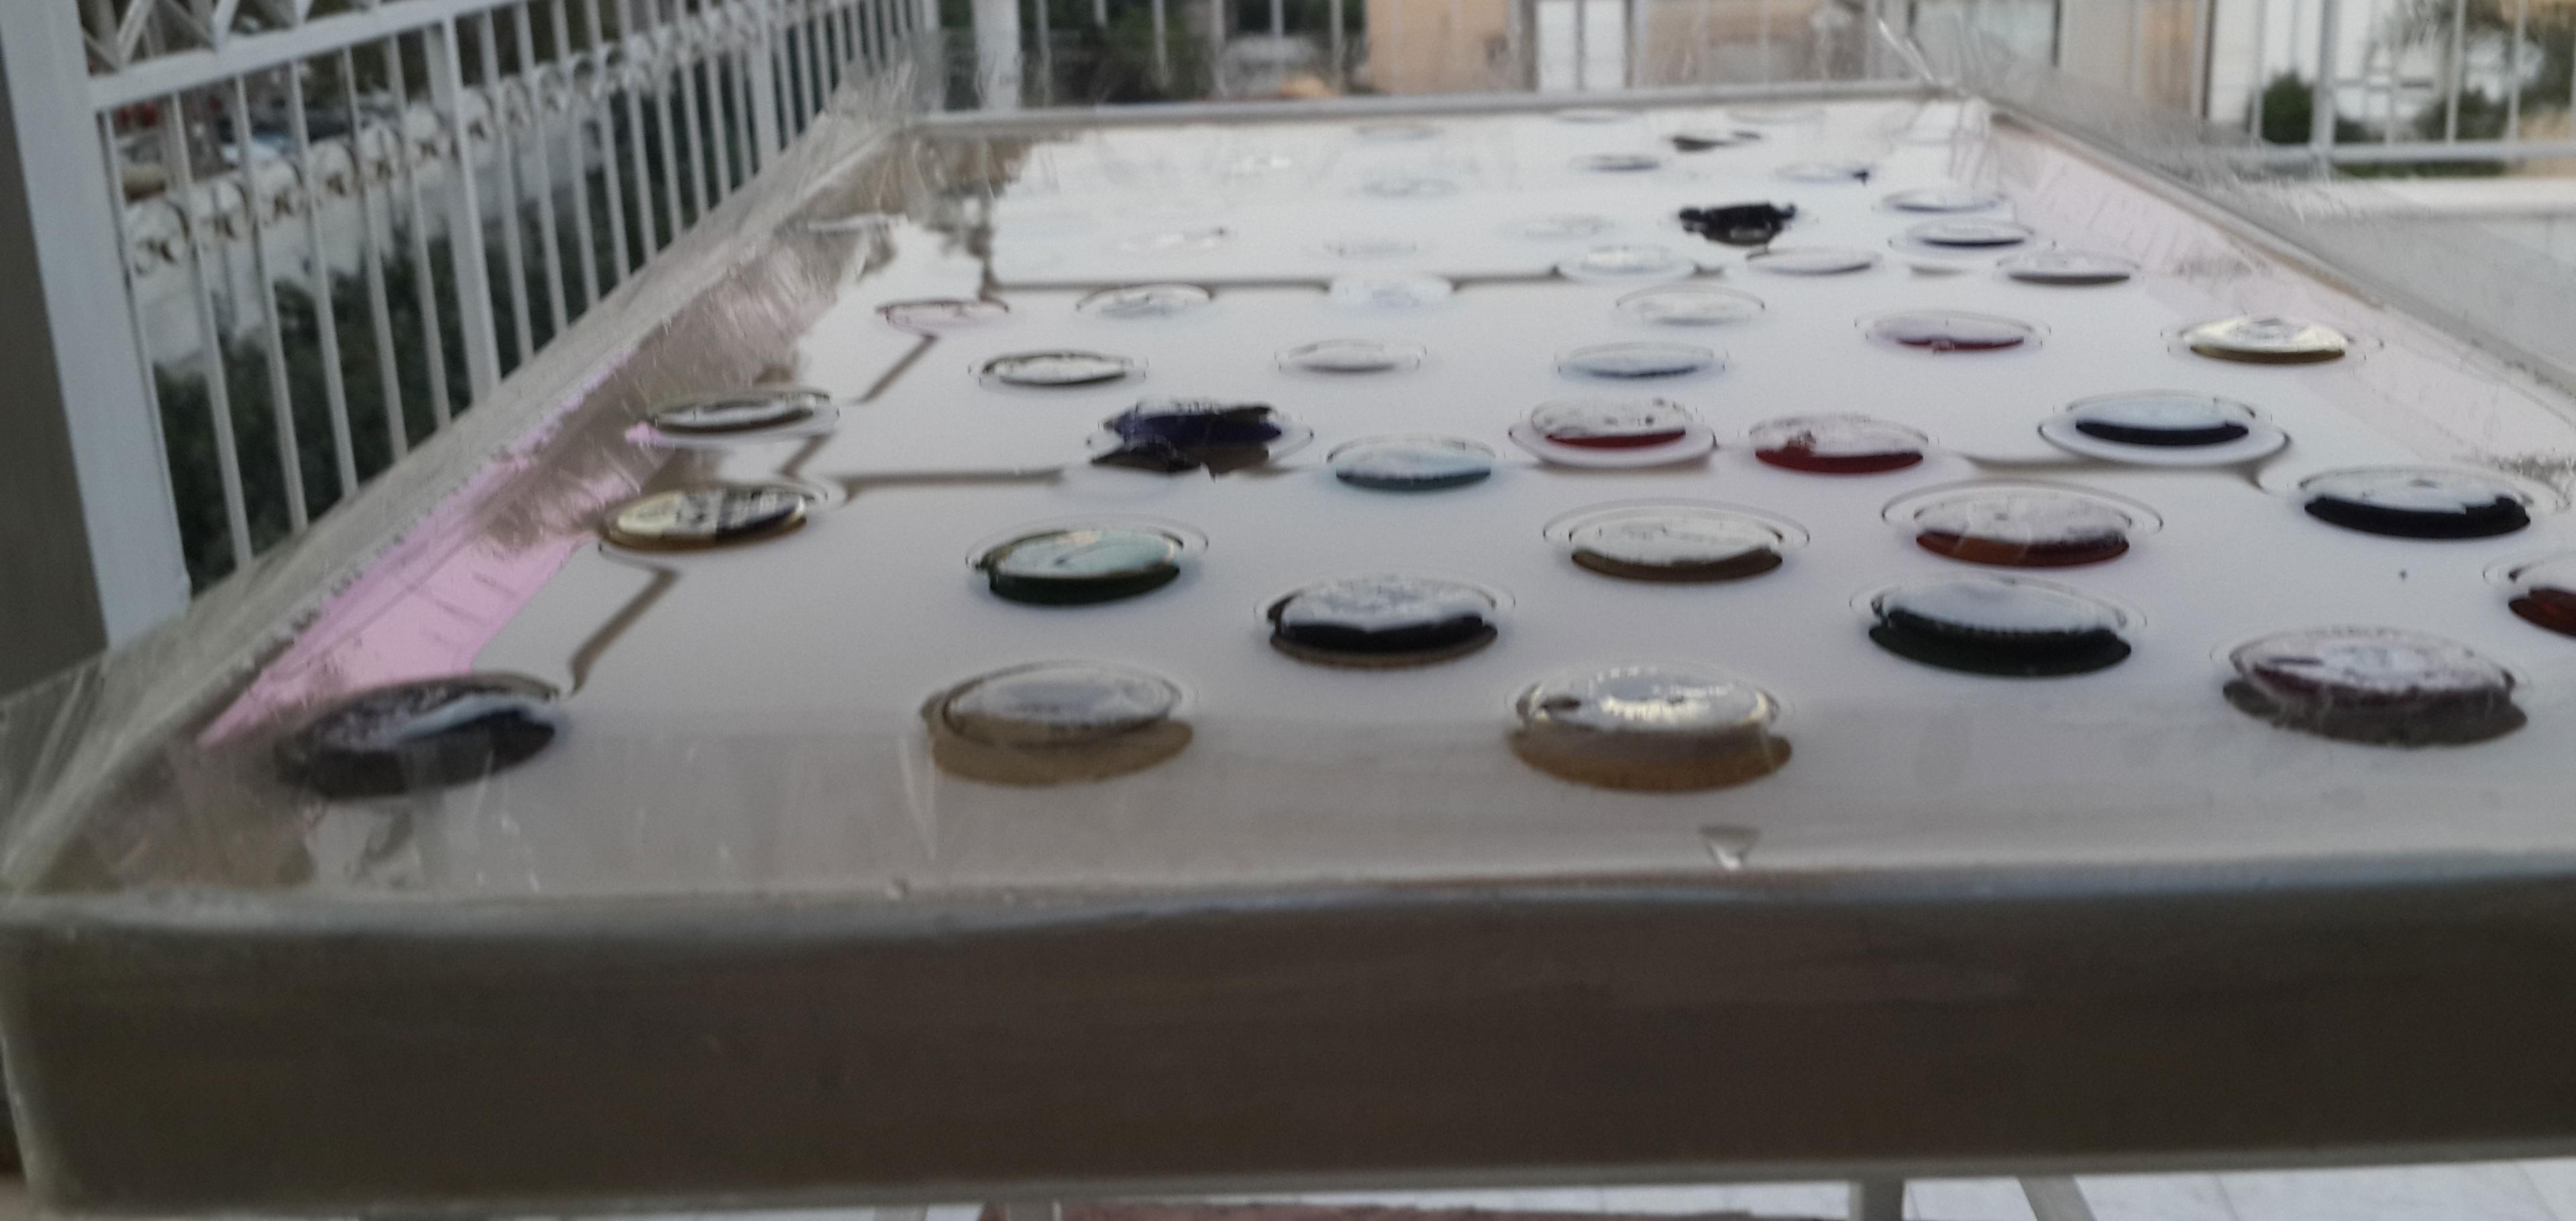
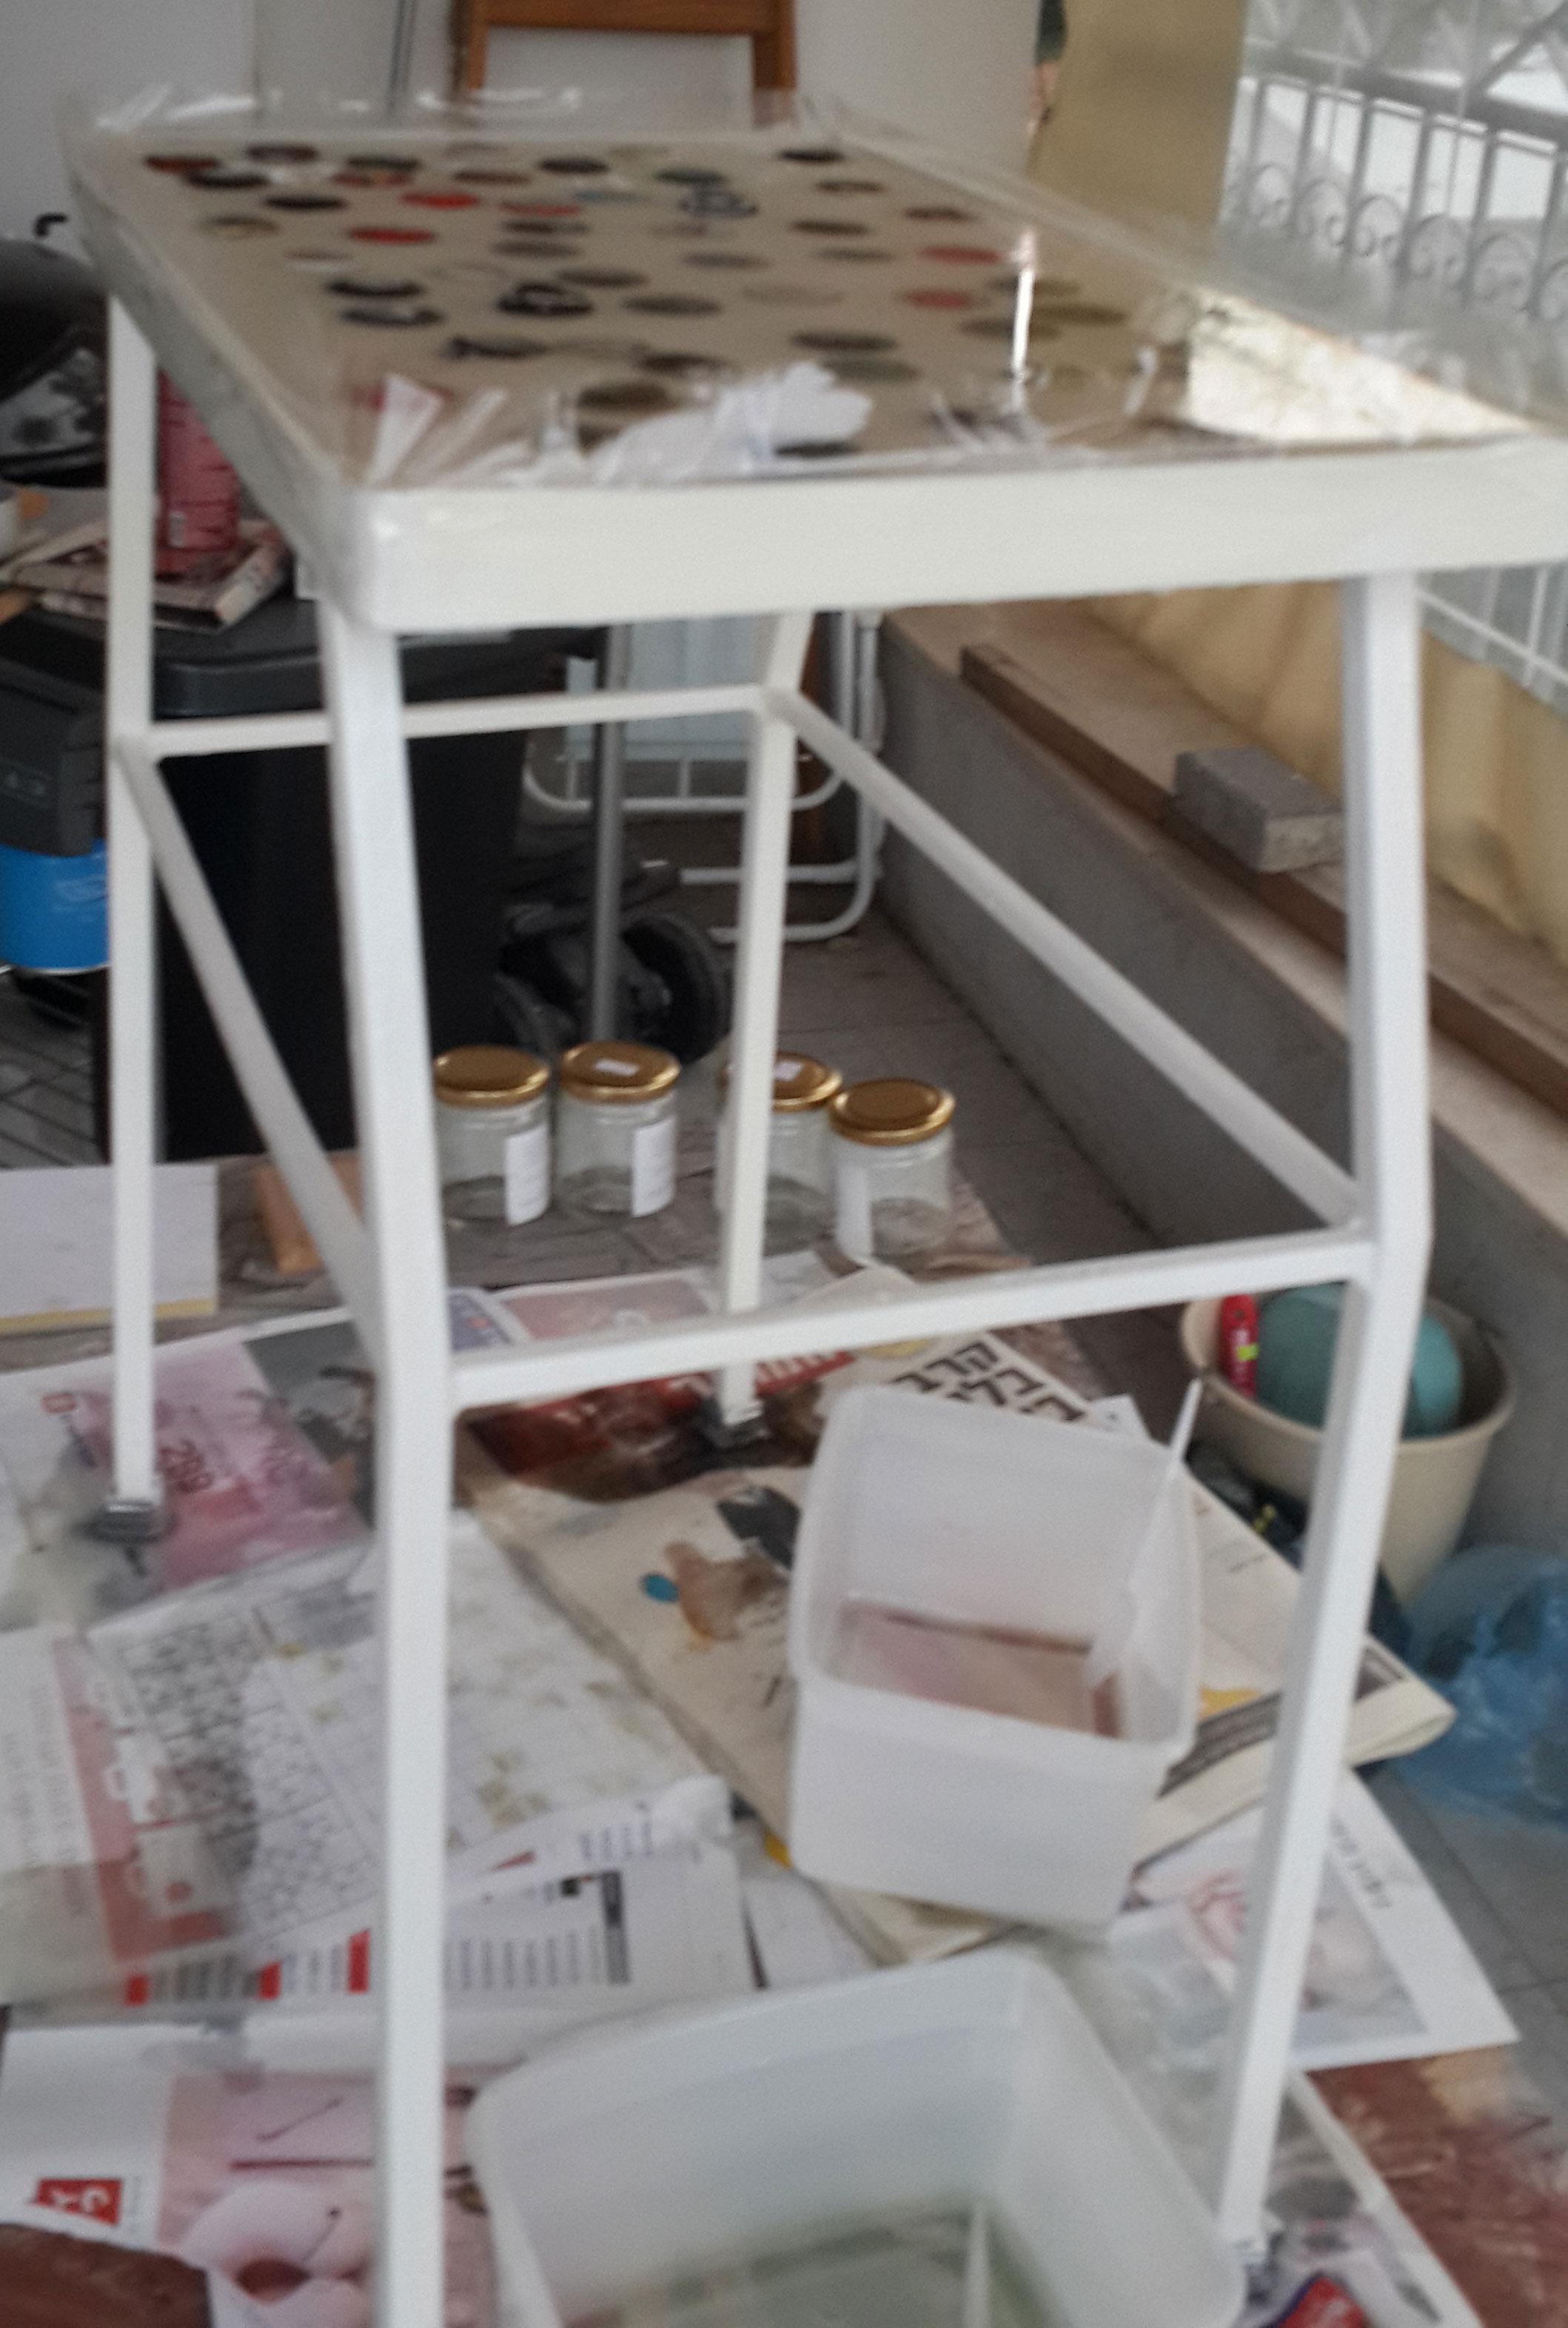
Day 1
Day 2
Day 3
As you can see from the pictures, there are still some beer caps out. I wanted to cover most of them but got to realize that if 1 or 2 of them will be over for less than 1mm, I can live with that.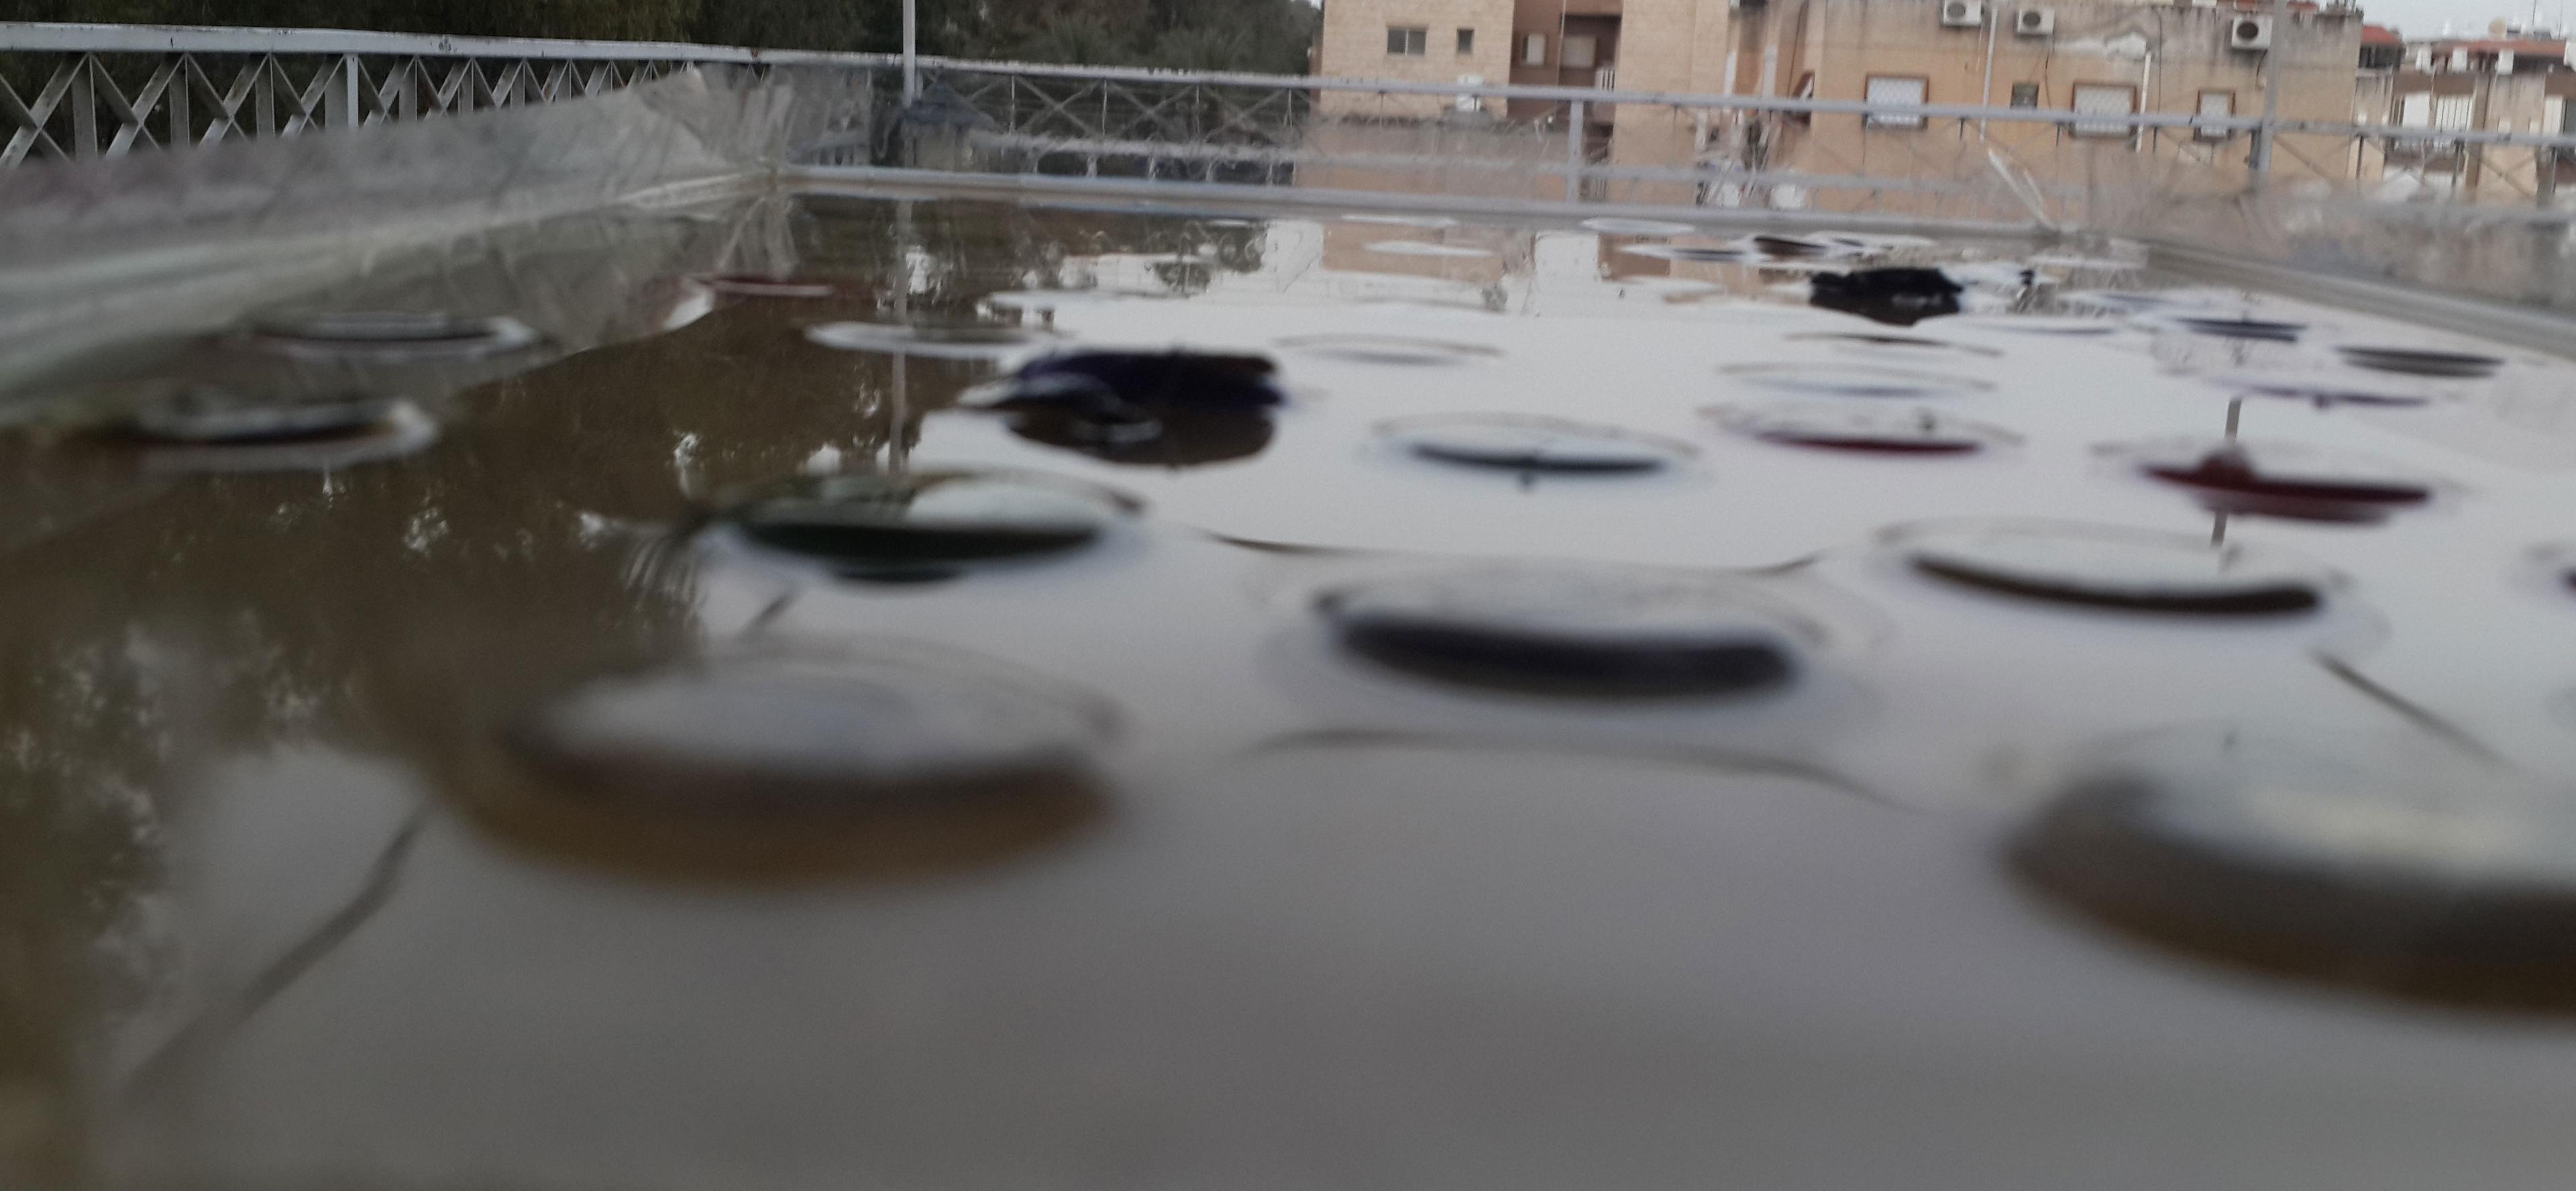
Step 5
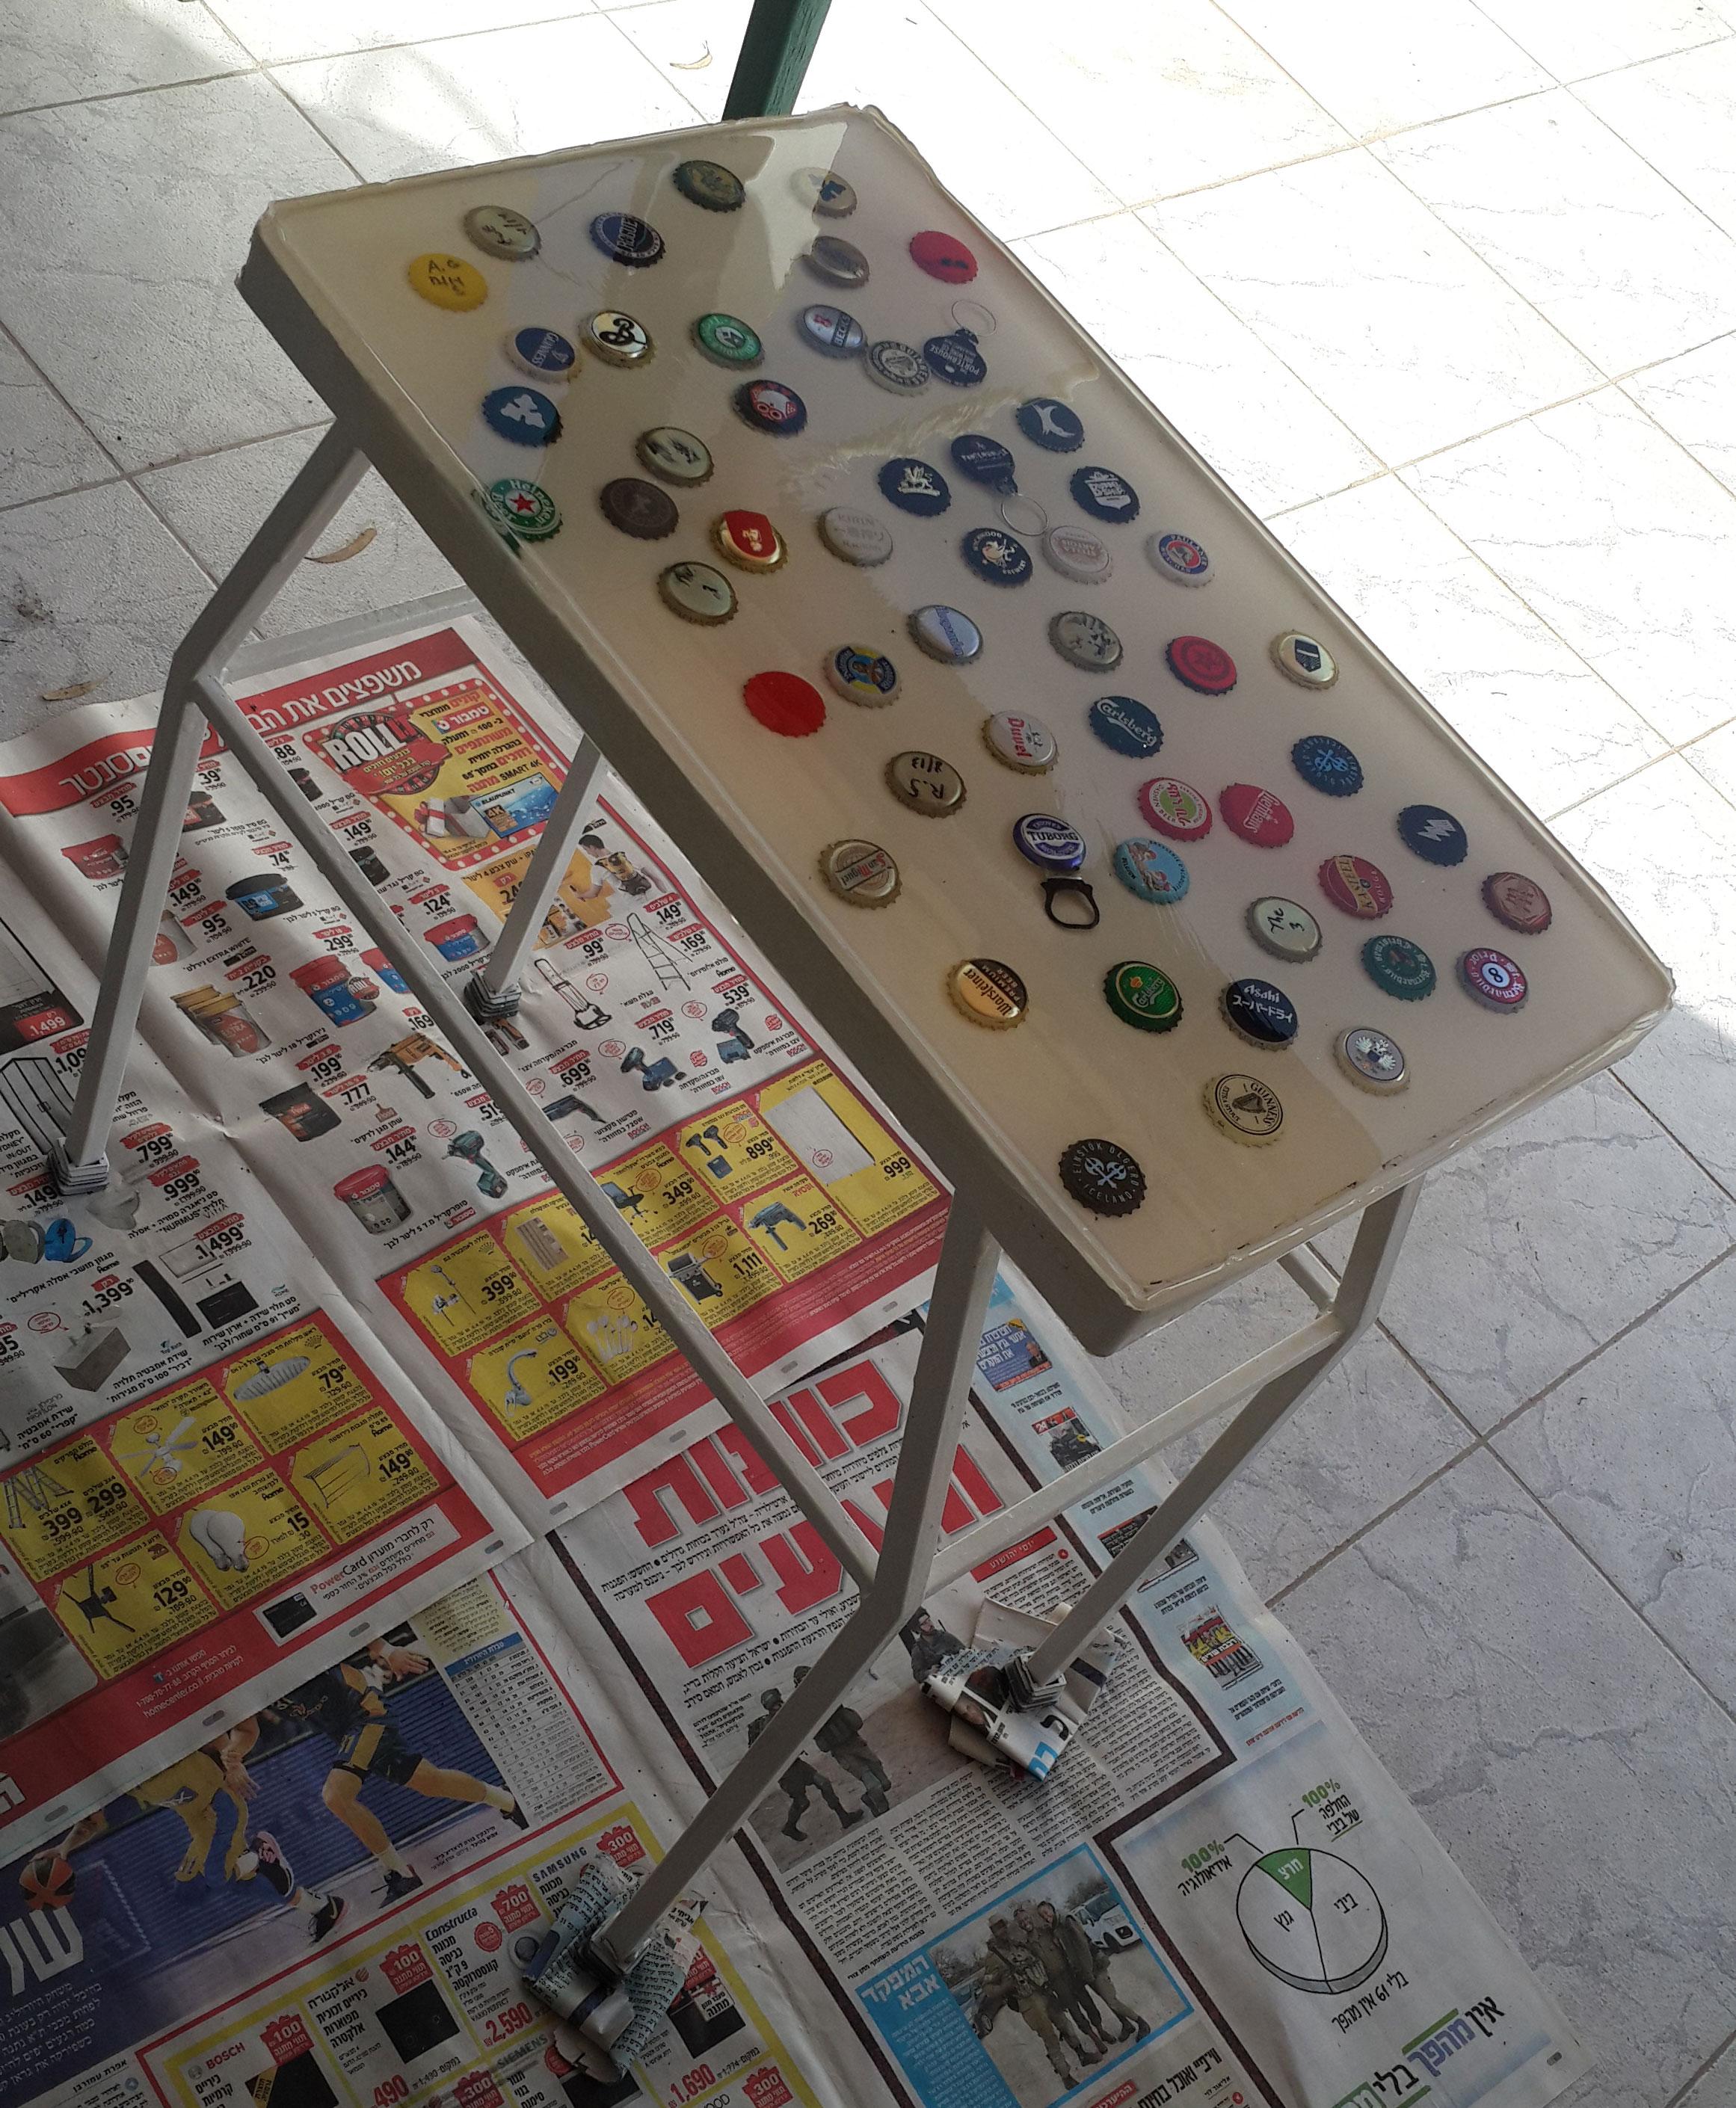
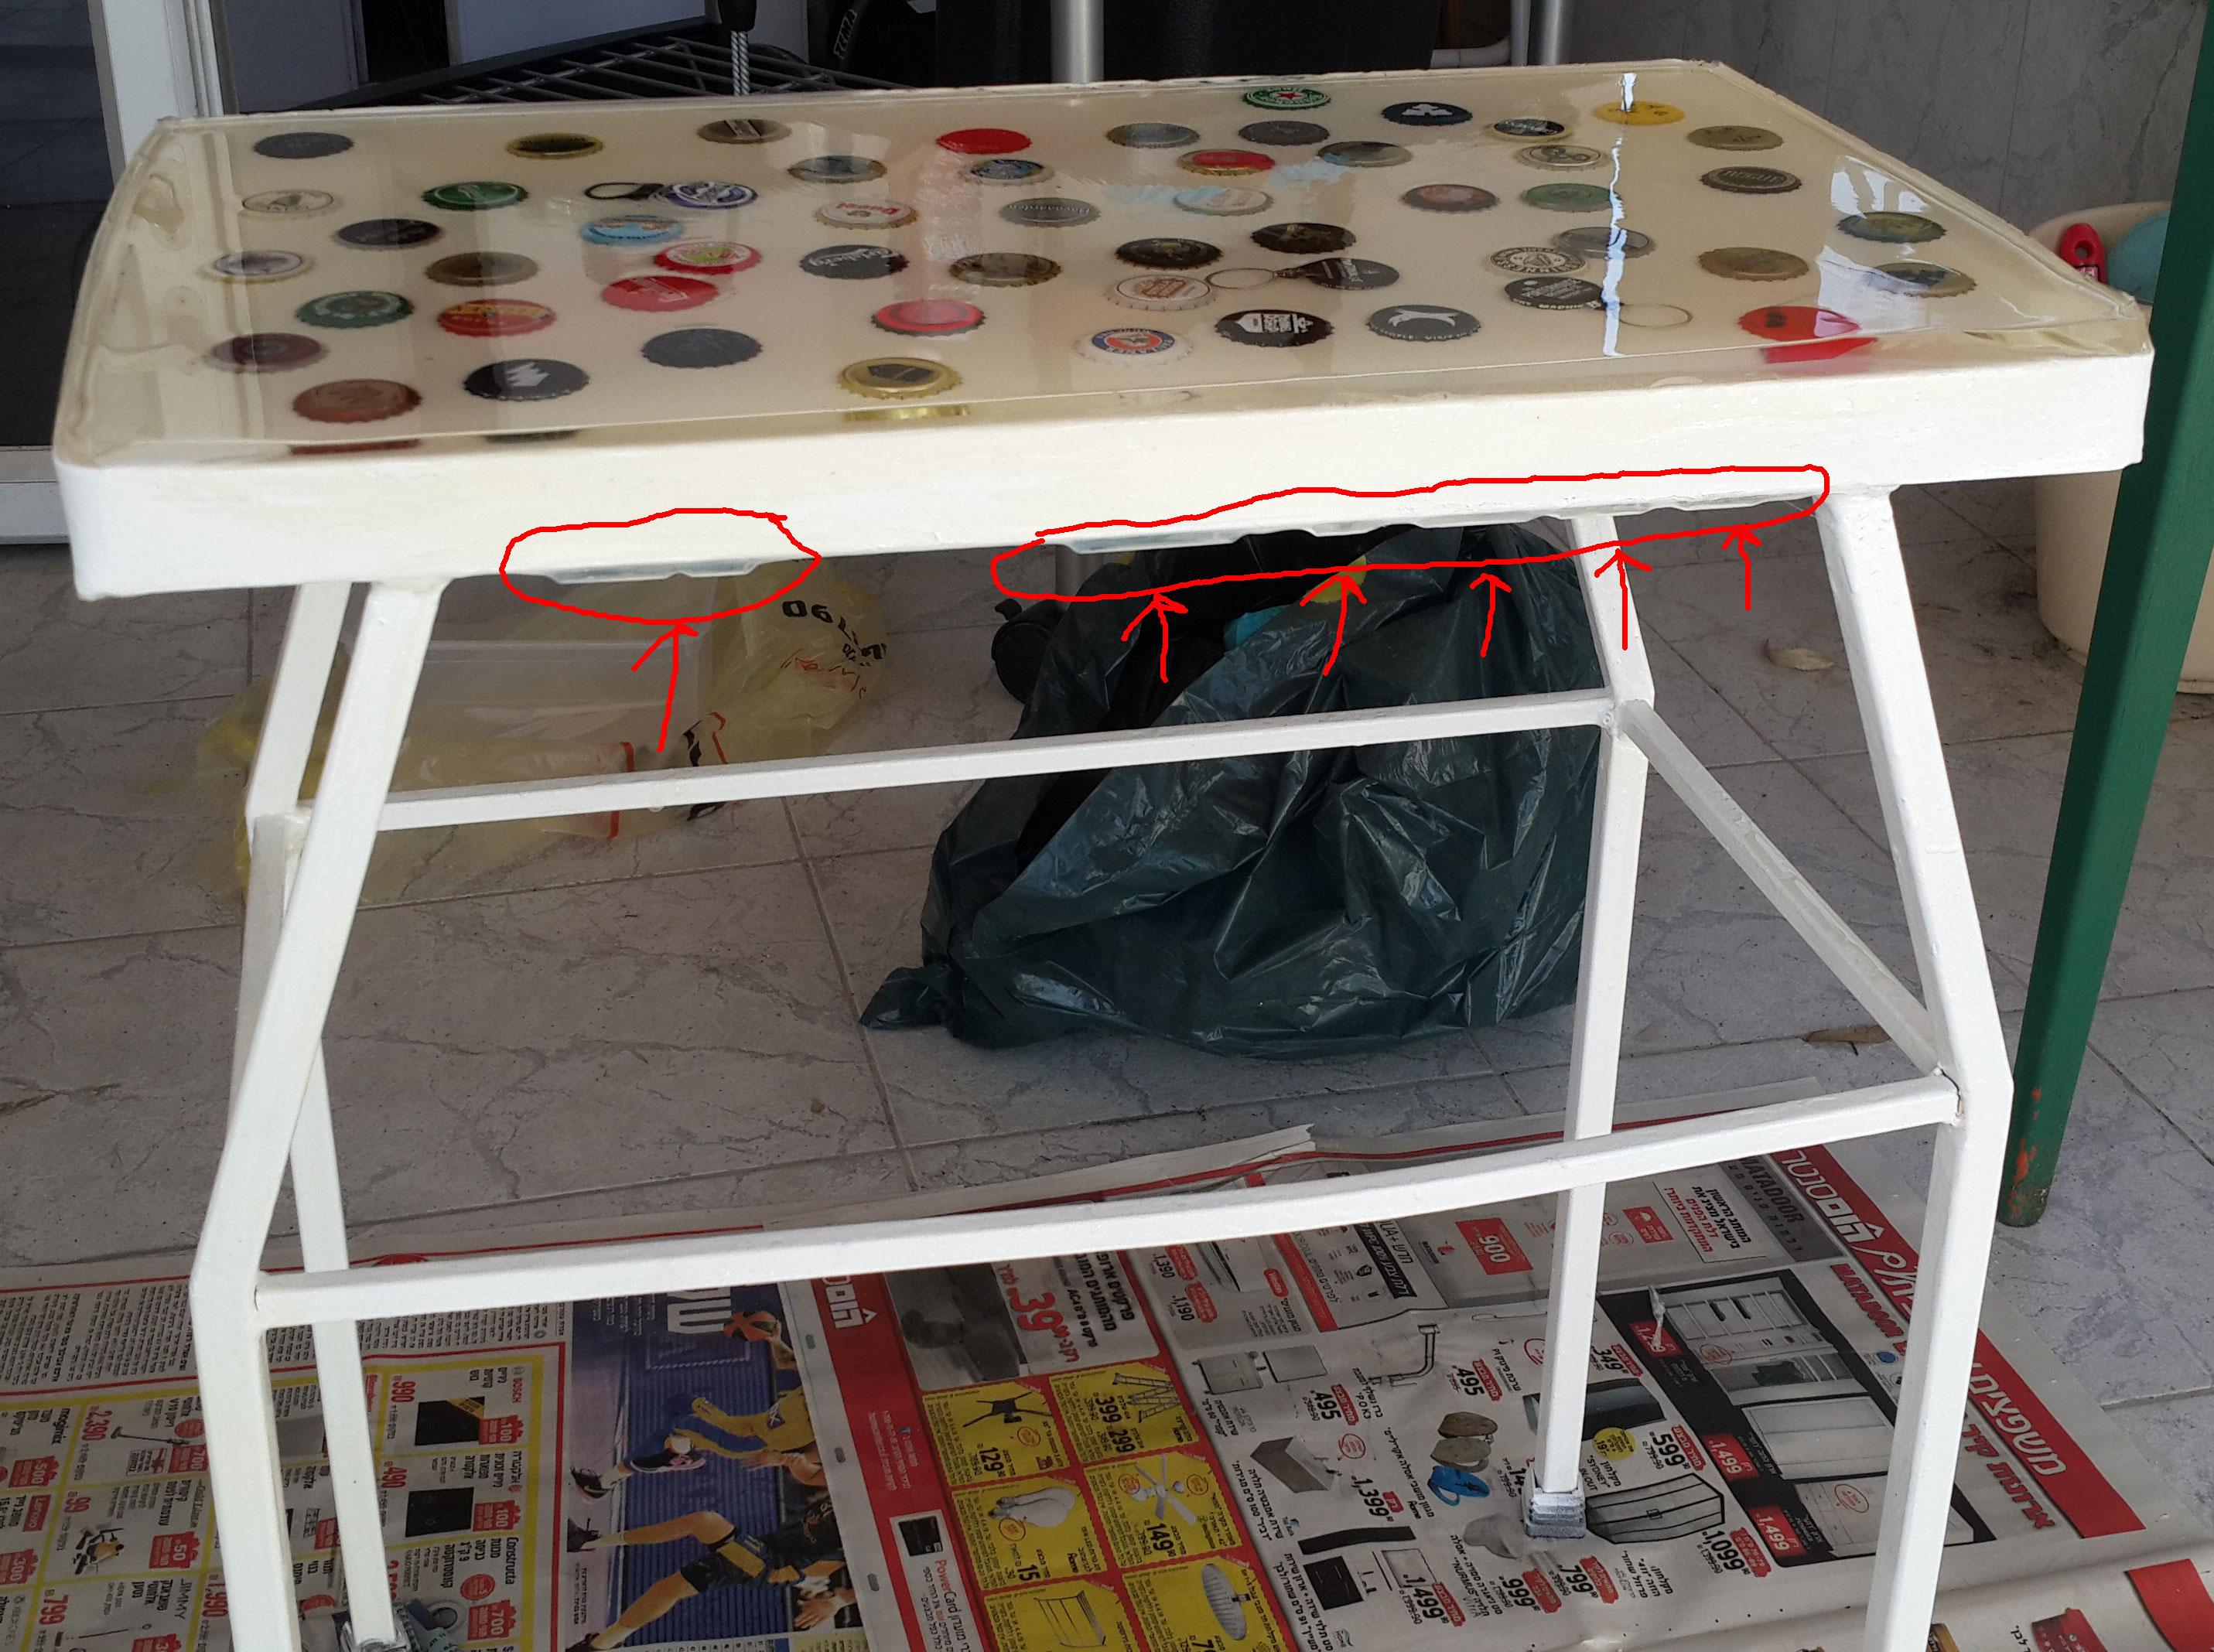
Few days of rest and the resin is hard. As you can see in the picture, it still successed in removing some of the written caps (again luck on my side and I had 2 of this). Removing the duct type and see the results. As you can see the border is not straight, there are residues (marked in the picture below). I can sand them off and make it more smooth but ... The more I looked at it, the more I liked it like that, it seems like it has been done at home by hand and that is my making! Some may say it is ugly, others will wonder why didnt I fill the all place with caps (as everyone do) but remember one very important thing:This is your D.I.Y project, if you like/love the results. Ignore the rest, they are just jealous that you had the time and courage to do it and they dont!
Conclusions & Remarks
* Do not be afraid from the Resin.
Yes, there are a lot of video clips and sites warning you about the heat and the poison gases it will omit and only work in open spaces and a mask on it. There are a lot of type of resins out there, I used one that I could find in a hobby shop, which mean no hit, no poison gas I did use it in open air place and used regular gloves (it will create a lot of mass).* Cleanness
Cover the floor with news papers or something you dont care about and can pick up quickly and though it to the waste bin or recycle bin.* The Wall
When you placing the border (one that can withstand the resin pressure), make sure to use something stronger than a ducttype to limit the area. I used the duct type and it made a mass and could not hold the pressure and leaked all over the place. FUN!* Protect the beer caps
If you use a commercial caps or home made ones, cover them with a finisher to protect the written/print on top of them. Let it dry properly and put at least 2 layers of protection of them. I know I will do it next time.* Layers. Resin.
When you use a resin make sure to work with layers, do not put all the resin you need in one go. I saw many videos recommending that and I follow that advice. Each layer that I worked with are about 1-2cm. True, it may take longer but if something goes wrong, you can fix it easier than if you just put it all. Make sure to close gaps when your are dealing with resin. Trust the resin it will find the smallest crack/gap.