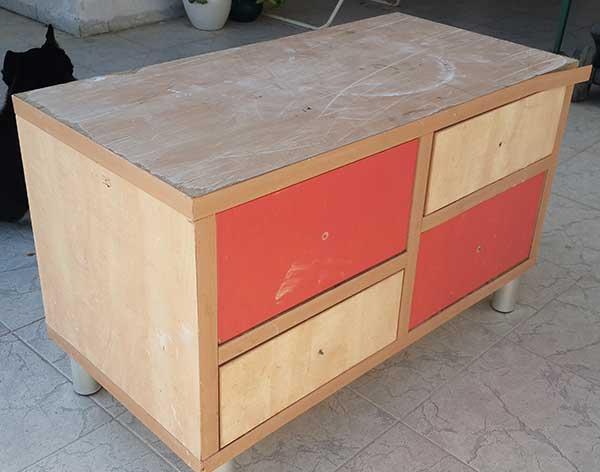
Small Cabinet 4 Drawers
While walking the dog, I saw this cabinet been dumb to the garbage and it just looked at me and scream 'save me! I still have life in me to be useful and handy'.
So I picked it up after 2 days and toke it home to fix and reuse. It was very heavy to carry back with me, very heavy.The first thing I did was looking for any seen reason why this was thrown out (breaks, termites and so on...). I noticed that the handles are missing and looking at the bottom I saw that it was already poorly fixed once. So, time to do some proper fix and wood work on this poor thing.
So I picked it up after 2 days and toke it home to fix and reuse. It was very heavy to carry back with me, very heavy.The first thing I did was looking for any seen reason why this was thrown out (breaks, termites and so on...). I noticed that the handles are missing and looking at the bottom I saw that it was already poorly fixed once. So, time to do some proper fix and wood work on this poor thing.
Time:
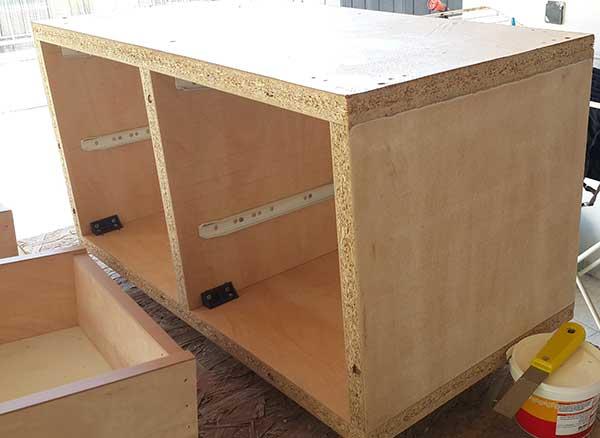
It toke me almost 2 months of work but than again, I worked less than 30 minutes a day, for about 5 days and I had a few days off [as I was sick and could not work and some holidays I was busy doing other things.Before

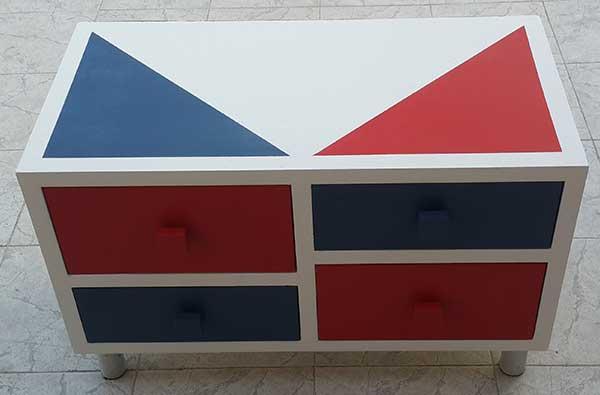
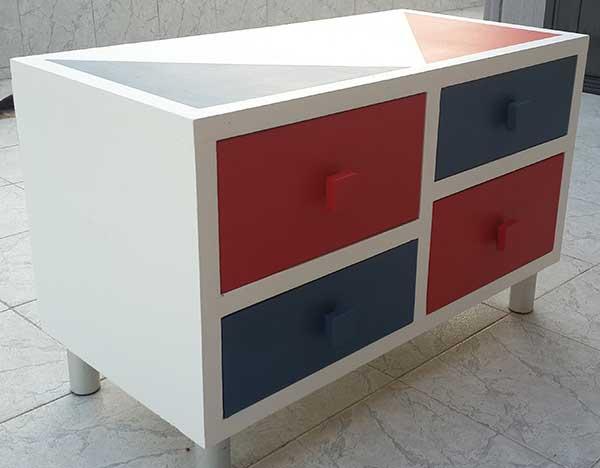
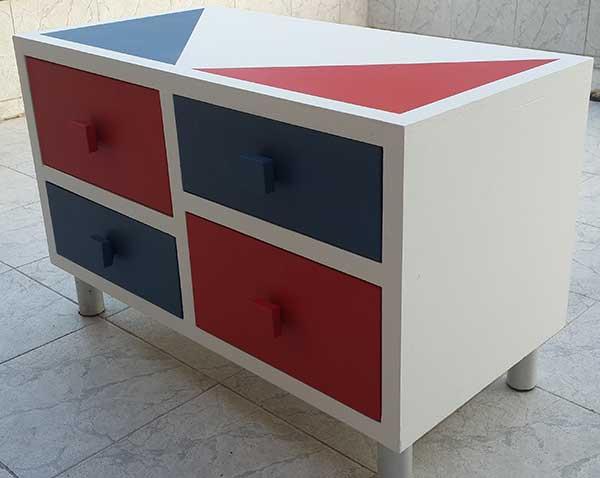
After
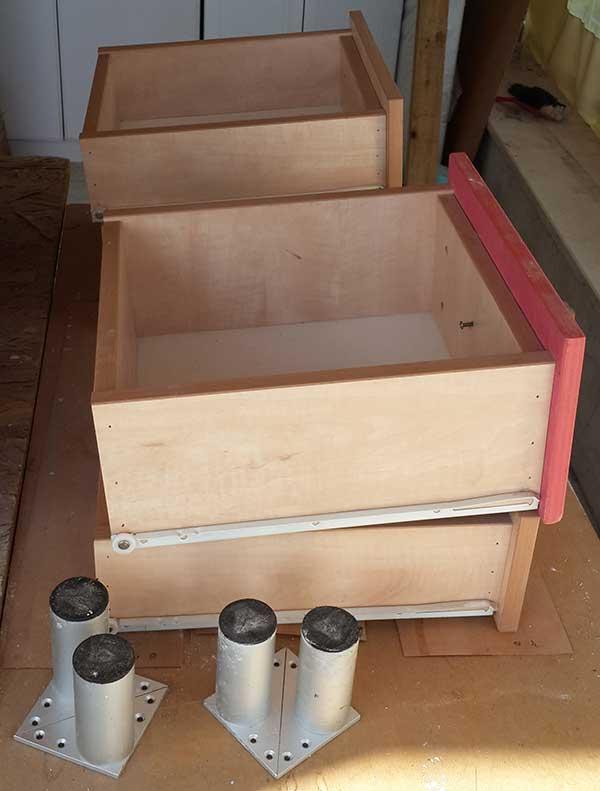
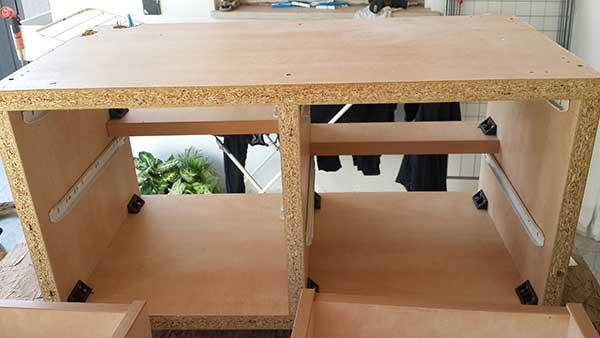
Step 1
The most basic thing to do: take it apart as much as possible and see what need to be done. I toke everything I could apart, started from the back, drawers (also toke apart as much as possible), removed the rails, removed the L connectors, the feet it was standing on. I thought to remove the front shelves but they seems to be ok and connected well, so I saved some time and left them connected.
Step 2
Filling the holes.As you can see in the pictures, there are lots of holes and gaps to close, this step toke the longest time as it was filling the holes/gaps, wait for it to dry, sanding, refilling if needed and it seems that I could always find a new hole or gap that I missed the previous time.
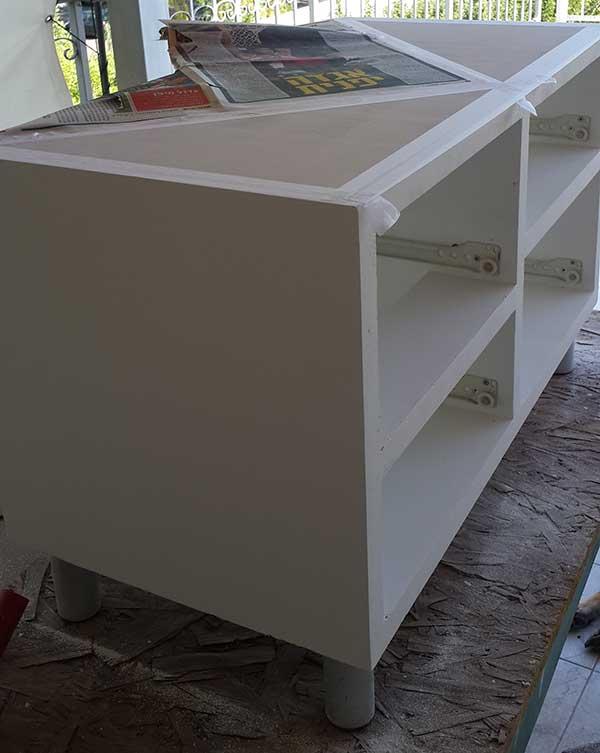
Step 3
Base Painting.I painted all of it with a base paint (as I knew I will do some color pattern on top of the base but did not know which one yet). I painted the all body (inside and out) with white base paint.
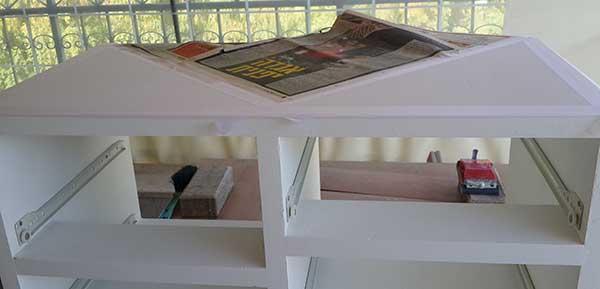
Step 4
Painting.Well I postpone as much as I could but it is time to decides, after awhile wondering and looking at the thing, I have decided to keep the red drawers red and the other 2 should have some some color - blue (would be nice). So the colors are set but the top of the cabinet is too white and boring. I need some shape that will break it and make it more fun. I played around with triangles and came up that 2 would be enough. I used a scootch to mark the triangles and a papernews to protect the white background.
Step 5
Drawers.I toke apart as much as I could. As there was no handles to it, it was one less step to take it apart but it did have a board in front of it. I toke that apart, painted it and return and than I saw and thought that I must paint the top of the drawer to match the front board color. Sorry, no pictures for this step but it is a simple one.
Handles.
As the handles were missing, I thought at the beginning to just buy new one (what shape and color, I was not sure yet at the time) but than after the colors and shapes where picked and done, a thought came to me: 'I do wood work! I will create my own.'. I found a long rounded square wood and cut it to 2cm long. I made a 45 degrees cut to make it more comfortable to hold. Painted it in the colors of the drawers and connected it with a long screw.
Step 6
Putting it all back together.One of the lovely and sad steps as it marks the end of the project. I returned the rails back to its original place, the back (who was in the great shape) back to its place and the drawers and walla... the finish project - I love it.
Conclusions & Remarks
* Picking up furniture from the street.
There are few things to take into consideration when you do that: Why did the previous owner dumped it? broke? termites? got tired of it? I put the wood (or furniture) I find in 'quarantine' for 2-3 weeks and check for sawdust, holes and other things that hasn`t been on it before. If it cleans - it`s good to go.